10 Basic Steps to Measure Growing Seasons
Frost retreats from the soil in uneven waves, leaving gardeners to guess when the ground will sustain seeds and when a late freeze will blackmail tender transplants. The steps to measure growing seasons transform guesswork into calendared precision, anchoring planting decisions to temperature thresholds, daylight accumulation, and soil biology. A growing season is not simply the span between last and first frost. It is a biological ledger of heat units, moisture availability, and photoperiod shifts that determine whether a tomato reaches full sugar content or a brassica bolts prematurely.
Materials
Accurate measurement begins with instrumentation and soil amendment tailored to local chemistry. Install a minimum-maximum thermometer at root level, positioned 2 inches below the soil surface in the primary planting zone. Pair this with a digital data logger capable of recording hourly temperatures to calculate growing degree days (GDD). Soil pH test kits with a range of 4.5 to 8.5 are essential; most vegetables thrive between 6.0 and 7.0, where cation exchange capacity maximizes nutrient uptake. A rain gauge with 0.01-inch graduations tracks precipitation, while a lux meter or photosynthetically active radiation (PAR) sensor quantifies available light energy.
For soil preparation, apply a balanced 4-4-4 organic meal derived from feather, bone, and kelp at a rate of 2 pounds per 100 square feet. This slow-release formulation supports microbial populations without spiking soluble salts. Incorporate 1 inch of aged compost to improve soil structure and moisture retention. If pH falls below 6.0, add dolomitic lime at 5 pounds per 100 square feet. For acid-loving crops, elemental sulfur at 1 pound per 100 square feet lowers pH by approximately 0.5 units over six weeks. Mycorrhizal fungi inoculants, applied at transplant, colonize root hairs and extend nutrient reach by up to 40 percent.
Timing
Growing seasons align with USDA Hardiness Zones, but frost dates provide sharper resolution. Zone maps reflect average annual minimum winter temperatures, while frost-date windows indicate the statistical likelihood of 32-degree Fahrenheit events. Obtain local frost data from cooperative extension services or weather archives spanning at least 30 years. The last spring frost date, calculated at a 50-percent probability, marks the threshold for tender annuals. A 90-percent probability date adds an extra one to two weeks of safety for risk-averse growers.
Calculate growing degree days by subtracting a base temperature (commonly 50 degrees Fahrenheit for cool-season crops, 60 degrees for warm-season crops) from the daily average temperature. Accumulate these units from the last spring frost to the first fall frost. A crop requiring 1,800 GDD will mature only if the season delivers that thermal budget. In northern latitudes, season extension structures like hoop houses or cold frames add 200 to 400 GDD by moderating night temperatures and capturing solar radiation.
Phases
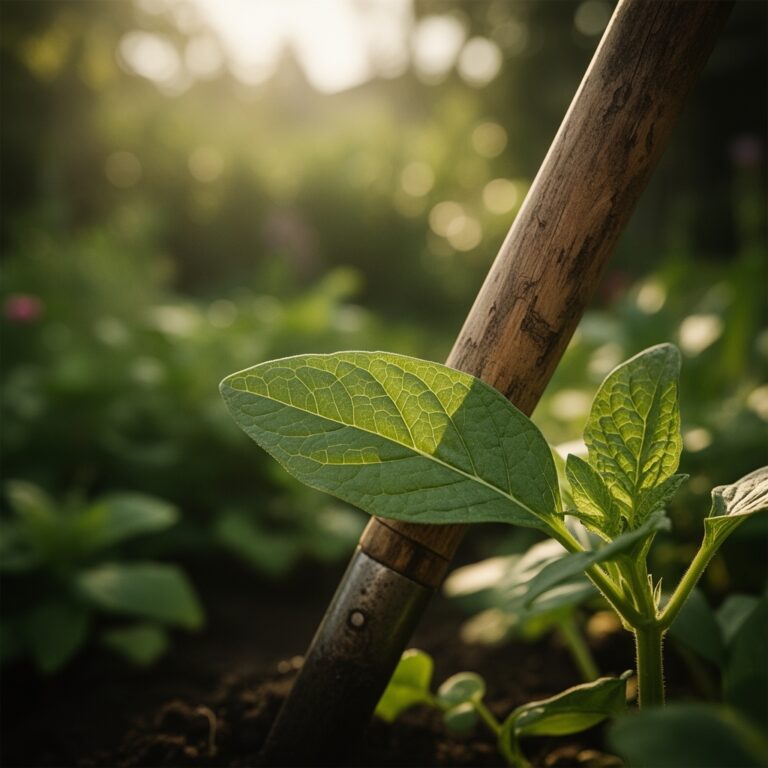
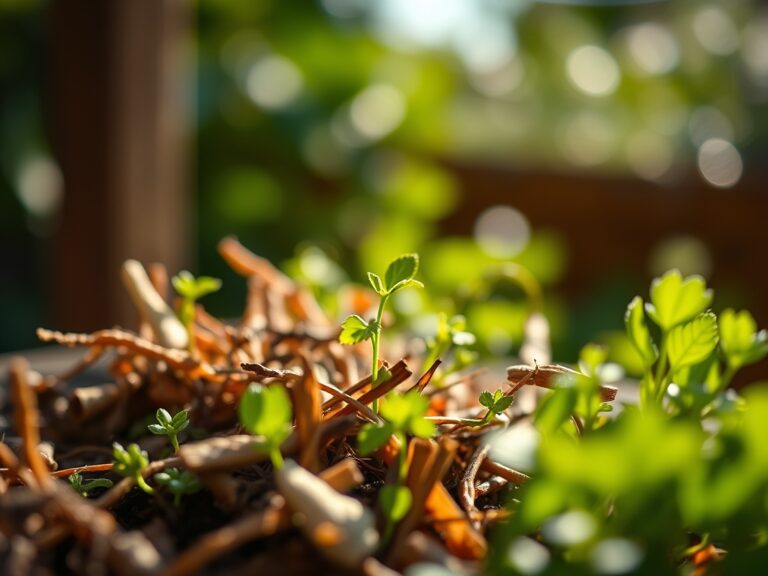
Sowing begins when soil temperature at 2-inch depth reaches the germination threshold for the target species. Lettuce germinates at 40 degrees Fahrenheit, while basil demands 70 degrees. Direct-seed cool-season crops four to six weeks before the last frost date. Use pelleted seed for uniform spacing, sowing at a depth equal to twice the seed diameter. Pro-Tip: Coat large seeds in humic acid solution for 12 hours before planting to accelerate auxin distribution and root initiation.
Transplanting shifts greenhouse-started seedlings into the field. Harden off plants by reducing water and lowering ambient temperature by 10 degrees over seven days. Transplant on overcast days or in late afternoon to minimize transpiration stress. Dig holes 1.5 times the root ball diameter, incorporating a tablespoon of 2-3-1 transplant fertilizer mixed with native soil. Water with a dilute seaweed solution at 1 tablespoon per gallon to stimulate root hair proliferation. Pro-Tip: Set tomato transplants at a 45-degree angle, burying two-thirds of the stem to encourage adventitious root formation.
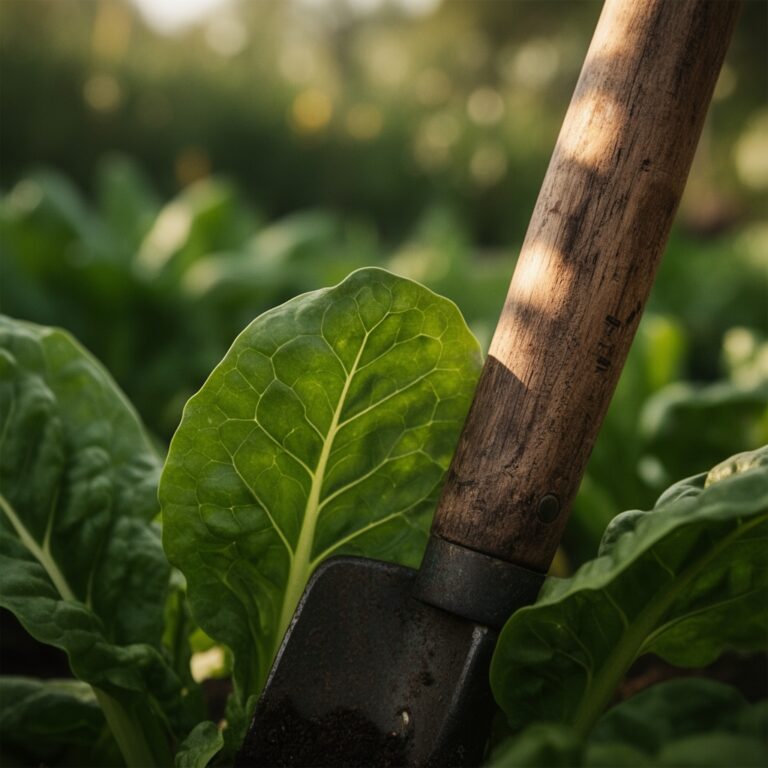
Establishing requires consistent moisture and weed suppression. Apply 2 inches of straw mulch around transplants, maintaining a 2-inch gap at the stem to prevent fungal collar rot. Monitor soil moisture with a tensiometer; irrigate when readings exceed 30 centibars. Side-dress nitrogen at 0.5 pounds of actual N per 100 square feet three weeks post-transplant to support vegetative growth. Pro-Tip: Pinch terminal buds on cucurbits when plants reach 12 inches to redirect energy into lateral shoots, increasing flower density by 25 percent.
Troubleshooting
Symptom: Yellowing lower leaves with green veins. Solution: Nitrogen deficiency. Apply blood meal at 1 pound per 100 square feet, watered in thoroughly. Retest soil after two weeks.
Symptom: Blossom end rot in tomatoes and peppers. Solution: Calcium deficiency exacerbated by uneven moisture. Maintain consistent irrigation, applying 1 inch per week. Foliar spray with calcium chloride at 2 teaspoons per gallon every five days for three applications.
Symptom: Stunted growth with purplish leaf undersides. Solution: Phosphorus deficiency in cold soil. Delay transplanting until soil reaches 55 degrees Fahrenheit. Drench roots with a 1-2-1 liquid fertilizer at half strength.
Symptom: Wilting despite moist soil. Solution: Fusarium or Verticillium wilt. Remove infected plants immediately. Rotate to non-host crops for three years. Solarize beds with clear plastic for six weeks during peak summer.
Symptom: Flea beetle damage on brassicas. Solution: Row cover applied at planting excludes adults. Spray neem oil at 2 tablespoons per gallon weekly if populations exceed five beetles per plant.
Maintenance
Irrigate with 1 inch of water per week, delivered in a single deep soak to encourage roots to explore lower soil horizons. Install drip lines 4 inches from plant stems, running emitters at 0.5 gallons per hour for two hours. Fertilize every three weeks with a 5-5-5 balanced blend at 1 pound per 100 square feet. Prune indeterminate tomatoes to a single leader, removing suckers when they reach 2 inches. Stake plants at 6-foot intervals using 1-inch diameter bamboo, securing stems with figure-eight ties to prevent girdling.
FAQ
How do I calculate my specific growing season length? Subtract your average last spring frost date from your average first fall frost date. This span, measured in days, is your baseline season. Adjust for microclimates by monitoring actual soil and air temperatures.
What is the minimum GDD requirement for common crops? Tomatoes need 1,800 to 2,400 GDD, corn requires 2,200 to 2,700 GDD, and lettuce matures at 500 to 900 GDD. Match crop selection to your region's accumulated heat units.
Can I extend my growing season without a greenhouse? Yes. Use low tunnels with 6-mil plastic to add 15 to 30 days. Apply black plastic mulch to warm soil 5 to 10 degrees earlier in spring. Plant windbreaks to reduce heat loss.
How does elevation affect growing season measurement? Temperature drops approximately 3.5 degrees Fahrenheit per 1,000-foot gain in elevation. Adjust frost dates forward by five to seven days per 1,000 feet in mountainous terrain.
When should I start measuring GDD? Begin accumulation on January 1 in mild climates or from the date soil becomes workable in spring for northern zones. Track daily until the first hard freeze below 28 degrees Fahrenheit.