10 Pro Tips How to Grow a Kitchen Scrap Garden
The scent of damp, anaerobic decomposition signals a failure in waste management; however, the smell of friable, well-aerated loam signals the beginning of a closed-loop system. Mastering how to grow a kitchen scrap garden requires moving beyond the novelty of placing a carrot top in a saucer of water. It demands a rigorous understanding of plant physiology and cellular regeneration. When you submerge the basal plate of a scallion or the adventitious root nodes of a basil cutting, you are not merely recycling; you are initiating a complex hormonal response. Turgor pressure must be maintained within the vascular system to ensure that the xylem continues to transport water while the phloem redistributes sugars to emerging tissue. Success in this discipline depends on your ability to manage the transition from domestic waste to a productive botanical specimen. You must treat every scrap as a biological unit capable of mitosis. Precision in moisture levels and light intensity determines whether the specimen thrives or succumbs to fungal pathogens.
Materials:
Substrate selection is the primary determinant of success. You require a growing medium with a **Cation Exchange Capacity (CEC) of 15 to 25 milliequivalents per 100 grams**. This ensures the soil can hold and exchange essential nutrients like potassium and magnesium. The ideal substrate is a **friable loam** consisting of 40 percent sand, 40 percent silt, and 20 percent clay. Maintain a **soil pH between 6.0 and 7.0** for most vegetable scraps to ensure nutrient bioavailability.
For the initial rooting phase, use a sterile medium to prevent damping off. Once transplanted, the NPK requirements shift based on the scrap type. Leafy greens like romaine hearts or celery require a high nitrogen ratio, such as 10-5-5, to drive vegetative growth. Root-based scraps like ginger or turmeric require higher phosphorus and potassium, targeting a 5-10-10 ratio to support rhizome expansion. Ensure your containers have drainage holes to prevent waterlogging, which leads to root rot through oxygen deprivation in the rhizosphere.
Timing:
Your biological clock is dictated by the USDA Hardiness Zones. Scraps grown indoors are shielded from the elements, but those destined for the outdoor garden must be timed according to local frost dates. In Zones 5 through 7, most scrap transplants should not move outdoors until the soil temperature consistently reaches 60 degrees Fahrenheit.
The transition from the vegetative stage to the reproductive stage is governed by the photoperiod. For instance, scrap-grown onions are sensitive to day length; long-day varieties require 14 to 16 hours of light to initiate bulb formation. If you miss this window, the plant will prioritize leaf production over storage organs. Monitor the physiological age of your scraps; older tissue from a grocery store specimen may enter senescence faster than a seedling, necessitating a rapid transition to a nutrient-rich environment to prolong the productive lifespan.
Phases:

Sowing and Root Initiation
For stem-based scraps like mint or basil, cut the stem at a 45-degree angle just below a node. This increases the surface area for water uptake. Place the cutting in filtered water, changing it every 48 hours to maintain high dissolved oxygen levels.
Pro-Tip: Utilize auxin suppression by removing the apical bud (the top growth point). This redirects the plant's hormonal energy toward lateral root development rather than vertical height.
Transplanting and Hardening Off
Once roots reach two inches in length, move the specimen into the prepared soil medium. This is a critical period of "transplant shock." Gradually expose the plant to outdoor conditions over 7 to 10 days to thicken the cuticle layer of the leaves.
Pro-Tip: Inoculate the soil with mycorrhizal fungi. This symbiotic relationship extends the root system's reach, allowing the plant to absorb phosphorus that would otherwise be chemically locked in the soil.
Establishing and Vegetative Growth
During this phase, the plant focuses on biomass production. Ensure the plant receives at least six hours of direct solar radiation daily. If growing indoors, use full-spectrum LED lights positioned 6 to 12 inches above the canopy to prevent leggy growth caused by etiolation.
Pro-Tip: Understand phototropism. Rotate your containers 90 degrees every two days to ensure even distribution of growth hormones, preventing the plant from leaning and weakening the primary stem.
The Clinic:
Physiological disorders often mimic infectious diseases. You must differentiate between the two through careful observation of the tissue.
-
Symptom: Interveinal chlorosis (yellowing between leaf veins) on older leaves.
-
Diagnosis: Magnesium deficiency.
-
Solution: Apply a foliar spray of magnesium sulfate (Epsom salt) at a concentration of one tablespoon per gallon of water.
-
Symptom: Tip burn on young, emerging leaves of romaine or celery.
-
Diagnosis: Calcium localized deficiency, often caused by inconsistent transpiration.
-
Solution: Stabilize moisture levels and ensure adequate airflow to promote steady transpiration rates.
-
Symptom: Purple tinting on the underside of leaves.
-
Diagnosis: Phosphorus deficiency, common in cold soils (below 55 degrees Fahrenheit).
-
Solution: Increase the ambient temperature or apply a water-soluble high-phosphorus fertilizer.
-
Fix-It for Nitrogen Chlorosis: If the entire leaf turns pale green or yellow, the plant is scavenging nitrogen from old growth to support new growth. Apply a blood meal or fish emulsion to provide an immediate nitrogen boost.
Maintenance:
Precision irrigation is mandatory. Most kitchen scraps require 1.5 inches of water per week, delivered directly to the drip line to keep the foliage dry and reduce fungal risk. Use a soil moisture meter to verify that the top two inches of soil have dried before re-watering; over-saturation kills more scrap gardens than drought.
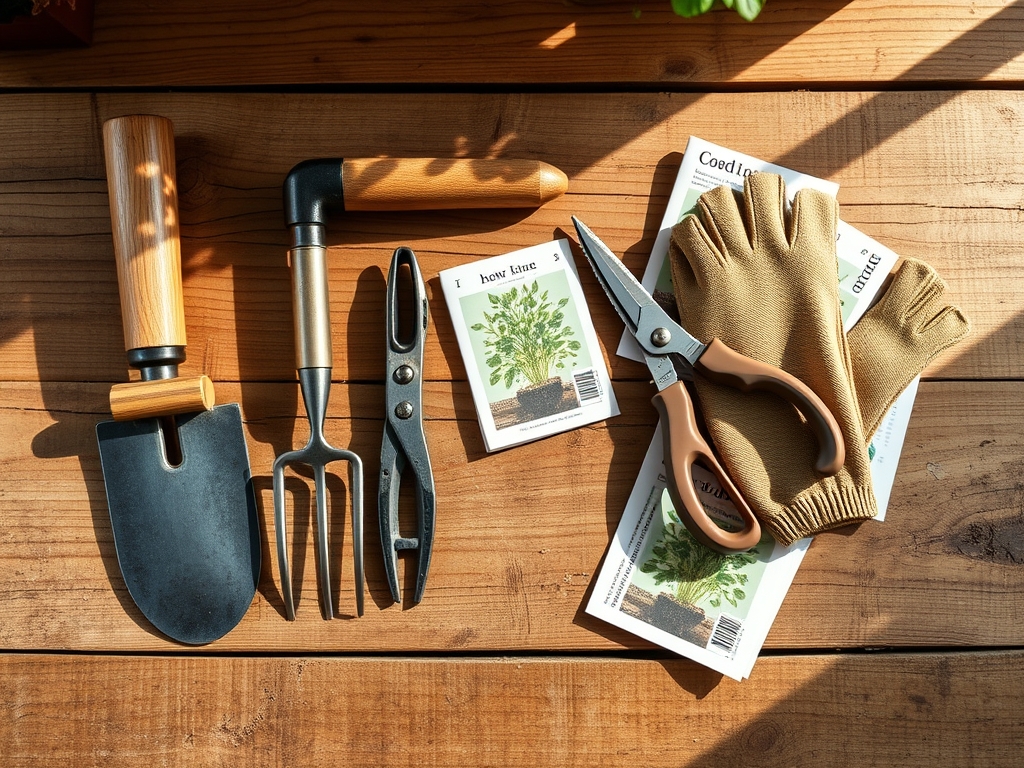
Use a hori-hori knife for weeding and transplanting to minimize root disturbance. For harvesting and maintenance pruning, use bypass pruners to ensure clean cuts that heal quickly. Dull blades crush the vascular tissue, creating an entry point for pathogens. Check the soil every four weeks for compaction; if the soil feels hard, use a hand fork to gently aerate the top layer without hitting the root ball.
The Yield:
Harvesting from a scrap garden is an ongoing process rather than a single event. For leafy greens, use the "cut and come again" method, removing only the outer leaves. Never remove more than 30 percent of the leaf area at once, as this triggers a stress response that can lead to premature bolting.
For root crops like ginger, harvest when the leaves begin to yellow and die back, signaling the end of the growth cycle. To maintain "day-one" freshness, submerge the base of harvested greens in cold water immediately to maintain turgor pressure. Store them in a high-humidity environment at 34 to 40 degrees Fahrenheit to slow the rate of respiration and enzymatic breakdown.
FAQ:
Which kitchen scraps are easiest for beginners?
Green onions, leeks, and celery are the most resilient. They possess high regenerative capabilities in their basal plates. Simply maintain clean water and transition them to a 6.5 pH soil once roots exceed one inch in length.
Why do my scrap-grown plants look leggy?
Legginess is caused by etiolation, a result of insufficient light. The plant elongates its internodes to reach a light source. Provide 12 to 16 hours of supplemental light if windowsill exposure is less than six hours of direct sun.
Can I grow a full-sized carrot from a carrot top?
No. The orange taproot is the primary storage organ and will not regrow. Planting a carrot top produces foliage and seeds. Use the greens for pesto or allow the plant to flower to collect seeds for next season.
How do I prevent mold on my water-grown scraps?
Change the water every 24 to 48 hours to prevent bacterial buildup. Ensure only the very bottom of the scrap touches the water. Use a charcoal filter for tap water to remove chlorine, which can inhibit delicate root hairs.