10 Pro Tips How to Grow Turmeric Root Indoors
The scent of damp, mineral-rich earth fills a confined space when you successfully replicate a tropical understory. To master how to grow turmeric root indoors, you must manage the turgor pressure of the Curcuma longa plant by balancing high atmospheric humidity with precise soil moisture. This process demands more than a casual interest; it requires a calculated manipulation of the indoor microclimate to sustain a plant that thrives in heat and heavy rainfall. Success is measured by the firm, orange-fleshed rhizomes harvested after a long ten-month gestation period.
Materials:
The foundation of a successful indoor turmeric crop is a **friable loam** with a high Cation Exchange Capacity (CEC). This allows the soil to hold and release essential nutrients like potassium and magnesium. Aim for a soil pH between **5.8 and 6.5**. If the pH climbs above 7.0, iron becomes less available, leading to interveinal chlorosis.
For the initial growth phase, utilize a fertilizer with an NPK ratio of 10-10-10. As the plant enters the rhizome expansion phase, shift to a 5-10-15 ratio. High potassium is critical for starch synthesis within the root. The substrate must be composed of 40 percent compost, 40 percent peat or coco coir, and 20 percent perlite to ensure adequate drainage while maintaining the necessary moisture levels for the rhizosphere.
Timing:
Turmeric is typically suited for USDA Hardiness Zones 8 through 11, but indoor cultivation bypasses these regional constraints by controlling the ambient temperature. The biological clock of turmeric is governed by temperature and photoperiod. Start your rhizomes in late winter or early spring, specifically between February and March.
The transition from the vegetative stage to the reproductive or rhizome-bulking stage occurs when the plant has established a significant leaf canopy. Indoors, you must maintain a consistent temperature between 75 and 85 degrees Fahrenheit. If temperatures drop below 60 degrees, the plant enters a premature state of senescence, halting all rhizome development. Expect a total growth cycle of 270 to 300 days.
Phases:
Sowing and Sprouting
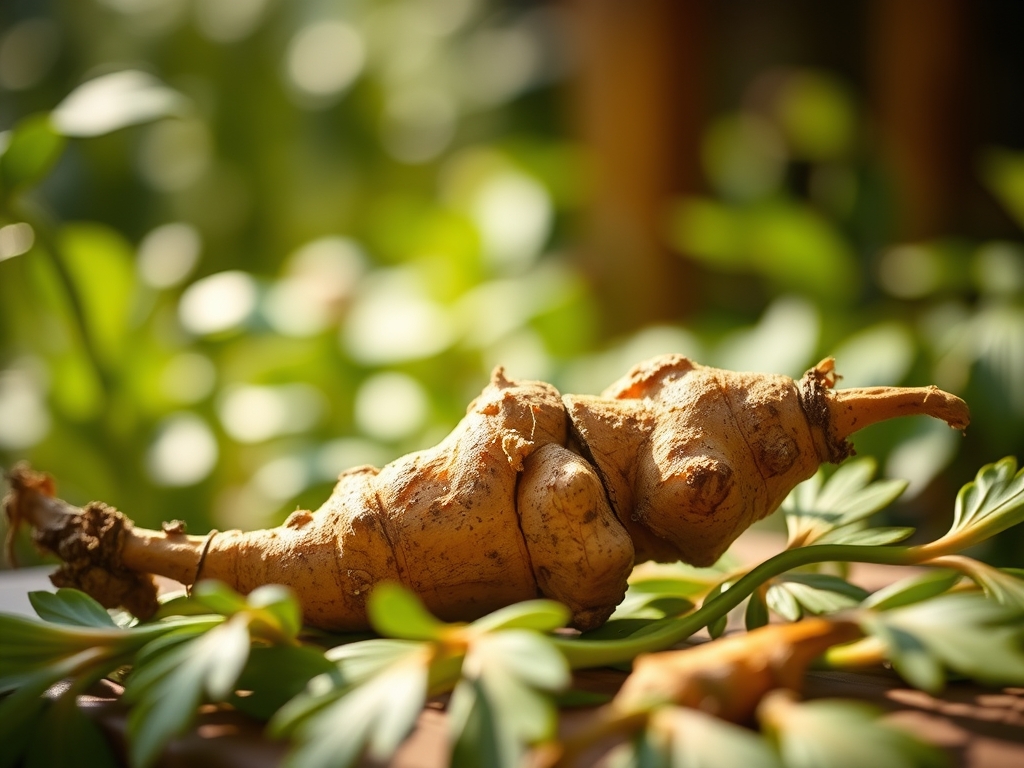
Select a healthy rhizome with at least two or three "eyes" or buds. Cut the rhizome into 2-inch sections and let them callouse for 24 hours to prevent fungal pathogens from entering the tissue. Plant them 2 inches deep in a shallow tray.
Pro-Tip: Use a seedling heat mat to maintain a soil temperature of 80 degrees Fahrenheit. This accelerates the metabolic rate of the rhizome, breaking dormancy through the activation of gibberellic acids within the plant tissue.
Transplanting
Once the sprouts reach 3 inches in height, move them to a deep container. A 5-gallon pot is the minimum size required to allow for lateral rhizome expansion. Ensure the pot has multiple drainage holes to prevent anaerobic conditions.
Pro-Tip: When transplanting, inoculate the roots with mycorrhizal fungi. This symbiotic relationship increases the surface area of the root system, allowing for enhanced phosphorus uptake which is vital for early root establishment.
Establishing the Canopy
As the leaves unfurl, they require 12 to 14 hours of light daily. If using LED grow lights, maintain a distance of 12 inches from the top of the canopy to prevent leaf scorch.
Pro-Tip: Rotate the pot 90 degrees every three days. This prevents extreme phototropism, where the plant leans excessively toward the light source, causing mechanical stress on the primary stalk and uneven auxin distribution.
The Clinic:
Monitoring physiological disorders is essential for a high-yield harvest.
- Symptom: Leaf Tip Burn. This is often caused by low humidity or salt accumulation in the substrate. Solution: Maintain humidity above 60 percent using a humidifier and flush the soil with distilled water to leach excess salts.
- Symptom: Yellowing Lower Leaves (Nitrogen Chlorosis). This indicates the plant is translocating nitrogen to new growth because the soil supply is depleted. Solution: Apply a liquid kelp or fish emulsion with a higher nitrogen concentration immediately.
- Symptom: Soft, Mushy Rhizomes. This is a sign of Pythium root rot caused by overwatering. Solution: Reduce watering frequency and ensure the soil dries to a depth of 1 inch between applications. Use a soil moisture meter to verify levels before adding water.
Maintenance:
Precision is the difference between a decorative plant and a productive crop. Turmeric requires approximately 1.5 inches of water per week, delivered directly to the soil surface to keep the foliage dry. Use a soil moisture meter daily to ensure the root zone stays in the "moist" range without reaching "saturated."
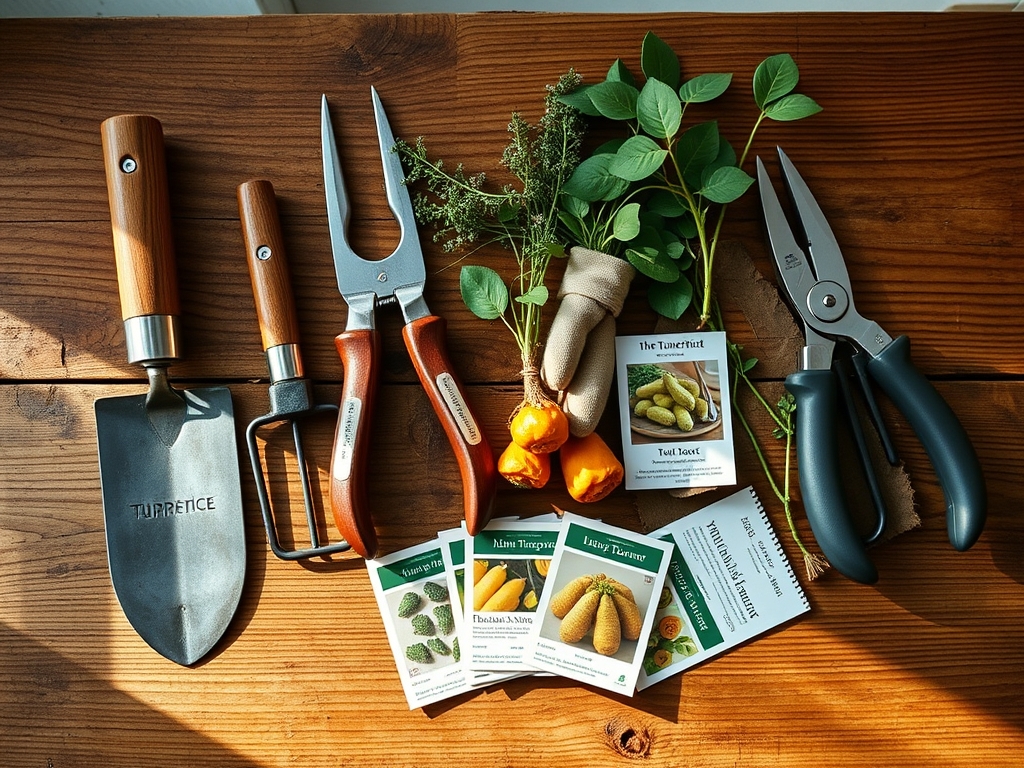
For pruning, use bypass pruners to remove any yellowing or damaged outer leaves. This improves airflow and reduces the risk of fungal infections. If you need to check the progress of the rhizomes without disturbing the entire plant, use a hori-hori knife to gently probe the soil edge. If the soil becomes compacted, use a small hand fork to aerate the top 2 inches, being careful not to damage the shallow feeder roots.
The Yield:
Harvest occurs when the leaves turn yellow and begin to dry out, typically 9 to 10 months after planting. This signal indicates the plant has moved its energy reserves into the rhizomes. To harvest, tip the container over and gently shake the soil loose.
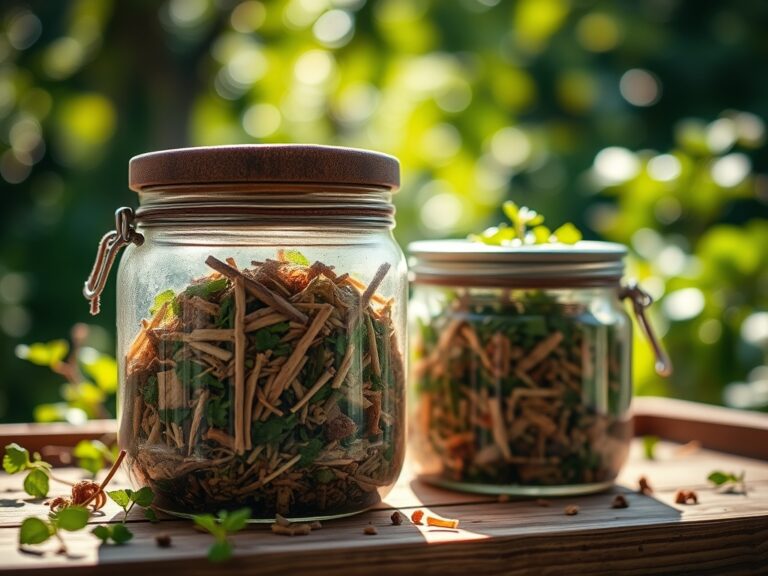
Use a sharp knife to detach the "fingers" from the main mother rhizome. To maintain "day-one" freshness, do not wash the dirt off the rhizomes until you are ready to use them. Store them in a cool, dark place with a temperature of 55 degrees Fahrenheit and 70 percent humidity. For long-term preservation, the rhizomes can be blanched, peeled, and dehydrated to create a potent powder.
FAQ:
How much light does indoor turmeric need?
Turmeric requires 12 to 14 hours of bright, indirect light. Use full-spectrum LED grow lights positioned 12 inches above the canopy to simulate a tropical photoperiod and prevent leggy growth or weak stalks.
What is the best pot size for turmeric?
Use a minimum 12-inch deep, 5-gallon container. Turmeric rhizomes grow laterally and require significant volume for expansion. Ensure the pot has excellent drainage to prevent the rhizosphere from becoming waterlogged and rotting.
Why are my turmeric leaves turning brown?
Brown edges usually indicate low humidity or fluoride toxicity from tap water. Maintain humidity levels above 60 percent and use filtered or rainwater to protect the plant from chemical sensitivities in municipal water supplies.
When should I stop fertilizing turmeric?
Cease fertilization approximately one month before harvest. This allows the plant to utilize existing nutrients in the soil and prevents an accumulation of salts that can affect the flavor and storage life of the harvested rhizomes.