5 Basic Steps to Sow Wildflower seeds
Damp earth releases a sharp, geosmin-heavy scent when the soil profile is disturbed. This olfactory signal indicates active microbial life within the top six inches of the substrate. Success depends on the turgor pressure of the emerging seedling; a measure of internal fluid pressure against the cell wall. To achieve this, you must master the steps to sow wildflower seeds with clinical precision. Most failures occur because of poor seed-to-soil contact or improper site preparation. Wildflowers are not a passive crop. They require a specific ecological niche where competition from invasive grasses is eliminated. You are managing a biological system that transitions from dormant embryos to a complex rhizosphere. This process demands an understanding of soil chemistry and thermal windows. By following these five steps to sow wildflower seeds, you convert a barren patch of land into a high-functioning botanical community. The goal is a self-sustaining meadow that maximizes local biodiversity through rigorous horticultural standards.
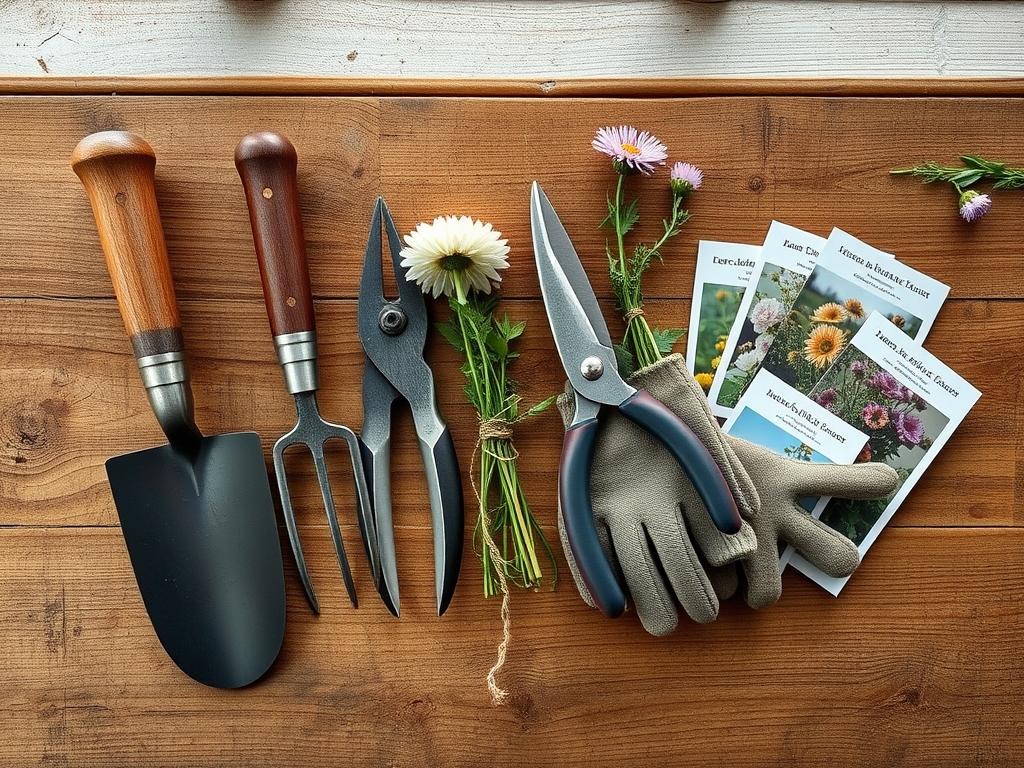
Materials:
The ideal substrate for most North American wildflowers is a friable loam with a pH range between 6.0 and 7.0. High Cation Exchange Capacity (CEC) is preferred for nutrient retention, though many native species thrive in leaner soils. Avoid high-nitrogen fertilizers; an NPK ratio of 5-10-10 is sufficient if the soil is depleted. Excessive nitrogen triggers rapid vegetative growth at the expense of structural integrity, leading to lodging.
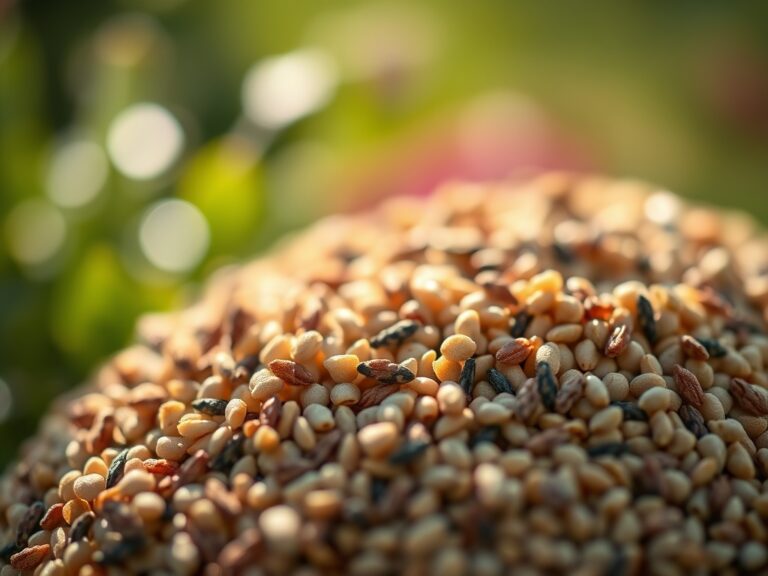
Gather a high-quality seed mix specific to your region. Ensure the mix contains no more than 10 percent inert matter. You will need a hori-hori knife for removing deep-rooted perennials and a soil moisture meter to monitor the top two inches of the profile. For large areas, a broadcast spreader calibrated to the specific seed size is essential. If the soil is heavy clay, incorporate organic compost to improve aeration and drainage without drastically altering the nutrient profile.
Timing:
Timing is dictated by your USDA Hardiness Zone and the specific photoperiod requirements of the species. In Zones 3 through 6, a fall sowing is often superior. This allows for natural cold stratification; a process where the seed coat breaks down through freeze-thaw cycles, triggering the embryo to break dormancy. In Zones 7 through 10, early spring is the primary window, provided you sow before the heat index rises.
The biological clock of a wildflower involves a transition from the vegetative stage to the reproductive stage. This transition is often triggered by day length. Sowing too late in the spring can result in stunted plants that enter senescence before they have established a robust root system. Aim for a soil temperature of 55 to 60 degrees Fahrenheit for spring sowing to ensure rapid germination and competitive advantage over weeds.
Phases:

Sowing and Site Preparation
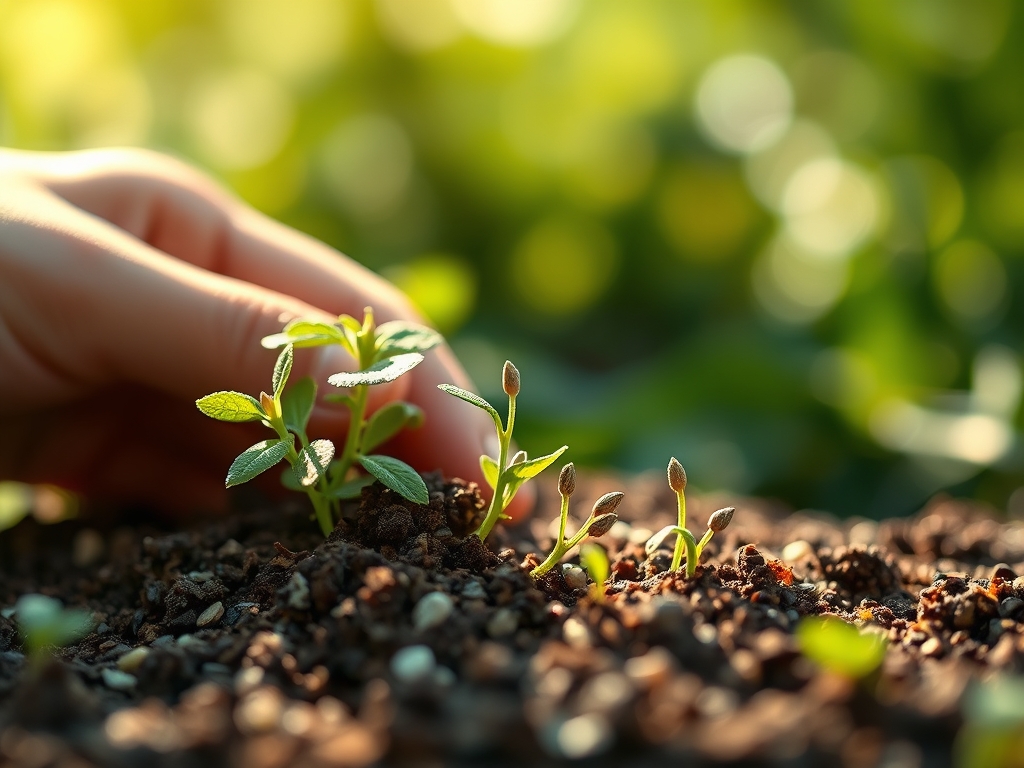
Clear the site of all existing vegetation. Use a shallow till, no deeper than 3 inches, to avoid bringing dormant weed seeds to the surface. Broadcast the seeds at a rate of 4 to 5 pounds per acre or 1 ounce per 200 square feet. Do not bury the seeds. Most wildflower species are photoblastic, meaning they require light to trigger germination. Compress the soil using a water-filled roller or by walking over the area to ensure the seeds are locked into the soil matrix.
Pro-Tip: Proper seed-to-soil contact facilitates hydraulic lift. This allows the seed to draw moisture from the surrounding soil particles through capillary action, preventing the embryo from desiccating during the critical first 48 hours of imbibition.
Establishing the Rhizosphere
During the first six weeks, the focus is on root development rather than upward growth. Maintain consistent moisture in the top 0.5 inches of soil. If the surface dries out, the germinating radical will die. Once the seedlings reach 2 inches in height, reduce watering frequency but increase the volume. This encourages the roots to grow deeper into the soil profile to access moisture, increasing the plant's drought tolerance.
Pro-Tip: Mycorrhizal symbiosis is established during this phase. These fungi extend the root system's reach, improving the uptake of phosphorus and micronutrients. Avoid synthetic fungicides which can disrupt this vital biological partnership.
Transplanting and Thinning
If you started seeds in flats, transplant them when they have two sets of true leaves. Use a hori-hori knife to create a hole twice the width of the root ball. Space plants 8 to 12 inches apart to allow for adequate airflow and to prevent fungal pathogens. Thinning broadcasted stands is necessary if the density exceeds 20 seedlings per square foot.
Pro-Tip: When thinning, use bypass pruners to snip the stems at the soil line rather than pulling them. This prevents the disturbance of the root systems of neighboring plants, avoiding "transplant shock" caused by the sudden loss of root-to-soil contact.
The Clinic:
Physiological disorders often mimic disease but are usually rooted in environmental or nutritional stress.
- Nitrogen Chlorosis: Symptoms include the yellowing of older leaves while the veins remain green. Fix-It: Apply a liquid seaweed extract or a low-dose organic fertilizer with a nitrogen value of 3 to 5.
- Damping Off: This fungal issue causes the stem to wither at the soil line. Solution: Improve airflow and reduce watering. Ensure the substrate has a porosity of at least 20 percent.
- Anthocyanin Accumulation: Leaves turn purple or reddish, often due to phosphorus deficiency in cold soils. Fix-It: Monitor soil temperatures; once the soil warms above 60 degrees Fahrenheit, phosphorus uptake usually resumes naturally.
- Etiolation: Stems become weak, pale, and overly elongated. Symptom: Insufficient light. Solution: Ensure the site receives a minimum of 6 to 8 hours of direct solar radiation daily.
Maintenance:
Precision maintenance dictates the longevity of the stand. Provide 1.5 inches of water per week during the first growing season, delivered at the drip line. Use a soil moisture meter to verify that the moisture has penetrated at least 4 inches deep. After the first year, most native wildflowers require irrigation only during extreme droughts.
Weed management is a continuous process. Use bypass pruners to head back invasive species before they reach the flowering stage to prevent seed rain. In late autumn, after the plants have dropped their seeds, mow the area to a height of 6 inches. This mimics the natural grazing or fire cycles that maintain meadow ecosystems and helps distribute the new seed crop across the soil surface.
The Yield:
Harvesting wildflowers for floral arrangements requires timing the cut to the plant's vascular state. Cut stems in the early morning when turgor pressure is at its peak. Use sharp, sterilized shears to make a diagonal cut, increasing the surface area for water uptake.
Immediately plunge the stems into cool water. For "day-one" freshness, strip any foliage that would sit below the water line to prevent bacterial bloom. Most wildflowers should be harvested when the first two flowers on a spike are open. This ensures the remaining buds have enough stored carbohydrates to open in the vase, extending the display life to 7 to 10 days.
FAQ:
How deep should I plant wildflower seeds?
Most wildflower seeds require light to germinate. Do not bury them. Press them into the surface of the soil to ensure contact. A depth of 1/8 inch is the maximum for larger seeds; smaller seeds should remain on the surface.
When is the best time to sow?
In northern climates, sow in late autumn for natural stratification. In southern regions, sow in early spring when soil temperatures reach 55 degrees Fahrenheit. This aligns with the natural biological cycles of native species.
How much water do new seedlings need?
Keep the top 0.5 inches of soil consistently moist for the first 21 days. Once established, transition to 1.5 inches of water per week. Use a moisture meter to ensure deep root penetration.
Why are my wildflowers not blooming the first year?
Many wildflowers are perennials or biennials. They spend the first year developing a robust root system and basal rosette. This vegetative focus ensures the plant has the energy reserves for a successful reproductive phase in the second year.