5 Quick Steps to South Facing Walls
South-facing walls collect heat throughout the day and radiate warmth long after sunset, creating a microclimate that extends growing seasons by 2-3 weeks in temperate zones. These vertical surfaces reach surface temperatures 15-20 degrees Fahrenheit higher than ambient air on sunny winter days. Understanding the steps to south facing walls transforms these architectural features into productive zones for heat-loving crops, espaliered fruits, and tender perennials that would otherwise fail in your hardiness zone. The reflected light alone increases photosynthetic efficiency by 30-40% for plants positioned within 18 inches of the wall surface.
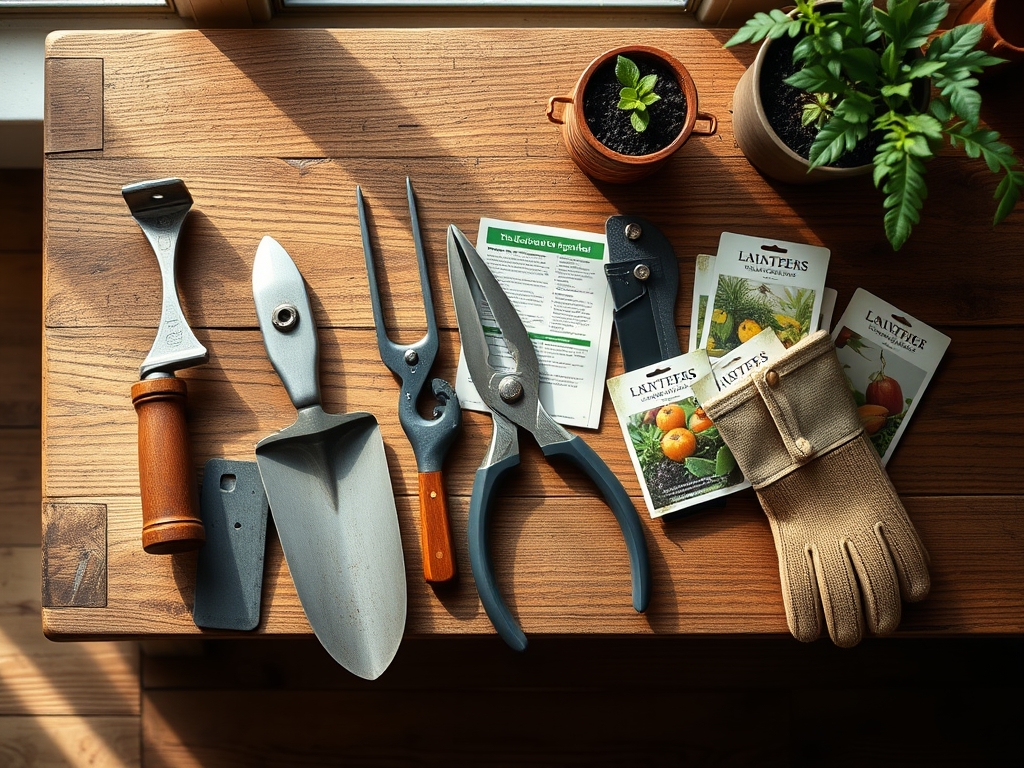
Materials
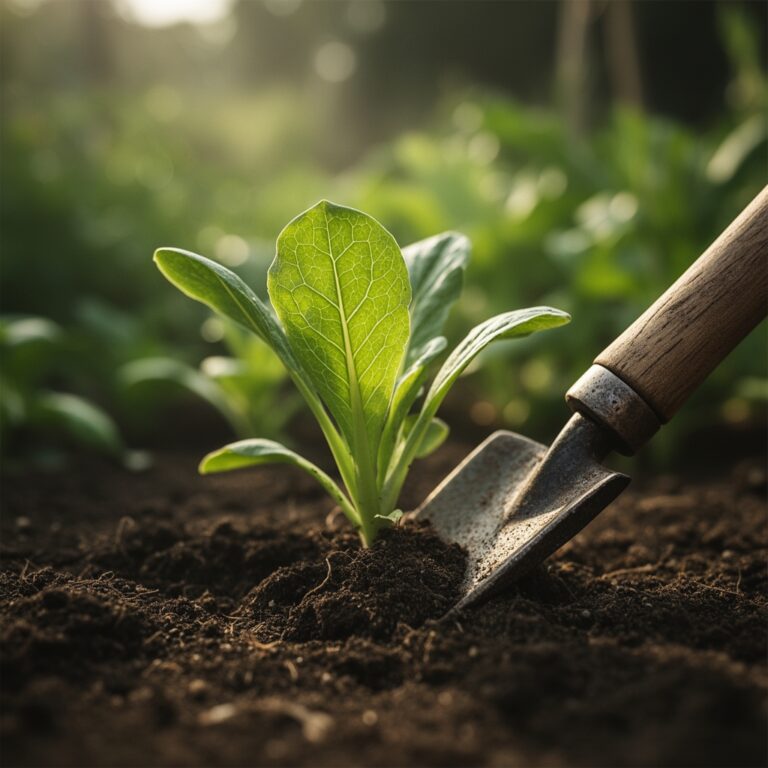
Begin with a soil test to establish baseline pH and nutrient availability. South-facing wall zones typically require pH adjustment to 6.2-6.8 for most fruiting crops. Amend native soil with 3 inches of aged compost (typical NPK 1-1-1) worked to 12-inch depth. For establishing woody plants, incorporate mycorrhizal fungi inoculant at 2 tablespoons per planting hole to enhance phosphorus uptake through hyphal networks.
Apply a balanced organic fertilizer at 4-4-4 ratio during initial bed preparation. This provides slow-release nitrogen through mineralization while supporting root development with adequate phosphorus. Bone meal (3-15-0) supplements phosphorus for fruit set on espalier specimens. Kelp meal (1-0-2) delivers trace elements and natural auxins that promote lateral branching essential for trained forms.
Install drip irrigation with emitters spaced 12 inches apart, positioned 6 inches from the wall face. The system should deliver 0.5 gallons per hour per emitter. Add a 3-inch layer of shredded hardwood mulch, keeping it 4 inches away from plant crowns to prevent crown rot. The mulch moderates soil temperature swings that occur in wall microclimates.
Timing
Hardiness zones 6-9 offer optimal conditions for south-facing wall cultivation. Begin site preparation 6-8 weeks before the last expected frost date. This allows amended soil to settle and microbial populations to establish before planting. In zone 7, the window opens mid-March for cold-tolerant species and extends through mid-May for heat-sensitive transplants.
Plant bare-root fruit trees between January and March while dormant. Container-grown specimens tolerate planting from March through October, though spring establishment reduces irrigation demands. For annual vegetables and tender perennials, wait until soil temperatures reach 60 degrees Fahrenheit at 4-inch depth. South-facing walls raise soil temperatures 7-10 days earlier than open garden beds.
Fall planting between September and October allows root establishment before winter dormancy. The wall provides frost protection that extends planting windows 2-3 weeks beyond standard recommendations.
Phases

Sowing: Direct-sow heat-loving crops like basil, beans, and squash 8-12 inches from the wall base once soil temperatures stabilize above 65 degrees Fahrenheit. Space rows 18 inches apart to accommodate mature canopy spread. The wall radiates enough heat to accelerate germination by 2-3 days compared to open ground. Seed depth should match standard recommendations, typically 2-3 times seed diameter.
Pro-Tip: Plant climbing varieties 14 inches from the wall and angle transplants 30 degrees toward the surface during installation. This compensates for phototropic bending and creates optimal light interception.
Transplanting: Position transplants of tomatoes, peppers, and eggplants 20-24 inches from the wall face. Closer placement risks excessive heat stress during peak summer when wall surfaces exceed 110 degrees Fahrenheit. Dig holes twice the root ball width and plant at the same depth as container soil line. For woody plants, position the graft union 2 inches above final grade to prevent scion rooting.
Pro-Tip: Inoculate the planting zone with 1 cup of finished compost tea per transplant to introduce beneficial bacteria that colonize the rhizosphere. This reduces transplant shock by 40% in controlled trials.
Establishing: Water deeply every 3 days for the first month, delivering 1.5 inches per week through drip irrigation. Monitor soil moisture at 6-inch depth with a probe. Establishment requires consistent moisture to promote root expansion into native soil beyond the amended zone. Apply foliar kelp spray (1 tablespoon per gallon) biweekly to support stress recovery through cytokinin delivery.
Pro-Tip: Train espalier forms by selecting lateral branches at 45-degree angles and securing them to horizontal wires with soft rubber ties. Make heading cuts to outward-facing buds to promote planar growth parallel to wall surfaces.
Troubleshooting
Symptom: Leaf scorch with brown margins and interveinal chlorosis appearing on south-facing foliage. Solution: Reduce reflected heat stress by installing shade cloth providing 30% shade during 11 AM to 3 PM. Increase irrigation frequency to every 2 days during heat waves above 90 degrees Fahrenheit.
Symptom: Blossom end rot on tomatoes and peppers despite adequate watering. Solution: The rapid growth induced by wall heat increases calcium demand beyond root uptake capacity. Apply calcium chloride foliar spray at 2 tablespoons per gallon weekly. Maintain consistent soil moisture to prevent transport disruption.
Symptom: Spider mite populations exploding on wall-trained plants. Solution: Hot, dry conditions at wall surfaces favor mite reproduction. Spray undersides of leaves with neem oil (2 tablespoons per gallon) at 7-day intervals. Introduce predatory mites (Phytoseiulus persimilis) at 50 per plant.
Symptom: Fruit sunscald on exposed surfaces facing south. Solution: Leave strategic leaf canopy during pruning to shade developing fruits. Apply kaolin clay spray (3 tablespoons per gallon) to reflect UV radiation without reducing photosynthesis.
Symptom: Premature bolting in lettuce and spinach planted near walls. Solution: Heat accumulation triggers reproductive phases in cool-season crops. Plant these 36 inches from wall faces or reserve wall zones for heat-adapted species.
Maintenance
Apply 1 inch of water weekly through drip irrigation, adjusting to 1.5 inches during fruit development stages. Water early morning between 5-7 AM to reduce disease pressure and maximize root uptake efficiency. The cation exchange capacity of amended soils retains nutrients effectively, but wall zones require supplemental feeding due to extended growing seasons.
Side-dress established plants with 2 tablespoons of 5-5-5 organic fertilizer per square foot every 6 weeks during active growth. Scratch into the top 2 inches of soil 6 inches from plant stems. Monitor leaf tissue through visual inspection. Dark green leaves with slight downward cupping indicate optimal nitrogen status.
Prune espalier forms three times annually: late winter while dormant, late spring after bloom, and midsummer to control vigor. Remove water sprouts growing perpendicular to the wall within 48 hours of emergence. These vertical shoots disrupt trained architecture and divert auxin distribution from fruiting wood.
Refresh mulch layers each spring to maintain 3-inch depth. The wall microclimate accelerates decomposition rates by 25% compared to open beds due to elevated temperatures and moisture cycling.
FAQ
How far should plants be from a south-facing wall? Position most plants 18-24 inches from the wall surface to balance heat benefits with stress risks. Espalier fruit trees can be placed 6-8 inches away since training controls canopy density.
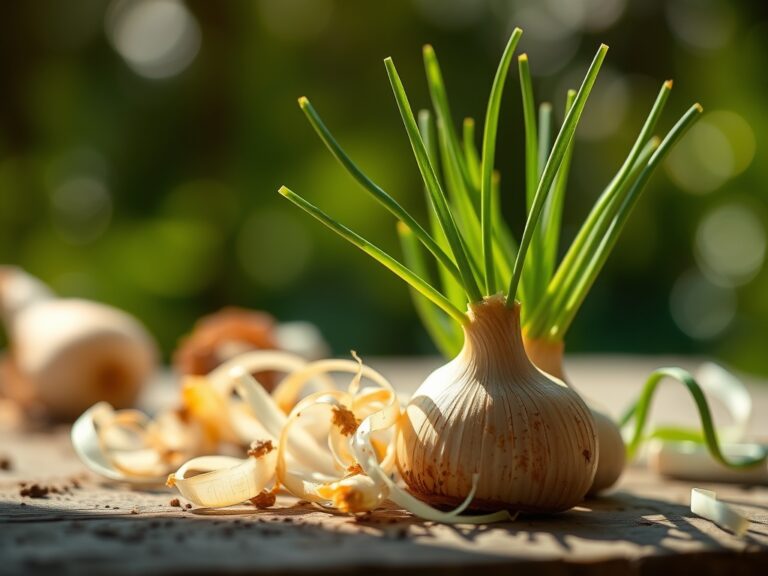
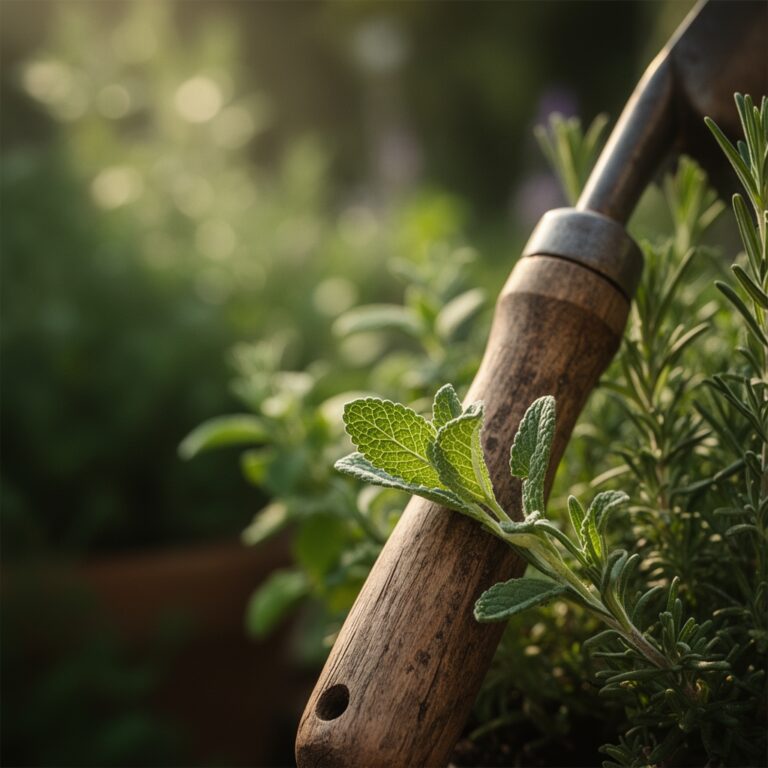
What grows best against south-facing walls? Heat-loving species including figs, apricots, peaches, tomatoes, peppers, and Mediterranean herbs thrive in these microclimates. Cold-hardy varieties perform well in zones 6-7, while subtropical species succeed in zones 8-9.
Do south-facing walls damage plant roots? Excessive soil temperatures above 85 degrees Fahrenheit inhibit root function. Maintain 3-inch mulch layers and adequate irrigation to buffer temperature extremes. Root systems establish 12-18 inches from wall faces where conditions moderate.
When should I fertilize wall-trained plants? Begin applications 4 weeks after transplanting once root establishment occurs. Continue every 6 weeks through the growing season, stopping 8 weeks before average first frost to harden growth.
How do I prevent walls from overheating plants? Install shade cloth during extreme heat events, maintain consistent irrigation, and select heat-tolerant varieties. Light-colored walls reflect more heat than dark surfaces. Consider painting walls white to reduce radiant temperatures by 15-20 degrees Fahrenheit.