5 Simple Ways How to Grow Oyster Mushroom Logs
The scent of fresh hardwood sawdust mixed with earthy mycelium signals the beginning of a reliable harvest system. Learning how to grow oyster mushroom logs transforms a stack of dormant timber into a renewable food source that produces flushes of tender fungi for three to five years. This method relies on inoculating freshly cut hardwood with oyster mushroom spawn, creating a substrate that colonizes over months before fruiting. Mastering how to grow oyster mushroom logs requires understanding wood species selection, spawn quality, and environmental triggers for pinning.
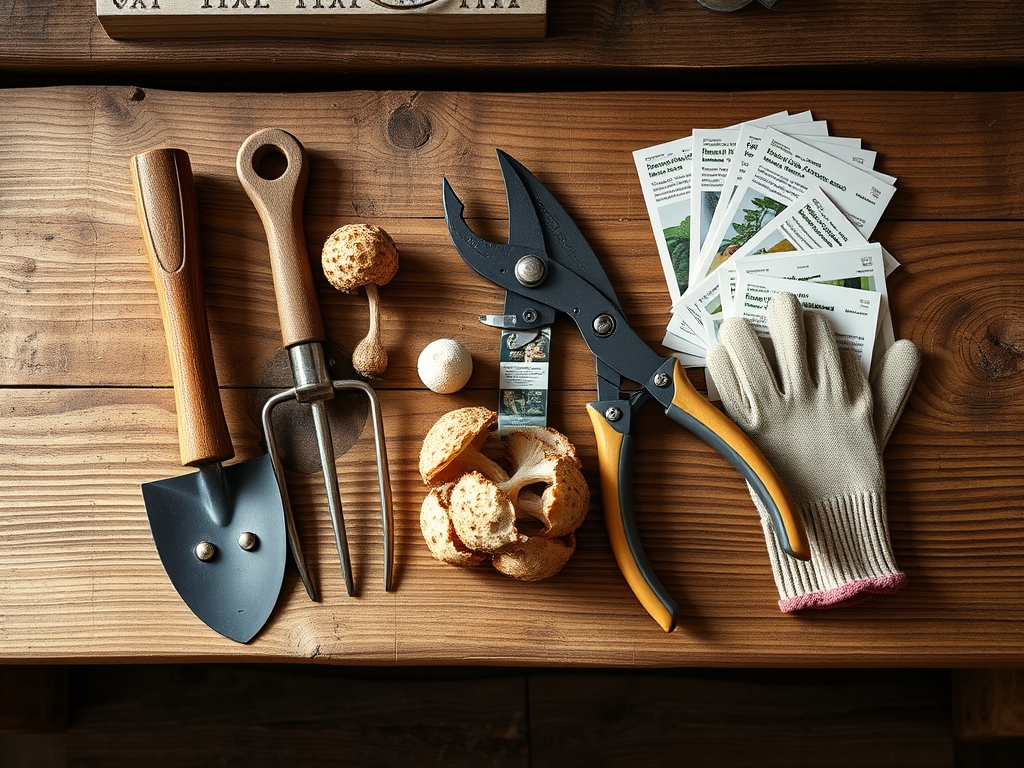
Materials
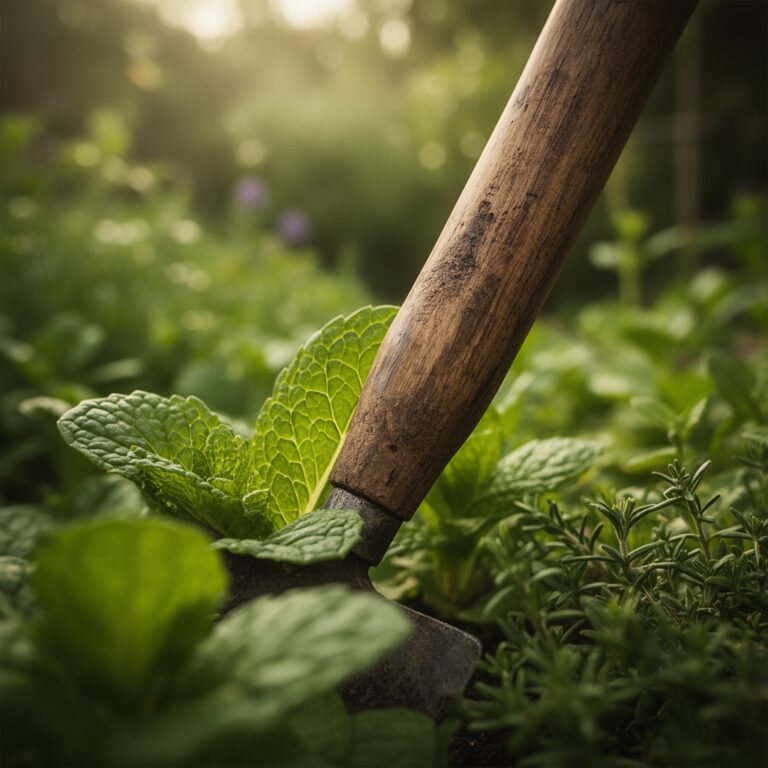
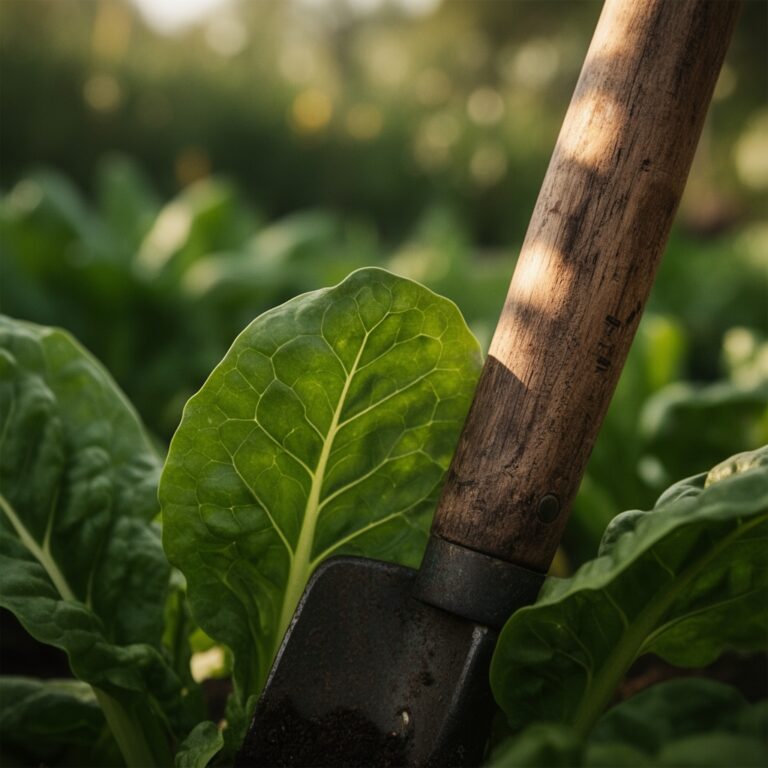
Select hardwood logs 3 to 8 inches in diameter and 36 to 40 inches long. Oak, maple, beech, alder, and poplar provide ideal lignin-to-cellulose ratios. Cut logs within two weeks of inoculation to preserve bark integrity and minimize competing fungi. Avoid conifers; their resin inhibits mycelial colonization.
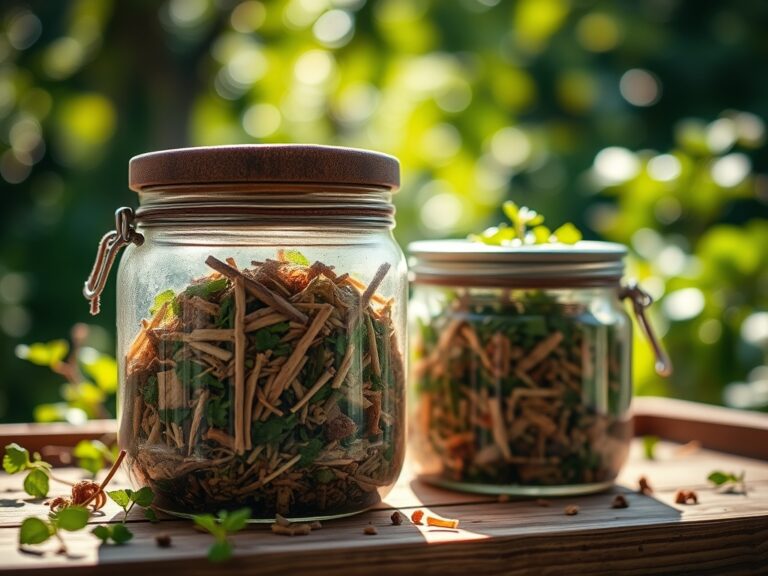
Oyster mushroom spawn comes in three forms: sawdust spawn, plug spawn, or grain spawn. Sawdust spawn (sterilized hardwood inoculated with mycelium) offers the fastest colonization at approximately 6 to 12 months. Plug spawn consists of wooden dowels pre-colonized with mycelium, sealed with food-grade wax. Grain spawn colonizes rapidly but requires careful moisture management to prevent contamination.
Purchase spawn with a guaranteed viability rating above 95 percent. Store spawn at 35 to 40 degrees Fahrenheit until use. Each 40-inch log requires 50 to 75 inoculation points spaced 4 to 6 inches apart in a diamond pattern.
Wax for sealing inoculation sites should be cheese wax or beeswax, melted to 160 to 180 degrees Fahrenheit. A small paintbrush or dauber applies wax over each plug or sawdust insertion. This prevents desiccation and contamination by airborne spores.
Additional materials include a 5/16-inch drill bit, a rubber mallet for plug insertion, and a propane torch or electric melting pot for wax. Prepare a shaded outdoor area with 70 to 90 percent humidity for incubation.
Timing
Inoculate logs in early spring or late fall when ambient temperatures range from 40 to 70 degrees Fahrenheit. Hardiness Zones 3 through 9 support outdoor log cultivation. In Zones 3 to 5, inoculate two to three weeks after the last frost when daytime highs reach 50 degrees. In Zones 6 to 9, inoculate in late October through December to leverage natural moisture and cooler temperatures that suppress competitor mold.
Avoid inoculation during summer heat above 85 degrees Fahrenheit. High temperatures stress mycelium and increase contamination risk. Winter inoculation in Zones 7 to 9 allows slow colonization through dormant months, with first flushes appearing in spring.
Plan for a 6 to 18-month incubation period before the first harvest. Faster-colonizing species like Pleurotus pulmonarius fruit in 6 to 9 months, while Pleurotus ostreatus requires 9 to 12 months. Temperature fluctuations and moisture availability directly influence colonization speed.
Phases

Inoculation Phase
Drill holes in a diamond pattern across the log surface. Each hole should penetrate 1 to 1.25 inches deep. Insert sawdust spawn using a palm inoculator or press plug spawn firmly with a rubber mallet until flush with bark. Seal each inoculation point immediately with melted wax to create an airtight barrier.
Pro-Tip: Soak logs in clean water for 24 hours before inoculation if the wood has dried for more than two weeks post-cutting. This raises internal moisture to 40 to 50 percent, the optimal range for mycelial expansion.
Colonization Phase
Stack inoculated logs in a shaded area off the ground, either on pallets or suspended on a rack. Maintain spacing of 2 to 4 inches between logs for air circulation. Cover with a breathable shade cloth that blocks 70 to 80 percent of sunlight. Water logs weekly during dry periods to keep bark moist but not saturated.
Pro-Tip: Inoculate the cut ends of logs with extra spawn. End-grain colonization accelerates internal mycelial spread by 20 to 30 percent.
Fruiting Phase
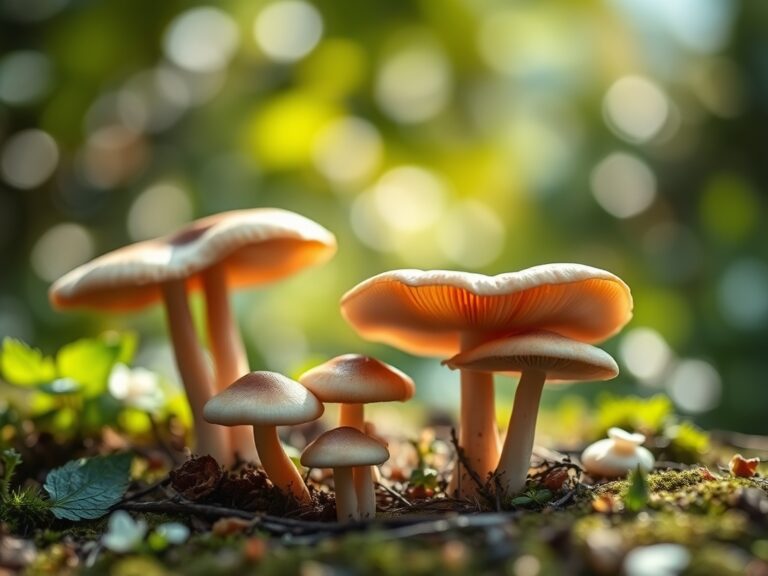
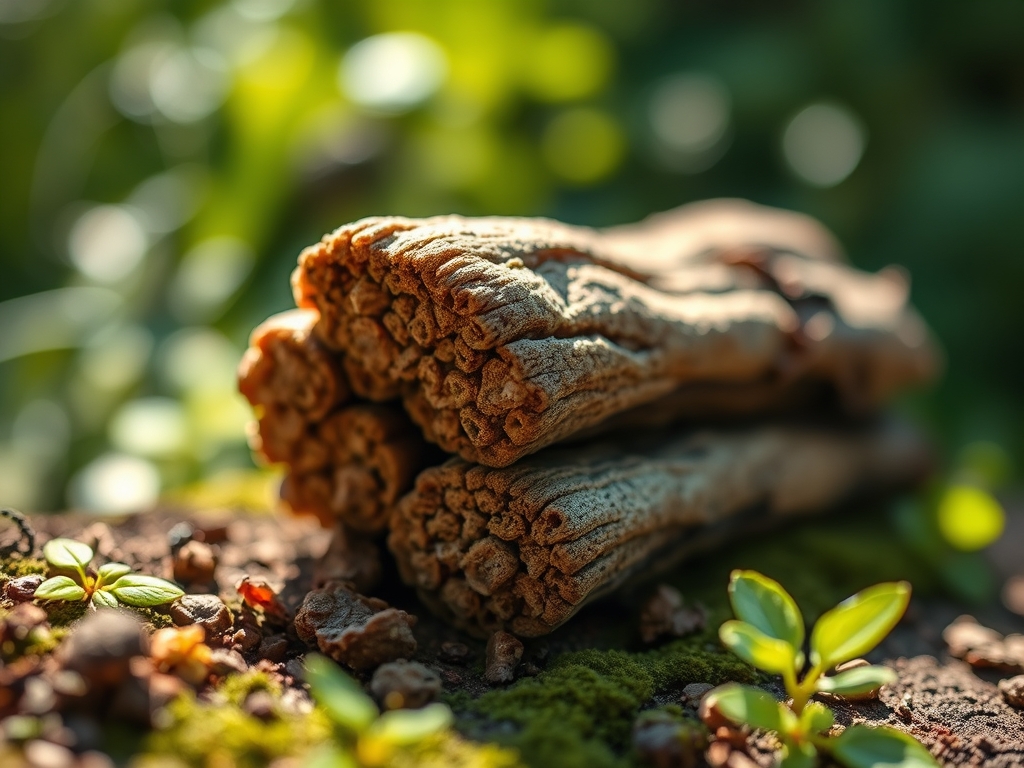
After full colonization, logs develop white mycelial patches visible beneath the bark. Trigger fruiting by soaking logs in cold water (50 to 60 degrees Fahrenheit) for 12 to 24 hours. This hydration shock mimics rainfall and initiates pinning within 5 to 10 days. Prop logs vertically or at a 45-degree angle against a wall or rack. Harvest mushrooms when caps reach 2 to 4 inches in diameter and edges remain slightly curled.
Pro-Tip: Force fruiting every 6 to 8 weeks during active growing seasons by repeating the cold-water soak. Each log produces 3 to 5 pounds of mushrooms annually over 3 to 5 years.
Troubleshooting
Symptom: Green or black mold spreading across inoculation sites.
Solution: Competing Trichoderma or Aspergillus fungi indicate insufficient wax seal or contaminated spawn. Re-seal affected areas with fresh wax. Remove heavily contaminated logs to prevent spread.
Symptom: No pinning after 18 months.
Solution: Internal moisture below 35 percent halts fruiting. Submerge logs for 24 hours every two weeks until primordia appear. Increase shade cover to 80 to 90 percent to reduce evaporation.
Symptom: Small, stunted mushrooms with thick stems.
Solution: Insufficient air exchange causes etiolation. Space logs wider and increase ventilation. Reduce humidity to 70 to 80 percent during fruiting.
Symptom: Holes in mushroom caps and mycelium.
Solution: Fungus gnats or slugs feed on developing tissue. Apply diatomaceous earth around log bases. Deploy beer traps for slugs.
Symptom: Bark sloughing off before colonization completes.
Solution: Logs cut from dead or stressed trees lack cambium integrity. Source logs from healthy trees felled within 14 days of inoculation.
Maintenance
Water logs to maintain 40 to 50 percent internal moisture. Apply 1 to 2 gallons per log weekly during dry periods. Check moisture by weighing logs; a fully hydrated 40-inch, 6-inch-diameter log weighs 25 to 30 pounds.
Rotate log positions every 8 to 10 weeks to ensure even colonization. Logs stacked on the bottom receive less airflow and may develop anaerobic pockets.
Fertilization is unnecessary. Oyster mushrooms decompose lignin and cellulose, generating their own nutrition. Avoid nitrogen-rich amendments; excess nitrogen favors competitor bacteria.
Prune away any fruiting bodies that abort or show signs of pest damage. This redirects energy to healthy primordia.
Monitor pH of surrounding soil if logs rest on the ground. Maintain pH 6.0 to 7.0 to prevent acidification from wood decomposition byproducts.
FAQ
How long do oyster mushroom logs produce?
Logs fruit for 3 to 5 years depending on wood species and diameter. Oak and maple last longest; poplar exhausts faster.
Can I inoculate logs indoors?
Yes. Maintain 60 to 75 degrees Fahrenheit and 80 to 90 percent humidity. Use a humidifier and indirect light. Indoor logs colonize 10 to 20 percent faster.
What is the best wood diameter for beginners?
Four to six-inch diameter logs balance colonization speed and yield. Larger logs produce more mushrooms but require 12 to 18 months to colonize.
How do I know when logs are fully colonized?
Logs feel lighter due to moisture loss. White mycelium threads appear under loose bark. A sour, mushroom-like smell replaces fresh wood scent.
Can I reuse logs after fruiting stops?
No. Spent logs become compost. Oyster mycelium exhausts available lignin, leaving brittle wood unsuitable for re-inoculation. Chip spent logs for garden mulch.