6 Basic Steps to Grow Garlic Greens on Windowsill
Crushing a firm clove of Allium sativum between your fingers releases volatile organosulfur compounds; a sharp olfactory reminder of the plant's potent chemistry. Success in the windowsill garden depends on maintaining high turgor pressure within the emerging shoots. When you master the steps to grow garlic greens on windowsill environments, you transition from consumer to producer using nothing more than solar energy and a controlled rhizosphere. This process requires precision in moisture management and light exposure to prevent the early onset of senescence in the delicate foliage.
Materials:
The substrate is the foundation of your indoor system. You require a **friable loam** with high porosity to ensure oxygen reaches the root zone. Avoid standard garden soil which compacts in containers; instead, utilize a professional potting mix with a **pH between 6.0 and 7.0**.
Your nutrient profile should favor vegetative growth over bulb development. Select a water-soluble fertilizer with an NPK ratio of 10-5-5. The high nitrogen content supports the synthesis of chlorophyll and the expansion of leaf blades. Ensure your containers have a high Cation Exchange Capacity (CEC) by incorporating organic matter like coconut coir or peat moss. This allows the medium to hold onto essential cations like potassium (K+) and calcium (Ca2+) without leaching during irrigation cycles.
Timing:
While garlic is typically a long-season crop associated with USDA Hardiness Zones 4 through 9, windowsill cultivation bypasses traditional frost-date windows. Inside, the "Biological Clock" is governed by the photoperiod rather than soil temperature. To produce greens, you are forcing the plant to remain in its vegetative stage.
Garlic cloves require a period of vernalization (cold exposure) to trigger bulb formation; however, for greens, you can initiate growth at any time. The transition from dormancy to active sprouting occurs most rapidly when ambient temperatures are maintained between 60 and 70 degrees Fahrenheit. If the environment exceeds 80 degrees, the plant may enter a heat-induced dormancy, halting the production of the tender shoots you intend to harvest.
Phases:
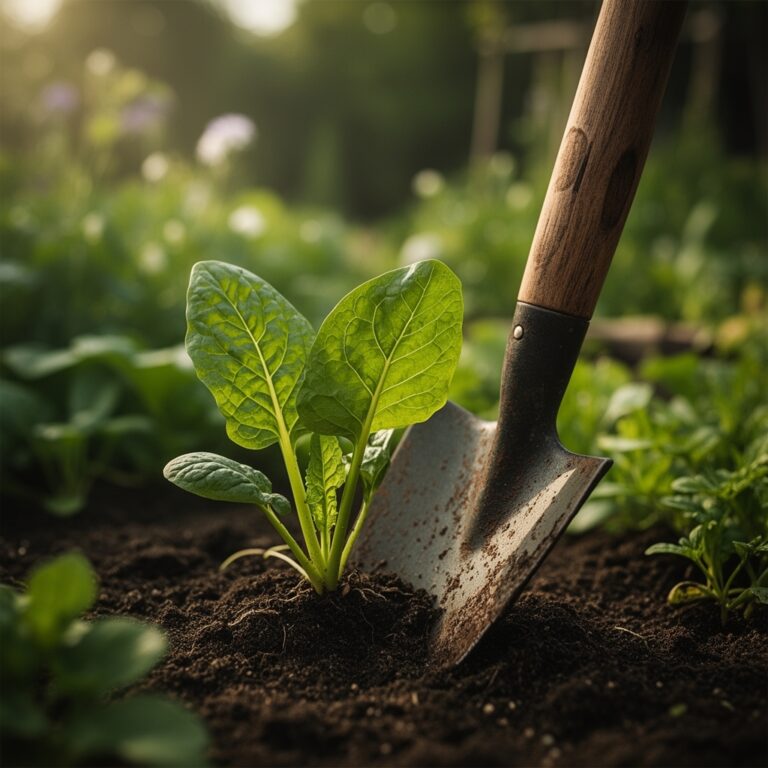
Sowing and Positioning
Select large, unpeeled cloves from a healthy bulb. Insert them into the substrate with the basal plate (the flat bottom) facing downward. Space them 2 inches apart and bury them so the tips are just 1 inch below the surface.
Pro-Tip: Proper orientation is vital because of gravitropism. The plant uses specialized cells called statocytes to sense gravity. If planted upside down, the clove expends significant energy stores redirecting the shoot upward, which weakens the initial leaf quality.
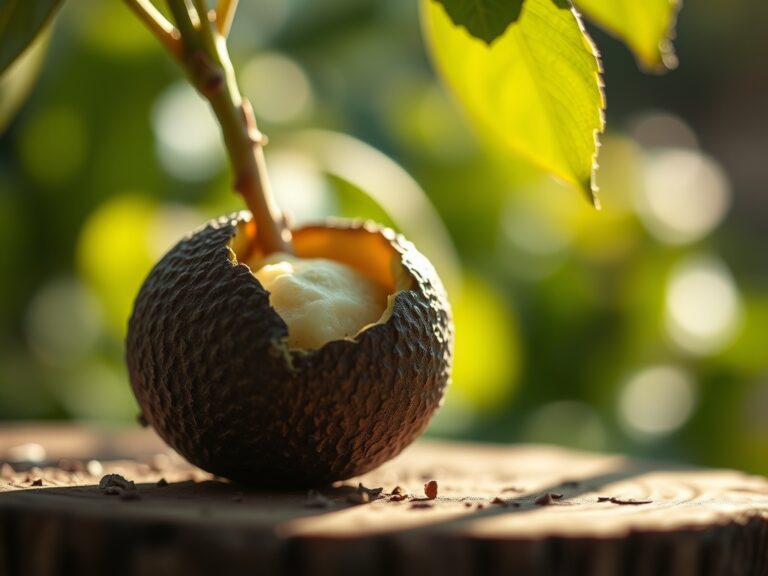
Establishing the Root System
During the first 10 to 14 days, the plant focuses on subterranean development. Maintain consistent moisture to encourage the emergence of adventitious roots from the basal plate. The soil should feel like a wrung-out sponge.
Pro-Tip: Do not overwater during this phase to avoid anaerobic conditions. Low oxygen in the rhizosphere can lead to root rot. Mycorrhizal fungi can be added to the soil to enhance nutrient uptake through a symbiotic relationship, though it is not strictly necessary for short-term greens.
Optimizing the Photoperiod
Once the first green spike breaks the surface, move the container to a south-facing window. The plants require at least 6 to 8 hours of direct sunlight daily to prevent "legginess" or etiolation.
Pro-Tip: Rotate the container 180 degrees every two days to counter phototropism. This ensures the auxins (growth hormones) are distributed evenly across the stem, preventing the greens from leaning excessively toward the light source and becoming structurally unstable.
The Clinic:
Physiological disorders in windowsill garlic are often the result of environmental stressors rather than pathogens.
-
Symptom: Tip Burn (Necrosis at leaf ends).
Solution: This usually indicates a salt buildup in the substrate or low humidity. Flush the soil with distilled water to leach excess minerals and increase local humidity. -
Symptom: Nitrogen Chlorosis (Yellowing of older leaves).
Fix-It: Apply a high-nitrogen liquid fertilizer. Nitrogen is a mobile nutrient; the plant will pull it from older leaves to support new growth if the soil is deficient. -
Symptom: Stunted Growth with Purple Tint.
Solution: This is often a Phosphorus deficiency, common when soil temperatures drop below 55 degrees Fahrenheit. Move the pot to a warmer location to improve phosphorus solubility and uptake. -
Symptom: Weak, Floppy Leaves.
Solution: Insufficient light intensity. Supplement with a full-spectrum LED grow light positioned 6 inches above the canopy.
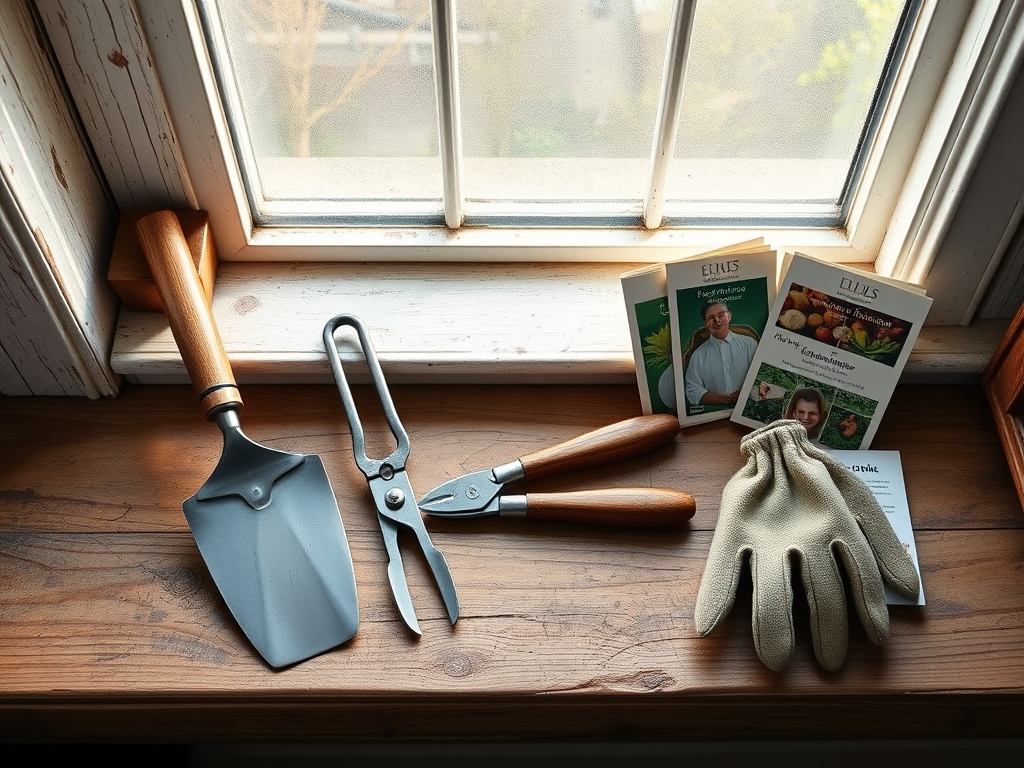
Maintenance:
Precision is the hallmark of a master horticulturist. Use a soil moisture meter to ensure the substrate stays within the "moist" range without reaching "saturated." Garlic greens require approximately 1.0 to 1.5 inches of water per week, delivered directly to the soil surface to keep the foliage dry.
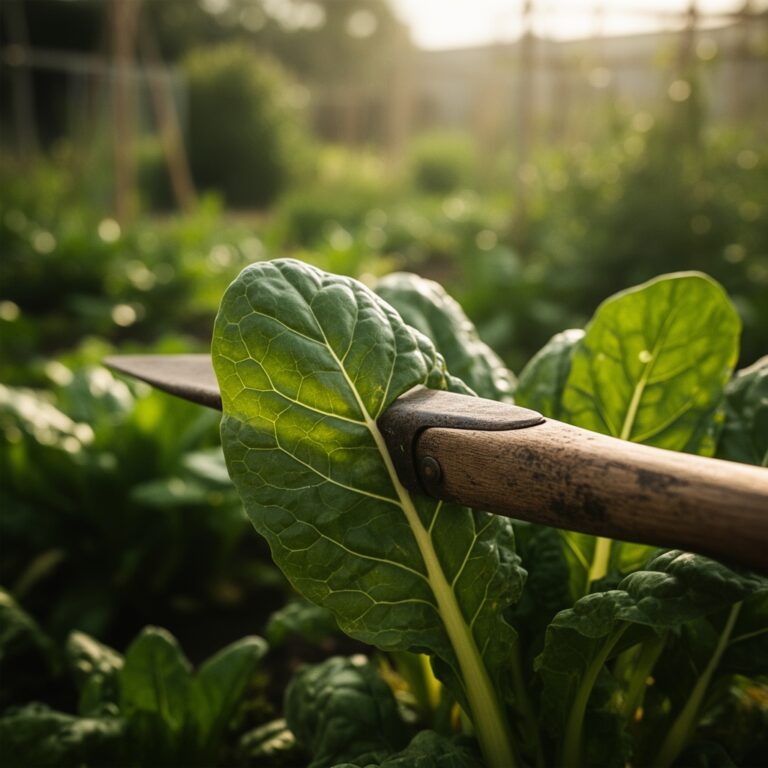
Use a hori-hori knife to check soil compaction occasionally; if the soil feels dense, gently probe the surface to allow gas exchange. Keep the windowsill clean of dust, as particulate matter on the leaves can reduce photosynthetic efficiency by blocking stomata. If you notice any yellowing or dead tissue, use sharp bypass pruners to make clean cuts, which heal faster than ragged tears and reduce the risk of opportunistic fungal infections.
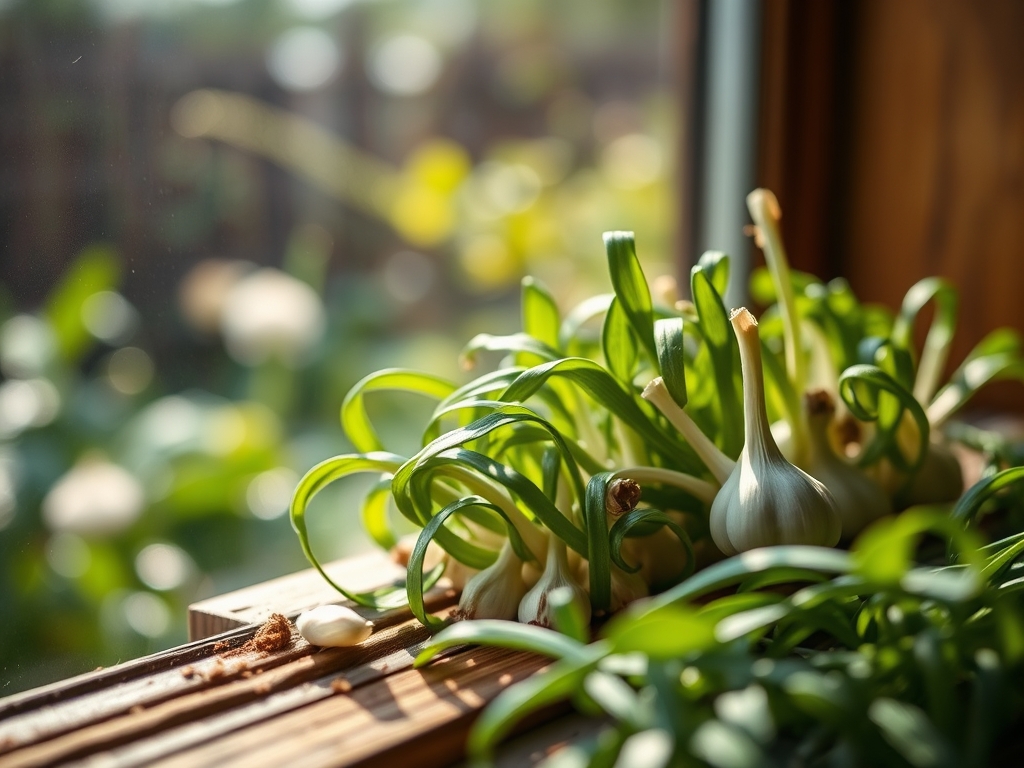
The Yield:
Harvesting garlic greens is a matter of timing the peak concentration of sugars and aromatic oils. Begin harvesting when the shoots reach a height of 8 to 10 inches. At this stage, the cell walls are still flexible, and the fiber content is low.
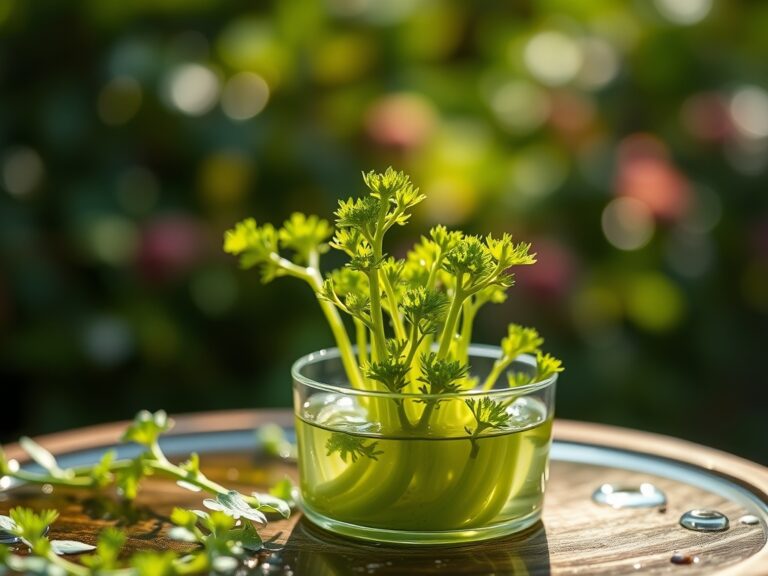
Use sterile scissors to snip the greens 1 inch above the soil line. Avoid removing more than 60 percent of the total leaf area if you want the clove to regenerate a second flush of growth. For "day-one" freshness, submerge the cut ends in a small vial of chilled water or wrap them in a damp paper towel and refrigerate immediately. This maintains turgor pressure and prevents the rapid degradation of cellular structures post-harvest.
FAQ:
Can I grow garlic greens from store-bought bulbs?
Yes, but ensure they are not treated with growth inhibitors. Organic bulbs are more likely to sprout. Soak cloves in water for 24 hours prior to planting to hydrate the tissues and accelerate the breaking of dormancy.
How much light do windowsill garlic greens actually need?
They require a minimum of six hours of direct solar radiation. If your window faces north or is shaded by external structures, you must supplement with artificial lighting to maintain a photosynthetic photon flux density (PPFD) sufficient for growth.
Why are my garlic greens turning yellow at the base?
Yellowing at the base often signifies over-saturation of the substrate. This creates an anaerobic environment that suffocates the roots. Allow the top half-inch of soil to dry out before your next irrigation cycle to restore oxygen levels.
How many times can I harvest from one clove?
Typically, you can achieve two to three harvests from a single clove before the nutrient reserves in the mother bulb are exhausted. Once the new growth appears thin and pale, compost the clove and replant with fresh stock.
What is the best temperature for indoor garlic greens?
Maintain a consistent temperature between 60 and 75 degrees Fahrenheit. Significant fluctuations, especially cold drafts from poorly insulated windows, can shock the plant and cause a temporary cessation of leaf elongation and nutrient transport.