6 Practical Steps to Fill Gabion Cages
The smell of damp earth after a heavy rain signals the peak of soil microbial activity. In a high-performance landscape, the structural integrity of the garden depends on more than just organic matter; it requires the rigid stability of stone and wire. Mastering the steps to fill gabion cages allows a gardener to manage slope erosion while creating a unique microclimate for specialized plant species. These cages act as thermal masses, absorbing solar radiation during the day and radiating heat into the rhizosphere at night. This process extends the growing season by maintaining soil temperatures 5 to 10 degrees Fahrenheit above the ambient air temperature. Proper installation prevents the mechanical failure of the retaining structure and ensures that the drainage remains efficient, preventing the anaerobic conditions that lead to root rot. Successful execution requires a meticulous approach to stone gradation and internal bracing. When the cage is packed with high-density basalt or granite, the resulting structure provides a permanent anchor for the surrounding ecosystem, stabilizing the soil Cation Exchange Capacity by preventing the leaching of essential minerals during heavy precipitation events.
Materials:
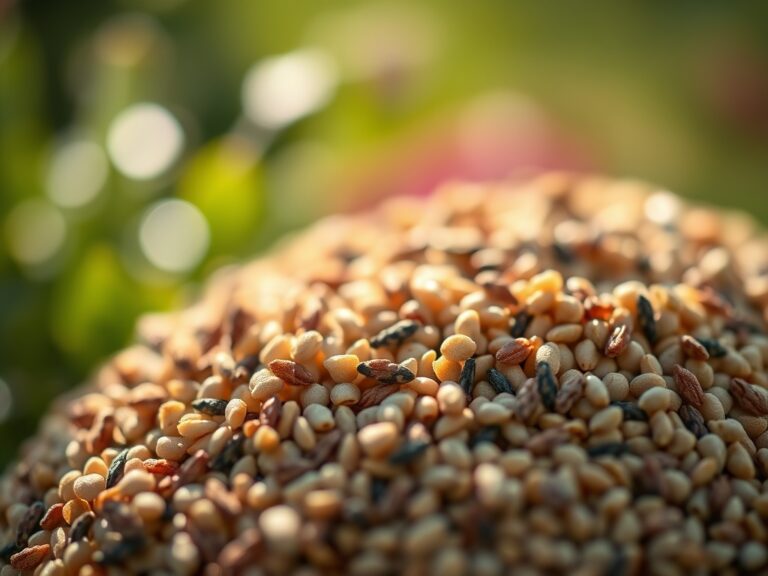
The selection of fill material is a geological and chemical decision. For the structural core, use non-porous stones with a diameter between **3 and 8 inches**. Avoid limestone in regions where you intend to grow acid-loving plants, as limestone runoff can raise the soil pH above **7.5**, locking out essential micronutrients like iron and manganese. The ideal substrate for the surrounding planting zones is a friable loam with a composition of **40 percent sand, 40 percent silt, and 20 percent clay**. This texture ensures a high Cation Exchange Capacity (CEC) of **15 to 25 meq/100g**, allowing the soil to retain nutrients effectively.
Before planting near the gabion, amend the soil to achieve a specific NPK ratio based on the desired growth stage. For vegetative establishment, a ratio of 10-5-5 provides the necessary nitrogen for chlorophyll production. If the gabion serves as a backdrop for flowering perennials, shift to a 5-10-10 ratio to encourage phosphorus-driven root development and potassium-regulated turgor pressure. Ensure the organic matter content remains at a steady 5 percent to support the soil food web.
Timing:
Gabion installation is best performed when the ground is not frozen, typically between Hardiness Zones 4 and 8 from late March through October. The "Biological Clock" of the landscape dictates that structural work be completed before the transition from the vegetative stage to the reproductive stage of local flora. In most temperate climates, this transition occurs after the summer solstice as the photoperiod begins to shorten.
The frost-date window is critical. Aim to have all stone filling and adjacent soil stabilization finished at least six weeks before the first hard frost. This window allows the soil to settle and the microbial communities to stabilize before the metabolic rate of the plants slows down during senescence. If you are planting into the gaps of the gabion, timing must align with the specific cooling or warming of the thermal mass. Stone retains heat; therefore, in Zones 9 and 10, planting should occur in the cooler autumn months to prevent heat-induced transpiration stress on young root systems.
Phases:

Sowing and Preparation
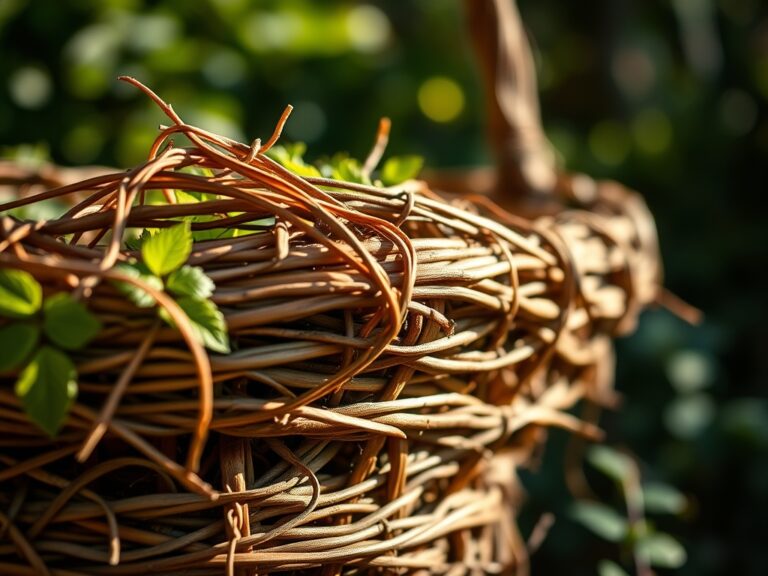
The first phase involves leveling the site and installing a geotextile fabric beneath the cage. This fabric prevents the migration of fines from the subsoil into the stone fill, which would otherwise compromise drainage. Once the cage is positioned, begin the filling process in 12-inch lifts.
Pro-Tip: Install internal cross-ties or "stiffeners" every 12 inches of vertical height. This prevents the wire mesh from bulging under the lateral pressure of the stone, a concept known as mechanical tensioning. This ensures the cage maintains its shape and structural integrity over decades of freeze-thaw cycles.
Transplanting and Placement
When using gabions as planters, incorporate "pockets" of growing medium during the filling process. Use a heavy-duty filter fabric to line these internal pockets to prevent the soil from washing away. Place the plants into the pockets, ensuring the root ball is in direct contact with the friable loam.
Pro-Tip: When placing plants in the side of a gabion, tilt the root ball slightly downward toward the center of the cage. This utilizes gravitropism, ensuring the roots grow deep into the moisture-retaining core of the structure rather than outward toward the dry, exposed stone face.
Establishing the Structure
The final phase is the "settling" period. After the cage is filled and capped, the stone will undergo minor shifts. Use a rubber mallet to settle the stones manually, filling any large voids with smaller aggregate.
Pro-Tip: Introduce a mycorrhizal inoculant to the soil pockets during the final filling stage. This creates a mycorrhizal symbiosis where fungal hyphae extend the reach of the plant roots into the stone crevices, mining for minerals and increasing the plant's drought resistance by up to 30 percent.
The Clinic:
Physiological disorders often manifest when the structural environment clashes with botanical needs.
Symptom: Leaf margins turning brown and crispy (Necrosis).
Solution: This is often caused by high salt accumulation or extreme transpiration. Because gabion stones radiate heat, increase irrigation frequency to maintain turgor pressure.
Symptom: Yellowing of young leaves while veins remain green (Iron Chlorosis).
Solution: This occurs if the stone fill is limestone-based, raising the pH. Apply chelated iron and sulfur to lower the pH to a range of 6.0 to 6.5.
Symptom: Stunted growth and purplish tint on older leaves.
Solution: This indicates a phosphorus deficiency, often exacerbated by cold soil temperatures near the stone. Apply a high-phosphorus "starter" fertilizer with a 10-52-10 NPK ratio to stimulate ATP production and root expansion.
Fix-It for Nitrogen Chlorosis: If plants show a uniform pale green or yellow color, they lack nitrogen. Apply a quick-release urea-based fertilizer or an organic blood meal to immediately boost chlorophyll synthesis.
Maintenance:
A gabion system requires precise moisture management. Use a soil moisture meter to check the internal pockets; stone-facing soil dries out significantly faster than ground-level beds. Provide 1.5 inches of water per week at the drip line or directly into the soil pockets using a drip irrigation system.
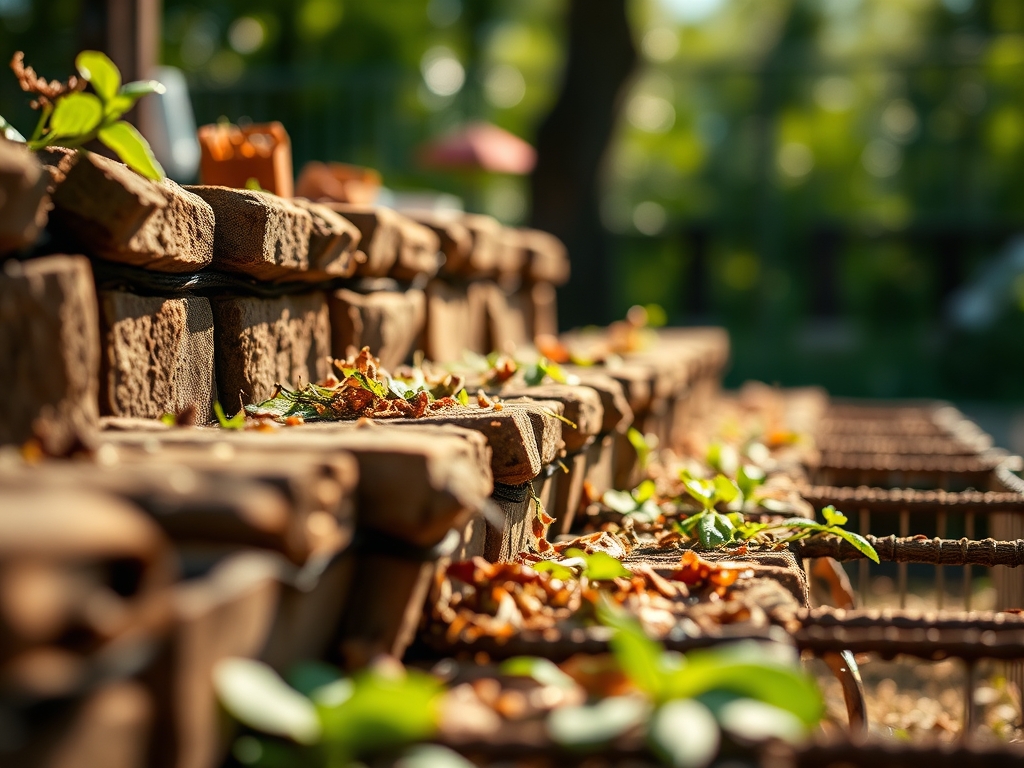
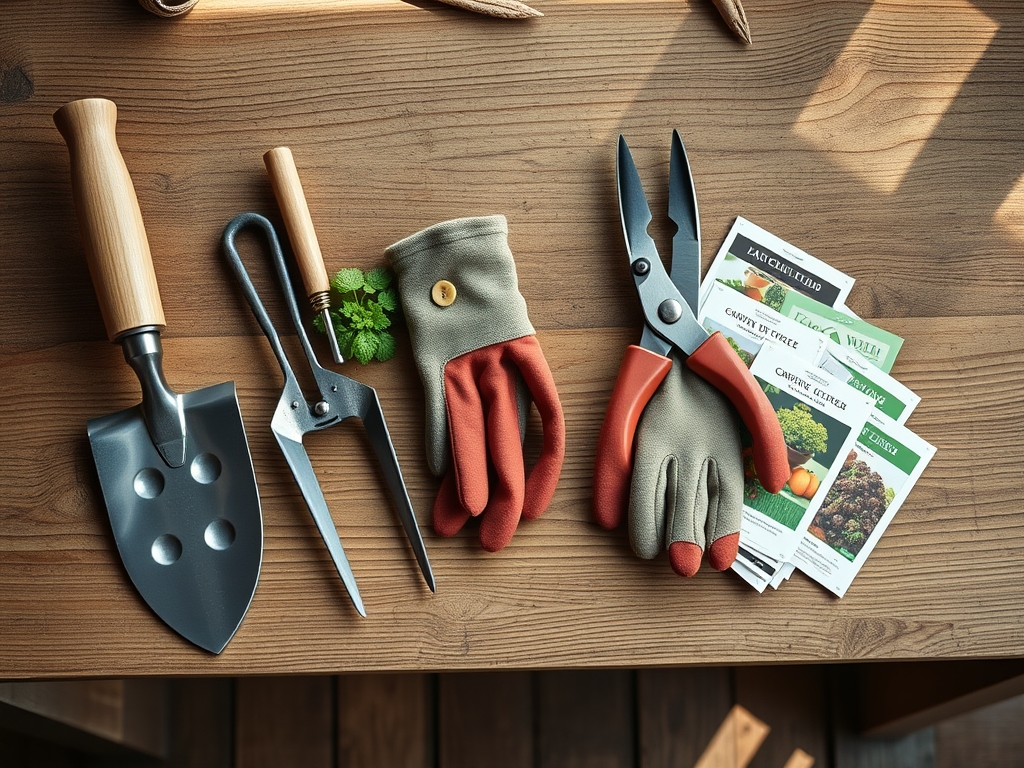
Pruning is essential for plants growing in gabions to prevent them from becoming "leggy" as they reach for light. Use bypass pruners to make clean cuts at a 45-degree angle just above a node. For removing weeds that take root in the stone gaps, a hori-hori knife is the most effective tool for reaching deep into the crevices to extract the entire taproot, preventing regrowth. Inspect the wire cages annually for signs of corrosion or broken welds, especially in coastal environments with high salt spray.
The Yield:
If your gabion structure includes edible herbs like rosemary or thyme, harvest during the morning hours after the dew has evaporated but before the sun reaches its zenith. This is when the essential oil concentration is at its peak. Use sharp shears to harvest no more than one-third of the plant at a time to prevent stress and ensure continued vegetative growth. For flowers, cut stems at a sharp angle and plunge them immediately into 100-degree Fahrenheit water to eliminate air bubbles in the xylem, ensuring day-one freshness and maximum vase life.
FAQ:
What is the best stone for filling gabion cages?
Use hard, angular stones like granite, basalt, or crushed river rock. Ensure the stone size is 3 to 8 inches to prevent them from falling through the mesh. Avoid soft sandstones that may crumble over time.
How do you prevent gabion cages from bulging?
Install internal wire stiffeners or "cross-ties" every 12 vertical inches. These hooks connect the front and back panels, distributing the lateral pressure of the stone and maintaining the cage's rectangular geometry under heavy loads.
Can I grow vegetables in a gabion cage?
Yes, by lining sections with geotextile fabric and filling them with a 60/40 mix of compost and loam. The stones act as a thermal mass, warming the soil early in spring for crops like tomatoes and peppers.
Do gabion walls need a concrete foundation?
Usually, no. A compacted base of 4 to 6 inches of crushed stone or gravel is sufficient. This allows for natural drainage and flexibility during soil heaving, unlike rigid concrete foundations which may crack.
How long do galvanized gabion cages last?
High-quality galvanized steel cages typically last 40 to 50 years. In highly corrosive or salt-heavy environments, use PVC-coated wire to extend the lifespan of the structure and maintain its mechanical integrity against oxidation.