7 Best Indoor Ginger Plant Tips
The scent of damp, loamy earth and the sharp, spicy aroma of crushed rhizomes define the indoor ginger garden. A healthy Zingiber officinale specimen displays high turgor pressure in its lanceolate leaves; they should feel firm and resilient to the touch. Success with this tropical perennial requires precise environmental control and an understanding of its subterranean growth patterns. Utilizing the best indoor ginger plant tips ensures that the plant transitions from a dormant rhizome to a lush, functional indoor feature within a single growing season. Cultivation begins with selecting plump, viable rhizomes with visible growth buds, often called eyes, and maintaining a consistent rhizosphere temperature of at least 75 degrees Fahrenheit. Without this thermal baseline, the plant remains in a state of metabolic stasis. Indoor environments provide the unique opportunity to bypass seasonal frost risks, but they also demand rigorous attention to humidity and soil chemistry. Mastery of ginger cultivation is not found in luck; it is found in the management of Cation Exchange Capacity and the strategic application of macronutrients during the rapid vegetative expansion phase.
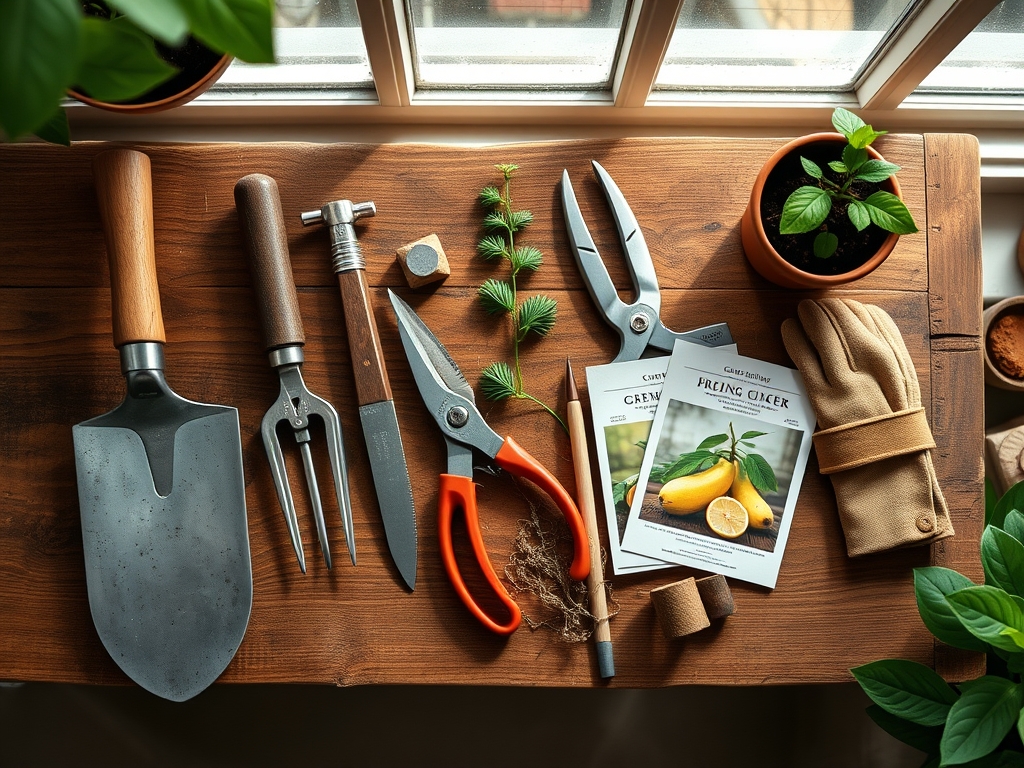
Materials:
Ginger requires a substrate that balances drainage with moisture retention. A **friable loam** consisting of 40 percent compost, 40 percent coconut coir, and 20 percent perlite provides the necessary porosity. The target **soil pH must fall between 6.0 and 6.5** to ensure nutrient bioavailability. If the pH exceeds 7.0, iron and manganese become chemically locked, leading to stunted growth.
Nutrient management requires a specific NPK ratio of 5-5-5 during the initial establishment phase to support root development. Once the first three true leaves emerge, transition to a 10-20-20 ratio. High phosphorus and potassium levels are essential for rhizome expansion and cellular strength. The container must be at least 12 inches deep and 15 inches wide to accommodate the horizontal growth habit of the rhizome. Ensure the pot has multiple drainage holes to prevent anaerobic conditions that lead to Pythium root rot.
Timing:
While ginger is traditionally grown outdoors in Hardiness Zones 9 through 11, indoor cultivation allows for a controlled biological clock. The ideal window to start rhizomes is late winter or early spring, coinciding with increasing natural photoperiods. The vegetative stage typically lasts 8 to 10 months. Ginger follows a strict physiological timeline: the first 30 days are dedicated to root initiation; days 30 to 90 focus on primary shoot elongation; and day 120 marks the beginning of significant rhizome bulking.
Monitor the transition from vegetative to reproductive stages by observing the leaf margins. As the plant reaches maturity, it may attempt to produce a sterile floral spike if light intensity is sufficient. However, for indoor growers, the goal is often maximizing biomass in the rhizosphere rather than flower production. Ensure the indoor temperature never drops below 55 degrees Fahrenheit, as this triggers premature senescence and forces the plant into dormancy.
Phases:
Sowing and Initiation
Soak the rhizome in warm water for 12 hours to hydrate the external tissues and stimulate metabolic activity. Place the rhizome 2 inches deep with the growth buds pointing upward. Cover with 1 inch of soil. Maintain a constant soil temperature of 75 to 80 degrees Fahrenheit using a germination mat.
Pro-Tip: Maintaining high soil temperatures triggers the production of gibberellins. These plant hormones break bud dormancy and accelerate the emergence of the first shoot.
Transplanting and Upspotting
If starting in small liners, transplant the ginger once the root system begins to circle the container. Move the plant to its permanent vessel when the shoot reaches 6 inches in height. Disturb the root ball as little as possible to prevent transplant shock.
Pro-Tip: Ginger benefits from mycorrhizal symbiosis. Inoculating the soil with Glomus intraradices during transplanting increases the surface area of the root system, enhancing phosphorus uptake and water efficiency.
Establishing the Canopy
As the stalks multiply, ensure the plant receives 12 to 16 hours of bright, indirect light. Use a soil moisture meter to keep the substrate consistently at 60 percent saturation. Do not allow the soil to dry out completely, as this causes the leaf tips to brown and reduces the plant's photosynthetic capacity.
Pro-Tip: Use a technique called "hilling" by adding 2 inches of fresh compost around the base of the stalks every 60 days. This provides room for new rhizome growth and prevents auxin suppression, allowing the plant to continue expanding horizontally.
The Clinic:
Physiological disorders in indoor ginger are often linked to atmospheric conditions or mineral imbalances.
Symptom: Yellowing of lower leaves while veins remain green (Interveinal Chlorosis).
Solution: This indicates a Magnesium deficiency. Apply a foliar spray of Epsom salts (1 tablespoon per gallon of water) to restore chlorophyll production.
Symptom: Leaf tip burn and curling.
Solution: This is typically caused by low humidity or "salt burn" from fertilizer buildup. Increase ambient humidity to 60 percent and flush the substrate with distilled water.
Symptom: Soft, mushy rhizome base with a foul odor.
Solution: This is Rhizome Rot (Fusarium or Pythium). Reduce watering frequency immediately and improve air circulation. If advanced, the plant must be discarded to prevent pathogen spread.
Fix-It: Nitrogen Chlorosis
If the entire plant appears pale green or yellow, it lacks Nitrogen. Apply a liquid fish emulsion or a high-nitrogen organic fertilizer to boost vegetative vigor. Recovery should be visible in the new growth within 10 days.
Maintenance:
Precision is the hallmark of a professional horticulturist. Ginger requires 1.5 inches of water per week delivered at the drip line. Avoid wetting the foliage to prevent fungal pathogens. Use a soil moisture meter daily; the probe should read "moist" but never "saturated" at a depth of 4 inches.
Pruning is rarely necessary, but you should remove any yellowing or dead stalks using bypass pruners to maintain airflow. If the rhizomes begin to push through the soil surface, use a hori-hori knife to gently loosen the surrounding earth before adding more compost. Keep the plant away from cold drafts and HVAC vents, as sudden temperature fluctuations disrupt the plant's stomatal conductance.
The Yield:
Harvesting can begin as early as 4 months for "baby ginger," which lacks a tough skin and has a milder flavor. For mature rhizomes, wait until the stalks begin to yellow and die back naturally, usually at the 8 to 10 month mark. Use a hori-hori knife to lift the entire root mass from the container.
To maintain "day-one" freshness, wash the rhizomes thoroughly and pat them dry. Store them in a cool, dark location with moderate humidity. If you intend to replant, select the healthiest rhizomes with the most prominent buds and set them aside in a dry area for 48 hours to allow the cut ends to callus over before placing them back into the soil.
FAQ:
How much light does indoor ginger need?
Ginger requires 12 to 16 hours of bright, indirect light. Avoid direct midday sun, which can scorch the leaves. If using LED grow lights, maintain a distance of 12 inches from the canopy to prevent heat stress.
Why are my ginger leaves turning brown?
Brown leaf tips usually indicate low humidity or inconsistent watering. Maintain 60 percent humidity and ensure the soil stays moist. If the browning is widespread, check for salt accumulation in the substrate and flush with pure water.
Can I grow ginger from a grocery store root?
Yes, provided the rhizome is plump and has visible "eyes." Soak it overnight to remove any growth inhibitors applied by the distributor. Ensure the rhizome is organic to increase the probability of successful sprouting and long term growth.
How often should I fertilize indoor ginger?
Apply a balanced liquid fertilizer every 3 weeks during the active growing season. Switch to a high-potassium formula once the plant is 6 months old to support rhizome development. Stop fertilizing entirely if the plant enters a dormant phase.