7 Best Odorless Indoor Compost Tips
Success in indoor horticulture depends on the precision of the rhizosphere. When the air in a confined space remains neutral despite active decomposition, you have mastered the best odorless indoor compost tips. A healthy compost pile should mimic the scent of a damp forest floor after a rain; this is the smell of geosmin, a byproduct of actinobacteria. If the bin emits ammonia or hydrogen sulfide, the biological balance has collapsed. Achieving high turgor pressure in your indoor plants requires a nutrient-dense substrate that only stable, aerobic decomposition can provide. By controlling the carbon-to-nitrogen ratio and moisture levels, you turn kitchen waste into a high-CEC soil amendment without compromising the air quality of your living environment.
Materials:
To produce a friable loam with a neutral pH of **6.5 to 7.0**, you must curate your inputs. Start with a base of shredded corrugated cardboard or coco coir to provide structural carbon. The ideal NPK ratio for finished indoor compost typically hovers around **1-0.5-0.5**; however, this fluctuates based on the feedstock. High-nitrogen inputs like coffee grounds (NPK **2.1-0.3-0.3**) must be balanced with high-carbon “browns” at a **30:1 ratio**.
The physical texture of your starting material should be granular and porous to allow for maximum gas exchange. Use a soil moisture meter to ensure the substrate remains at 50 percent to 60 percent moisture content. If the material feels like a wrung-out sponge, the moisture level is correct. Avoid adding fats, dairy, or meat, as these lipids coat the organic matter, preventing oxygen from reaching the microbes and inducing anaerobic putrefaction.
Timing:
While indoor composting is independent of external Hardiness Zones, the ambient temperature of your home dictates the rate of microbial respiration. Maintain the bin between 65 and 75 degrees Fahrenheit. In colder environments (Zones 3 through 5), indoor bins may require insulation to prevent the biological clock of the thermophilic bacteria from slowing down.
As your indoor plants move from the vegetative stage to the reproductive stage, their nutrient demands shift. High-nitrogen compost is beneficial during the vegetative phase to support leaf expansion. However, as the photoperiod changes and plants enter senescence or flowering, the phosphorus and potassium levels in your compost become the primary drivers of success. Plan your compost harvest to coincide with the spring transplanting window, typically 2 to 4 weeks before the last frost date in your specific region.
Phases:

Sowing the Microbes
The initiation phase requires inoculating your bin with active aerobic bacteria. You can use a handful of finished garden soil or a commercial bokashi bran. This ensures that the dominant species are those that consume organic matter without releasing foul gases.
Pro-Tip: Introduce mycorrhizal fungi early. This promotes mycorrhizal symbiosis, where the fungi extend the root system of your future plants, increasing the surface area for water and nutrient uptake.
Transplanting and Turning
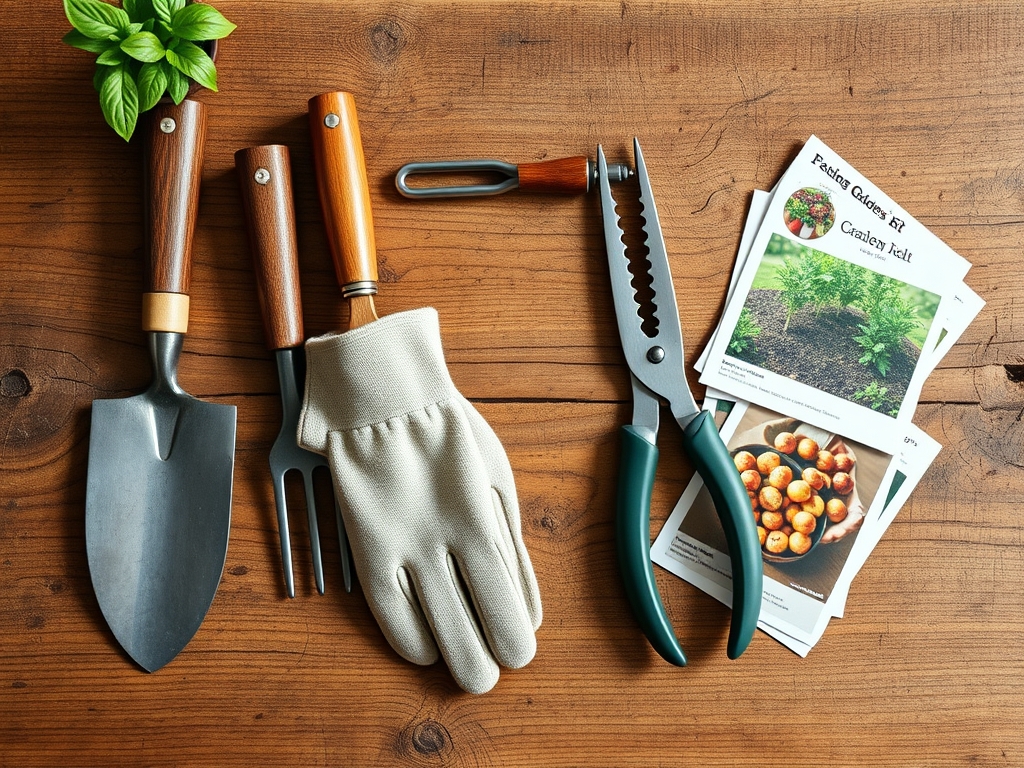
As the material breaks down, it will decrease in volume by approximately 40 percent to 60 percent. You must turn the pile every 3 to 5 days using a small hand trowel or a hori-hori knife. This mechanical aeration prevents the formation of anaerobic pockets where methane-producing bacteria thrive.
Pro-Tip: Regular aeration prevents auxin suppression. In stagnant, anaerobic soils, ethylene gas can build up, which interferes with the plant's natural auxin flow and stunts terminal bud growth.
Establishing Stability
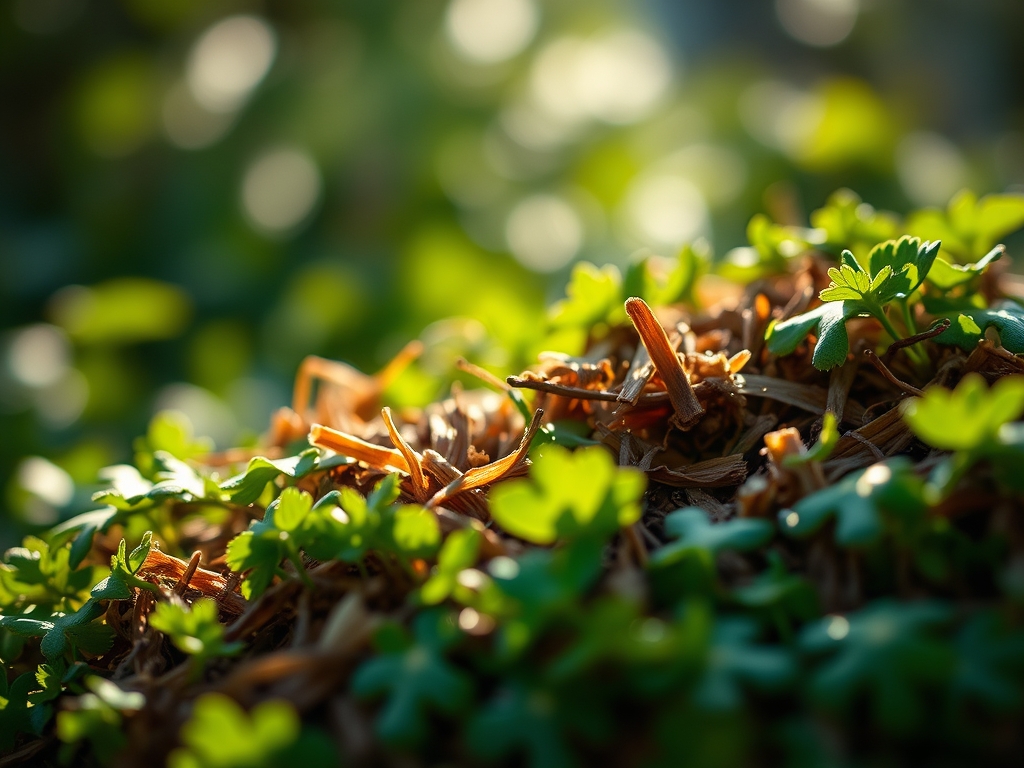
In the final phase, the temperature of the bin will drop to match the ambient room temperature. This indicates that the most volatile compounds have been sequestered. The material should look like dark chocolate and have a high Cation Exchange Capacity (CEC), allowing it to hold onto essential minerals like calcium and magnesium.
Pro-Tip: Allow the compost to "cure" for 14 days before use. This prevents seedling burn caused by unfinished organic acids that can damage delicate root hairs through osmotic shock.
The Clinic:
If your indoor composting system deviates from the norm, use these diagnostic markers to restore equilibrium.
Symptom: Rotten egg smell (Hydrogen Sulfide).
Solution: The system is anaerobic. Increase the carbon-to-nitrogen ratio by adding shredded paper and turn the pile daily to increase oxygenation.
Symptom: Ammonia scent.
Solution: Excess nitrogen. Add more "browns" like dry leaves or sawdust to balance the NPK ratio and soak up excess moisture.
Symptom: Fruit fly infestation (Drosophila).
Solution: Exposed food waste. Always bury "greens" under at least 2 inches of carbon-rich "browns" to create a bio-filter.
Fix-It for Nitrogen Chlorosis: If your indoor plants show yellowing of older leaves, your compost may be "robbing" nitrogen because it is not fully decomposed. Apply a liquid seaweed fertilizer (NPK 0-0-1) to provide immediate relief while the compost finishes maturing.
Maintenance:
Precision maintenance prevents the bin from becoming a liability. Use a soil moisture meter twice weekly; the probe should read in the "Moist" zone, never "Wet." If the bin becomes too dry, use a spray bottle to apply 0.5 cups of dechlorinated water across the surface.
When harvesting the finished product, use bypass pruners to chop any remaining large fibers. The final substrate should pass through a 0.25-inch hardware cloth screen. For the plants receiving the compost, apply a 0.5-inch layer as a top dressing. Water the plants with exactly 1.5 inches of water per week at the drip line to ensure the nutrients migrate into the rhizosphere without leaching out of the drainage holes.
The Yield:
The yield of an indoor compost system is "black gold." When the material is dark, crumbly, and lacks recognizable food scraps, it is ready. For edible indoor herbs, harvest the foliage in the morning when turgor pressure is at its peak. This ensures the cell walls are fully hydrated, providing the best "snap" and flavor profile. Post-harvest, keep the roots of the remaining plant undisturbed by using a sharp hori-hori knife to cut only what is needed. If you are using the compost to pot new starts, mix it at a ratio of 1 part compost to 3 parts peat or perlite to maintain adequate drainage and aeration.
FAQ:
Why does my indoor compost smell like vinegar?
This indicates acidic fermentation, usually caused by lack of oxygen or excess fruit scraps. Add a tablespoon of garden lime or crushed eggshells to raise the pH and turn the pile to introduce oxygen into the substrate.
How often should I add water to my indoor bin?
Only add water if the moisture level drops below 50 percent. Indoor bins often retain moisture from food scraps. Use a moisture meter to verify levels before adding liquid to avoid creating an anaerobic, odorous environment.
Can I put citrus peels in an odorless indoor bin?
Limit citrus to 10 percent of the total volume. The d-limonene in citrus peels can be antimicrobial, slowing down the decomposition process. High acidity can also drop the pH below the optimal 6.5 range for most beneficial bacteria.
How long does it take to get finished compost indoors?
In a well-managed system maintained at 70 degrees Fahrenheit, you can expect finished compost in 4 to 8 weeks. The timeline depends on the surface area of the inputs; smaller pieces decompose significantly faster than large chunks.