7 Simple Steps to Plant a Herb Wheel
Crushing a sun-warmed leaf of Mediterranean rosemary between your thumb and forefinger releases a volatile oil profile dominated by 1,8-cineole and camphor. This tactile feedback indicates high turgor pressure and optimal secondary metabolite production. Success in the garden is not a matter of luck; it is a matter of precision engineering and biochemical management. Mastering the steps to plant a herb wheel requires a firm grasp of spatial geometry and soil chemistry to ensure each specimen thrives within its micro-niche. A herb wheel provides a structured drainage gradient that mimics the rocky slopes where many culinary staples evolved. By segmenting the rhizosphere, you prevent aggressive species from outcompeting delicate neighbors. This guide provides the technical framework to construct a high-performance herb system that maximizes biomass and essential oil concentration.
Materials:
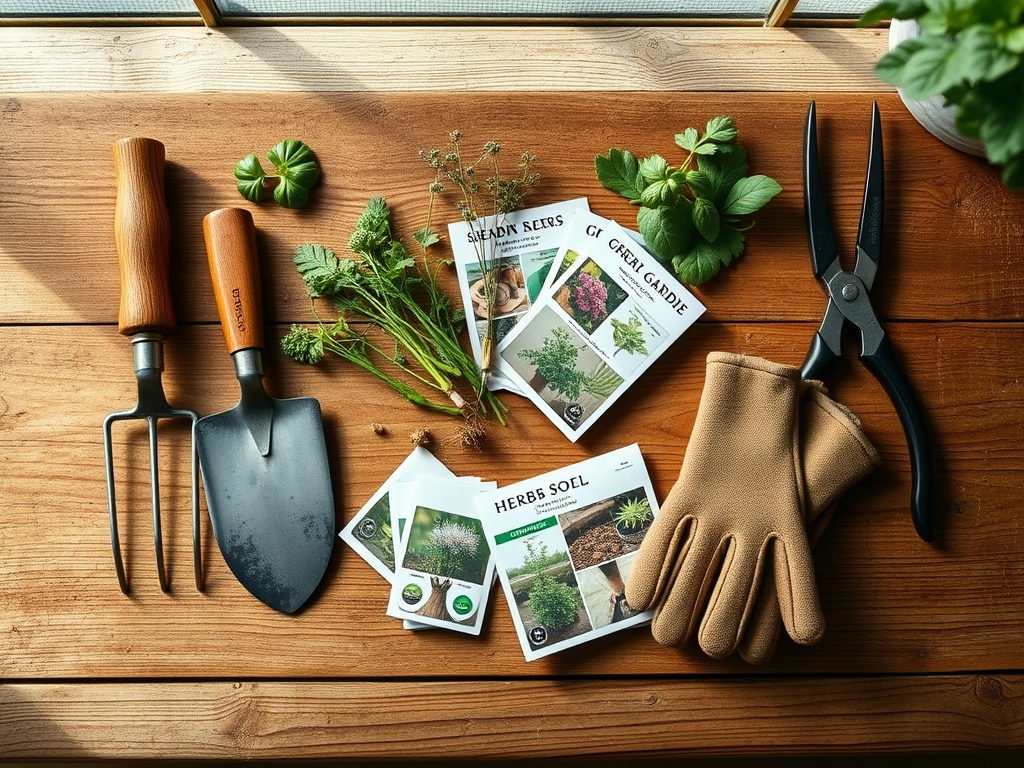
The foundation of a herb wheel is the substrate. You require a **friable loam** with a Cation Exchange Capacity (CEC) between **15 and 25 meq/100g** to ensure nutrient retention without waterlogging. The ideal soil pH for a diverse herb collection sits between **6.0 and 7.0**.
For the "Mediterranean" segments (Lavender, Rosemary, Thyme), use a mix with a low-nitrogen NPK ratio of 5-10-10. These plants require high drainage; incorporate 20 percent horticultural grit or perlite to prevent root rot. For the "Lush" segments (Mint, Parsley, Chives), utilize a 10-10-10 balanced fertilizer and a substrate with higher organic matter to maintain moisture. You will also need a structural divider, such as cedar planks or bricks, and a central focal point like a stone vessel to act as a heat sink.
Timing:
Timing is dictated by the thermal requirements of the specific cultivars and your local USDA Hardiness Zone. Most perennial herbs (Zones 5 through 9) should be installed when soil temperatures consistently reach 55 degrees Fahrenheit (13 degrees Celsius). This usually occurs two to three weeks after the last predicted frost.
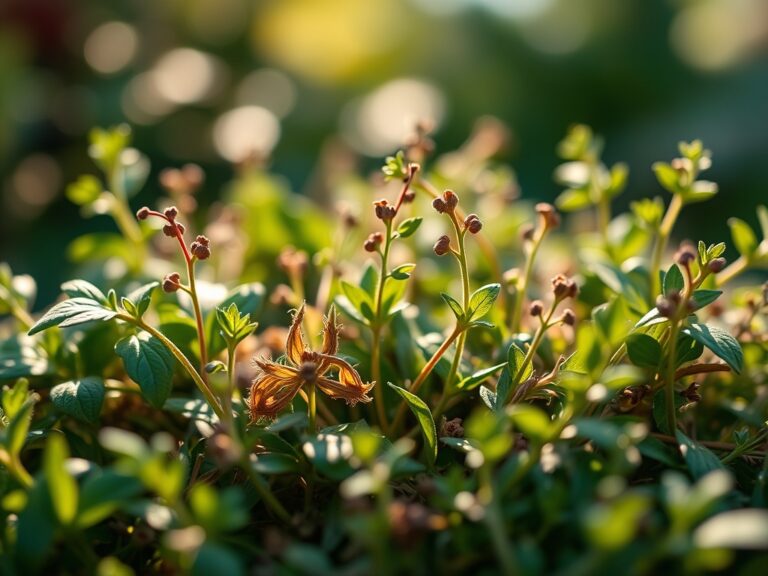
Understanding the biological clock is critical. Herbs transition from the vegetative stage to the reproductive stage (bolting) based on photoperiod and temperature spikes. For example, Cilantro (Coriandrum sativum) will undergo rapid senescence and flower if soil temperatures exceed 75 degrees Fahrenheit. Planting in early spring allows the root system to establish before the plant allocates energy toward seed production.
Phases:
Sowing and Site Preparation
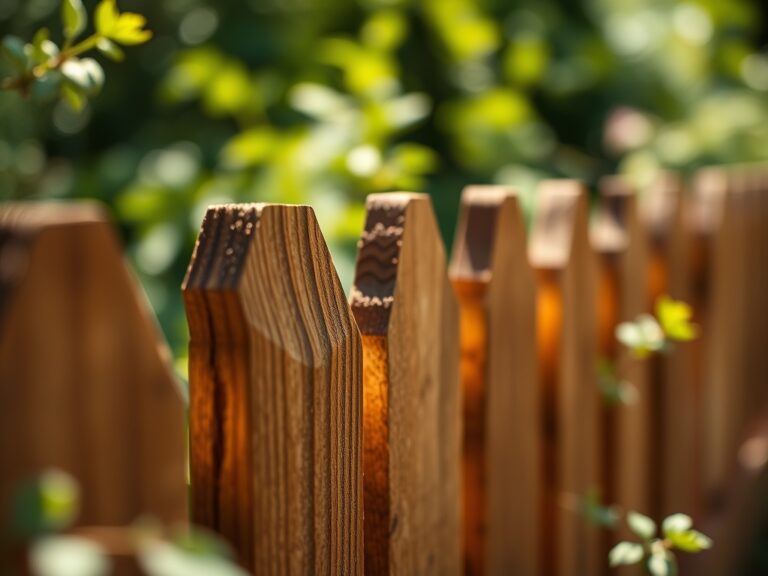
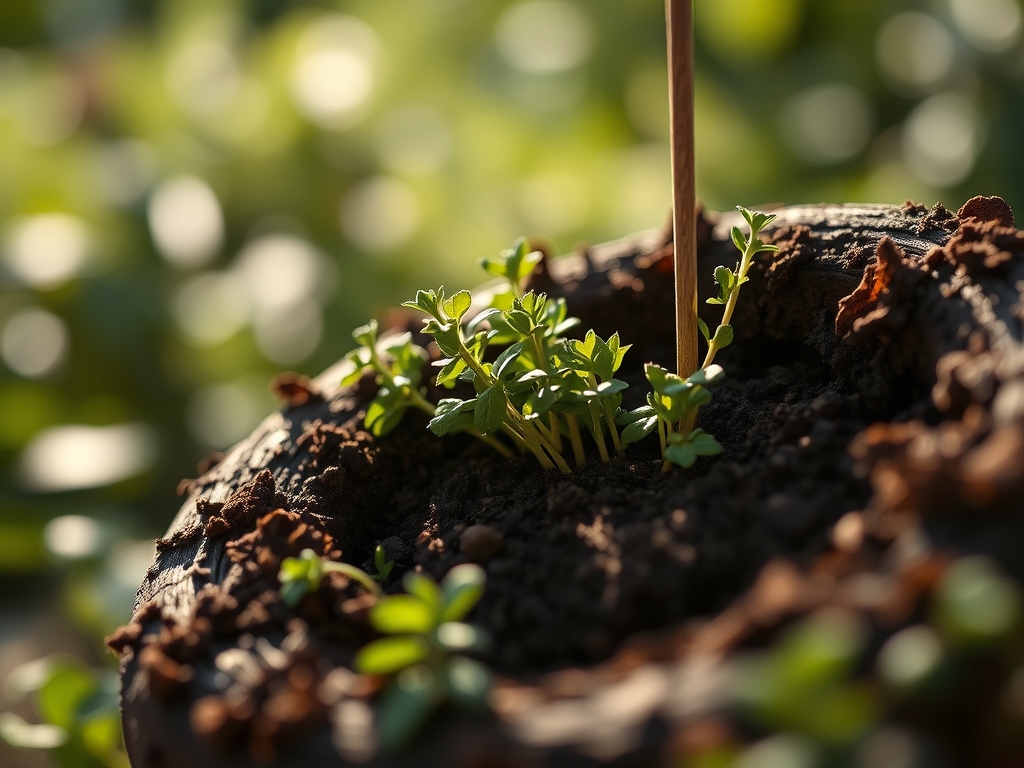
Clear a circular area with a minimum diameter of 4 feet. Excavate the top 6 inches of native soil. If your native soil is heavy clay, you must install a gravel base to facilitate drainage. Layout your "spokes" using rot-resistant timber or stone to create distinct wedges.
Pro-Tip: Ensure the center of the wheel is slightly elevated. This creates a gravitational drainage gradient. The Biological Why involves avoiding anaerobic conditions in the rhizosphere; roots require oxygen for cellular respiration, and excess water displaces oxygen, leading to the production of ethanol and subsequent root death.
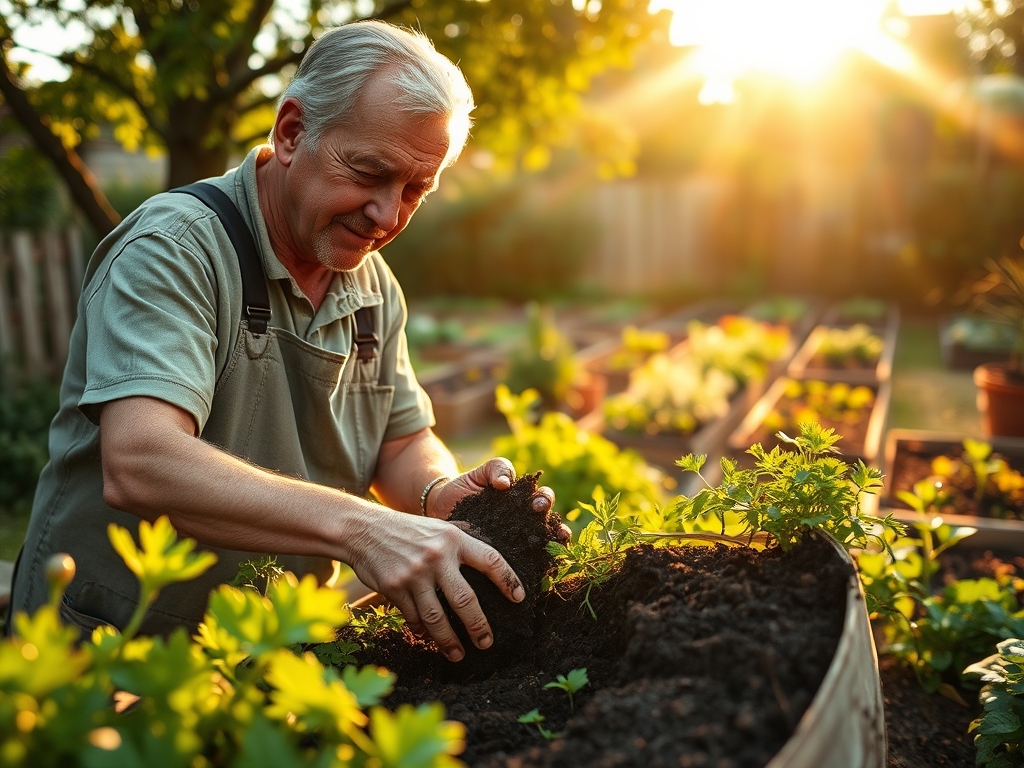
Transplanting
When moving seedlings from nursery pots, check for a "root-bound" condition. Use a hori-hori knife to gently score the root ball if the roots have begun circling the pot. Place the plant so the crown sits exactly at the soil surface.
Pro-Tip: Water the plants with a seaweed-based solution immediately after transplanting. The Biological Why is the presence of auxins and cytokinins in seaweed, which stimulate rapid root hair development and mitigate transplant shock by regulating the plant's hormonal response to stress.
Establishing
During the first 14 days, the focus is on maintaining hydraulic conductivity between the root ball and the surrounding soil. Do not allow the interface to dry out. Once new terminal growth is visible, you can begin a standard irrigation schedule.
Pro-Tip: Pinch off the top inch of growth on soft-stemmed herbs like Basil once they reach 6 inches in height. The Biological Why is apical dominance; by removing the terminal bud, you suppress the flow of auxin down the stem, which triggers the lateral buds to grow, resulting in a bushier, higher-yielding plant.
The Clinic:
Physiological disorders often mimic disease but are usually rooted in environmental or nutritional imbalances.
- Symptom: Interveinal chlorosis (yellowing between leaf veins) on new growth.
Solution: This indicates an Iron deficiency, often caused by a pH above 7.5. Apply chelated iron and lower the pH with elemental sulfur. - Symptom: Purpling of older leaves and stunted growth.
Solution: This is Phosphorus deficiency. Ensure soil temperatures are above 50 degrees Fahrenheit, as cold soils inhibit phosphorus uptake. Add bone meal to the specific wedge. - Symptom: Tip burn on young leaves.
Solution: This suggests a Calcium deficiency or inconsistent transpiration. Ensure regular watering and check for high salinity in the soil. - Symptom: General yellowing (chlorosis) starting from the bottom of the plant.
Solution: Nitrogen deficiency. Apply a high-nitrogen liquid feed (NPK 20-10-10) to restore chlorophyll production.
Maintenance:
Precision maintenance prevents the "over-growth" that ruins the aesthetic and health of a herb wheel. Use a soil moisture meter to verify that the top 2 inches of soil are dry before re-watering the Mediterranean sections. The lush sections require a consistent 1.5 inches of water per week delivered at the drip line to avoid wetting the foliage.
Pruning must be done with sharp bypass pruners to ensure clean vascular cuts. Dull blades crush the xylem and phloem, creating entry points for pathogens. Remove any "woody" growth from the base of perennials like Sage every spring to encourage fresh, succulent stems. Monitor for pests like aphids; if detected, use a high-pressure water spray to mechanically dislodge them without disrupting the local ecosystem.
The Yield:
Harvesting is a physiological intervention. For most herbs, the optimal time to harvest is in the morning after the dew has evaporated but before the sun reaches its zenith. This is when the concentration of essential oils is at its peak.
Never harvest more than 33 percent of a plant's total biomass at one time. Removing too much leaf area reduces the plant's photosynthetic capacity, leading to root dieback. For "cut and come again" herbs like Chives, cut the stems 1 inch above the soil line. To maintain "day-one" freshness post-harvest, place the stems in a glass of water (like a bouquet) and store them at 40 degrees Fahrenheit in a refrigerator, except for Basil, which is cold-sensitive and should be kept at room temperature.
FAQ:
What is the best soil for a herb wheel?
A friable loam with a pH of 6.0 to 7.0 is ideal. Incorporate 20 percent grit for Mediterranean herbs to ensure drainage. High Cation Exchange Capacity (CEC) ensures the soil holds onto essential nutrients like Potassium and Magnesium.
How often should I water my herb wheel?
Watering frequency depends on the herb type. Mediterranean herbs need the soil to dry between cycles. Lush herbs require 1.5 inches of water per week. Use a soil moisture meter to ensure the rhizosphere remains at optimal hydration levels.
Can I plant Mint in a herb wheel?
Mint is highly invasive due to its rhizomatous growth habit. To prevent it from overtaking the wheel, plant it in a submerged 5-gallon bucket with the bottom removed. This physically contains the rhizomes while allowing for vertical drainage.
When is the best time to plant?
Plant when soil temperatures reach a consistent 55 degrees Fahrenheit. In most temperate zones, this occurs in mid-to-late spring. Planting during this window ensures the root system establishes before the high-heat stress of summer triggers bolting or senescence.