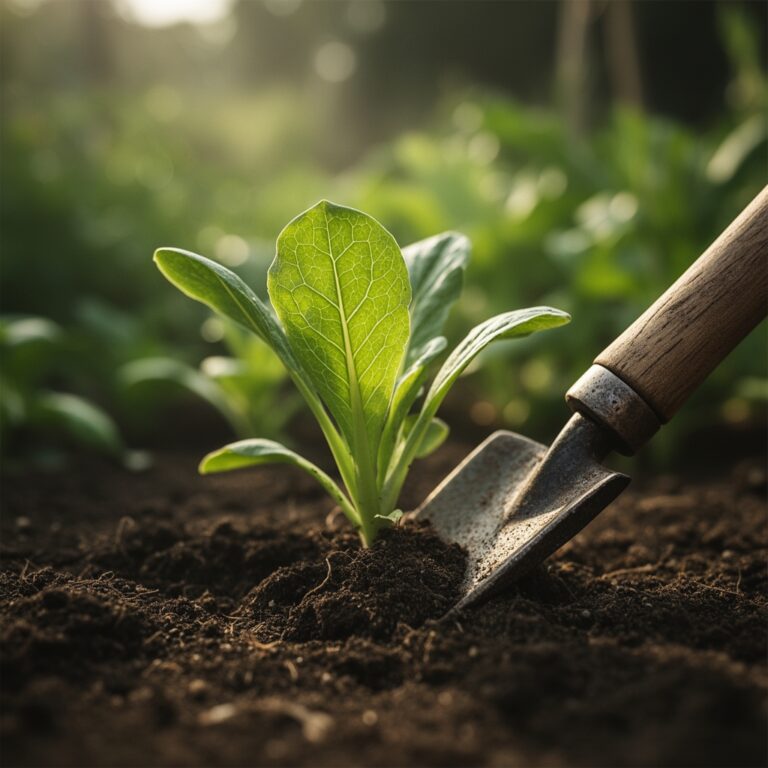
5 Quick Steps to Plant Heat Tolerant Greens
Growing greens when the sun burns bright and air temperatures hover in the 90s requires specific cultivar choices and soil conditioning. The steps to plant heat tolerant greens begin with understanding that species like New Zealand spinach (Tetragonia tetragonioides), amaranth (Amaranthus tricolor), and Malabar spinach (Basella alba) possess physiological adaptations including increased stomatal control and heat-shock protein synthesis that allow them to photosynthesize efficiently above 85°F. These cultivars thrive where traditional lettuce bolts within days.
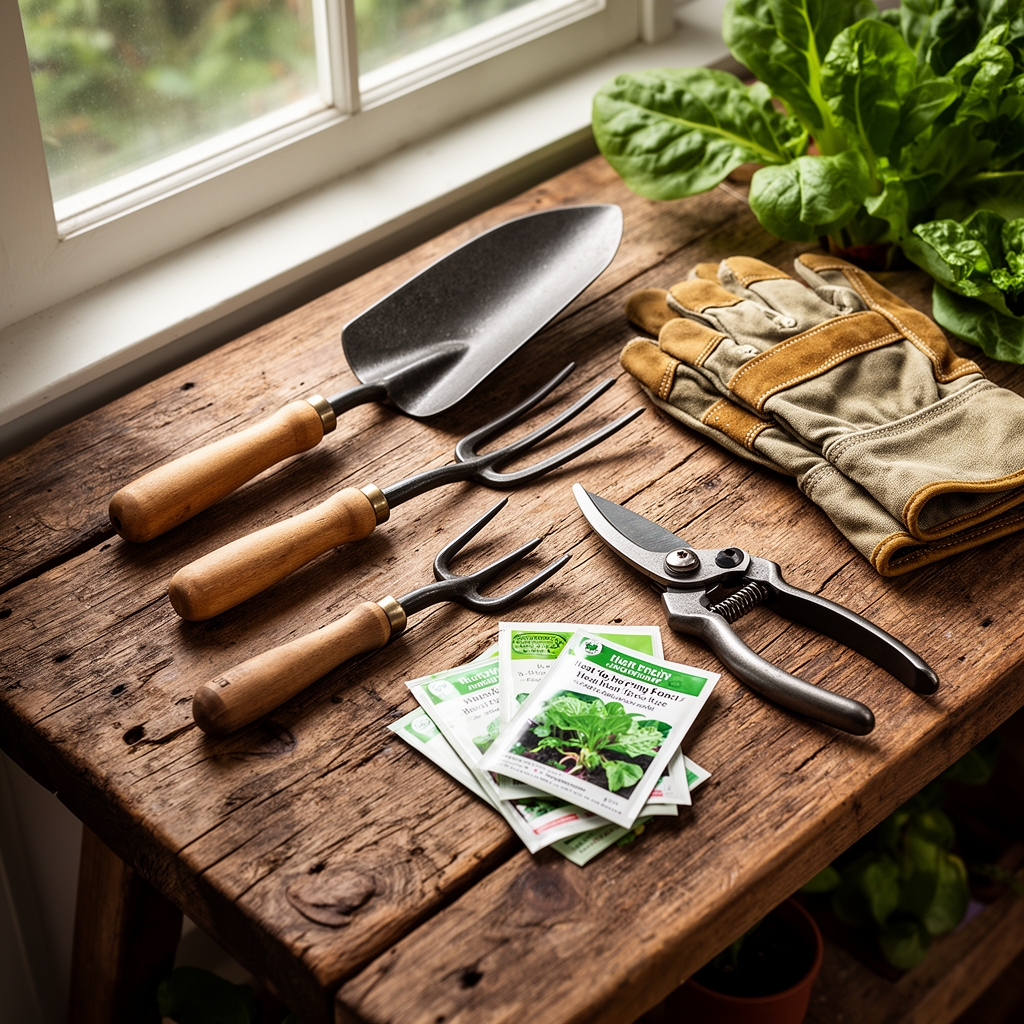
Materials
Soil pH must range between 6.0 and 7.0 for optimal nutrient availability. Test with a calibrated digital meter rather than strip kits for accuracy within 0.1 pH units. Amend acidic soils with dolomitic limestone at 5 pounds per 100 square feet to raise pH by one full point.
Fertilizer ratios matter critically. Apply a balanced 4-4-4 organic meal (derived from feather meal, bone meal, and kelp) at 2 pounds per 100 square feet two weeks before planting. This ratio supports both vegetative growth and root establishment without excessive nitrogen that triggers premature bolting. For faster establishment, supplement with fish emulsion at 2 tablespoons per gallon, applied as a weekly foliar spray during the first month.
Incorporate compost at a 2-inch depth to improve cation exchange capacity, which buffers against rapid nutrient leaching during heavy irrigation. Compost with a carbon-to-nitrogen ratio of 25:1 provides slow-release nutrition while improving soil structure.
Mycorrhizal fungi inoculant (Glomus species) at 1 teaspoon per transplant hole extends the effective root zone by 10 to 100 times, improving phosphorus uptake in warm soils where this nutrient becomes less available.
Timing
Heat tolerant greens perform best when planted after the last spring frost date when soil temperatures stabilize above 65°F at 4-inch depth. For Zone 7, this window opens mid-April. Zone 8 gardeners can begin in late March. Zone 9 and 10 offer year-round planting opportunities with attention to mid-summer water demands.
Direct seeding works best when daytime highs remain between 75°F and 95°F. Above 95°F, germination rates drop below 60% for most species. Delay planting by two weeks or start seeds indoors with bottom heat mats set to 75°F.
Fall plantings should occur 8 to 10 weeks before the first expected frost. This timing allows plants to mature during the cooling transition when pest pressure diminishes.
Phases
Sowing Phase
Direct seed amaranth and New Zealand spinach at 1/4-inch depth, spacing seeds 6 inches apart in rows 18 inches wide. Water immediately with 1/2 inch to ensure soil contact. Germination occurs in 7 to 14 days depending on soil temperature.
For Malabar spinach, scarify seeds with 120-grit sandpaper for 10 seconds, then soak in room-temperature water for 24 hours. This process reduces germination time from 21 days to 10 days by allowing moisture penetration through the hard seed coat.
Pro-Tip: Cover the seeded bed with a single layer of burlap kept moist with morning sprinkler cycles. Remove burlap at first emergence to prevent etiolation. This technique maintains soil temperatures 8 to 12 degrees cooler than bare soil during germination.
Transplanting Phase
Start transplants indoors 4 weeks before the target outdoor date. Use 2-inch cells filled with a sterile mix of 50% peat and 50% perlite. Transplant to garden beds when seedlings develop their second true leaf pair.
Dig holes 6 inches deep and 4 inches wide. Position the root ball so the crown sits level with surrounding soil. Backfill with native soil mixed 1:1 with compost. Create a 3-inch-high berm around each transplant to hold irrigation water.
Pro-Tip: Apply 1 tablespoon of diluted seaweed extract (1:100 ratio) to each transplant hole. The cytokinins and auxins in seaweed promote lateral root branching within 72 hours, reducing transplant shock by 40%.
Establishing Phase
Mulch around plants with 2 inches of straw once they reach 4 inches in height. Mulch reduces soil temperature by 10 to 15 degrees and conserves moisture during heat waves.
Install shade cloth (30% density) on hoops 18 inches above the bed if daytime temperatures exceed 95°F for more than three consecutive days. Remove cloth when temperatures moderate to prevent excessive stem elongation.
Pro-Tip: Pinch the apical meristem when plants reach 8 inches tall. This triggers axillary bud development, producing a bushier plant with 30% more harvestable leaf area over the season.
Troubleshooting
Symptom: Yellowing lower leaves with green veins (interveinal chlorosis).
Solution: Iron deficiency caused by high pH. Apply chelated iron (Fe-EDTA) at 1 tablespoon per gallon as a foliar spray. Retest soil pH and adjust with elemental sulfur if above 7.2.
Symptom: Wilting at midday despite adequate soil moisture.
Solution: Root-knot nematode (Meloidogyne species) damage. Remove affected plants. Solarize soil by covering with clear plastic for 6 weeks during peak summer. Plant a winter cover crop of marigold (Tagetes patula) which releases alpha-terthienyl, a natural nematicide.
Symptom: Sudden collapse of seedlings at soil line (damping off).
Solution: Pythium or Rhizoctonia fungal infection. Improve drainage by incorporating perlite at 20% by volume. Water only in morning hours. Apply Bacillus subtilis biological fungicide at label rates as a soil drench.
Symptom: Premature flowering (bolting) before adequate leaf development.
Solution: Temperature stress or long photoperiods. Select slow-bolt cultivars. Provide afternoon shade during heat spikes above 90°F.
Symptom: Stippled white or yellow speckling on leaves.
Solution: Spider mite feeding damage common in hot, dry conditions. Spray leaf undersides with water at 40 PSI pressure every three days. Release predatory mites (Phytoseiulus persimilis) at 50 per plant.
Maintenance
Irrigate with 1 inch of water per week, delivered in two sessions of 0.5 inches each. Water in early morning between 5 AM and 8 AM to reduce foliar disease. Use drip irrigation with emitters spaced 12 inches apart to maintain consistent soil moisture without wetting leaves.
Side-dress with additional 4-4-4 fertilizer at 1 pound per 100 square feet every 4 weeks during active growth. Scatter fertilizer 4 inches from plant stems and water in immediately.
Harvest outer leaves when they reach 4 to 6 inches in length. Cut with clean shears 1/4 inch above the stem attachment point. This method allows the apical meristem to continue producing new leaves for 12 to 16 weeks.
Monitor for aphid colonies on new growth tips weekly. Dislodge with water spray or apply insecticidal soap at 2% concentration.
FAQ
When should I plant heat tolerant greens in hot climates?
Plant after soil reaches 65°F, typically 2 to 3 weeks after the last frost date. In Zones 9-10, plant any time except peak summer months above 100°F.
Which greens handle heat better than lettuce?
New Zealand spinach, amaranth, Malabar spinach, and purslane tolerate temperatures 15 to 20 degrees higher than lettuce without bolting.
How often do heat tolerant greens need water?
Apply 1 inch per week split into two 0.5-inch sessions. Increase to 1.5 inches during heat waves above 95°F. Check soil moisture at 3-inch depth; water when soil feels dry.
Can I grow these greens in containers?
Yes. Use containers at least 12 inches deep with drainage holes. Container soil dries faster; check daily and water when the top 2 inches feel dry.
Why are my greens turning bitter?
Bitterness increases with water stress or temperatures above 90°F. Harvest in early morning when sugars are highest. Provide shade during extreme heat and maintain consistent soil moisture.