9 Hardy Ways How to Prep for Winter Sowing
Cold air hits the lungs with a metallic bite while the scent of damp, decaying organic matter signals the transition into dormancy. Success in the garden is not found in the spring rush but in the deliberate mastery of the cold. Learning how to prep for winter sowing requires an understanding of seed coat physiology and the mechanics of thermal stratification. This method utilizes the natural freeze-thaw cycles of winter to break down complex seed inhibitors. By mimicking the natural environment within controlled microclimates, a grower ensures high germination rates for hardy perennials and cold-hardy annuals. The process demands precision in substrate selection and container ventilation to maintain cellular turgor and prevent anaerobic conditions within the rhizosphere.
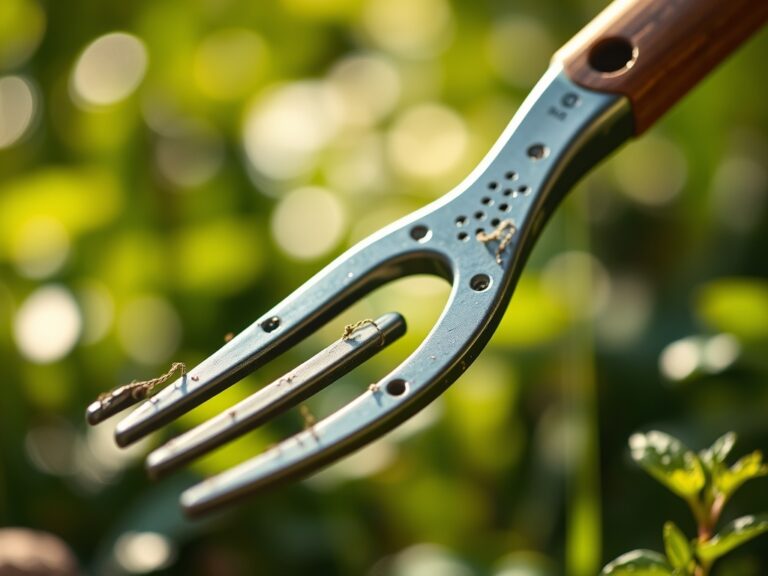
Materials:
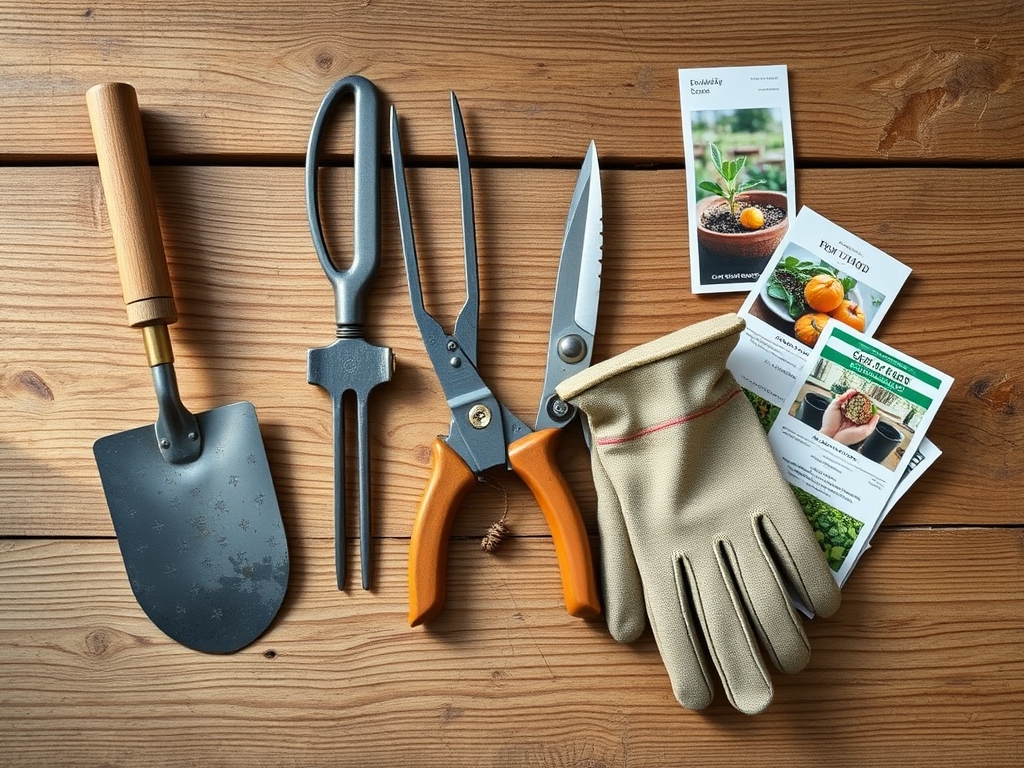
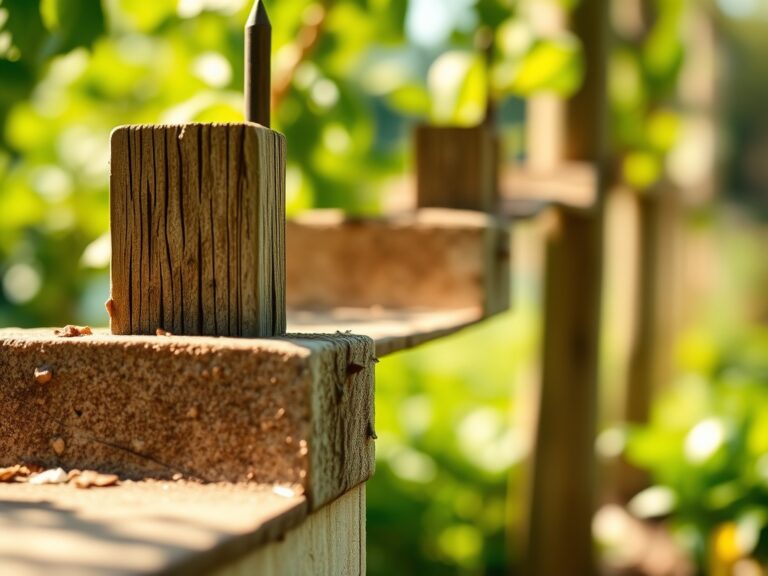
The substrate is the foundation of the winter sowing system. Avoid standard garden soil which compacts and inhibits gas exchange. Use a sterile, professional-grade potting mix with a **pH between 5.8 and 6.2**. The physical texture must be a **friable loam** consisting of fine-grade peat moss or coconut coir, perlite for aeration, and vermiculite for moisture retention.
For nutrient density, integrate a low-analysis organic starter fertilizer. The NPK ratio should be 1-2-1 to prioritize root development over lush vegetative growth. High nitrogen levels at this stage can lead to spindly, weak seedlings that succumb to damping-off. Ensure the Cation Exchange Capacity (CEC) of the mix is sufficient to hold onto essential minerals like calcium and magnesium during heavy snowmelt. You will also need translucent plastic containers with a minimum depth of 4 inches to allow for unrestricted taproot elongation.
Timing:
Timing is dictated by your USDA Hardiness Zone and the specific photoperiod requirements of your cultivars. In Zones 3 through 5, the window for sowing woody perennials and native seeds begins in late December. These species often require 60 to 90 days of cold stratification to neutralize abscisic acid, the hormone that prevents premature germination.
In Zones 6 through 8, hardy annuals like poppies or larkspur should be sown in late January or early February. The biological clock of these seeds is triggered by the increase in day length and the gradual warming of the soil. Monitor the local frost-date windows; the goal is to have established seedlings ready for transplanting once the soil temperature consistently reaches 45 degrees Fahrenheit.
Phases:

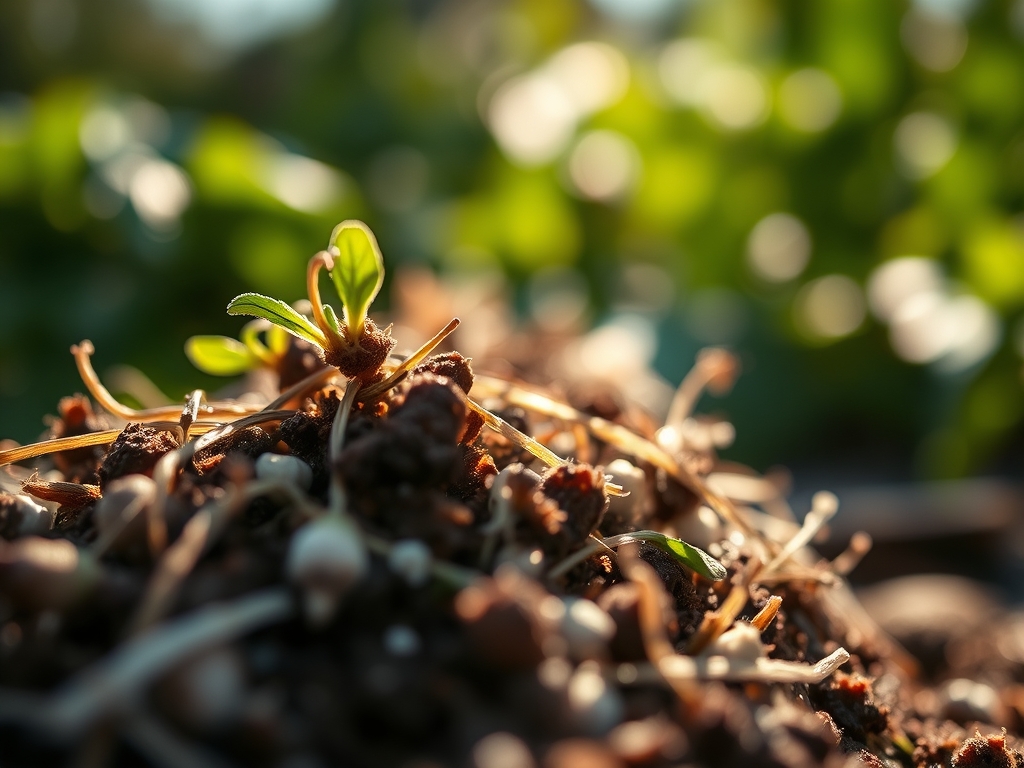
Sowing
Prepare your containers by drilling 0.25-inch drainage holes in the bottom and ventilation slits in the top. Fill with 3 inches of pre-moistened substrate. Sow seeds at a depth of twice their diameter. Firm the soil to ensure good seed-to-soil contact, which is vital for capillary action.
Pro-Tip: Proper seed-to-soil contact facilitates imbibition, the process where the seed absorbs water to activate metabolic enzymes. Without this physical connection, the seed remains dormant regardless of temperature.
Transplanting
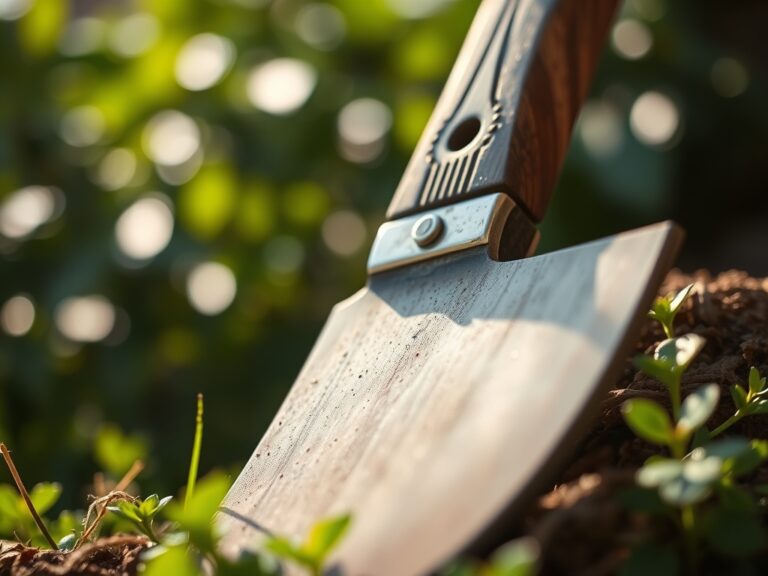
Once the seedlings develop their first set of true leaves and the outdoor temperatures stabilize, they must be moved to their permanent location. Use a hori-hori knife to slice through the root mass cleanly, minimizing transplant shock.
Pro-Tip: Handle seedlings only by their leaves or the root ball to avoid crushing the vascular cambium in the stem. Damaging this tissue interrupts the flow of water and nutrients, leading to localized necrosis.
Establishing
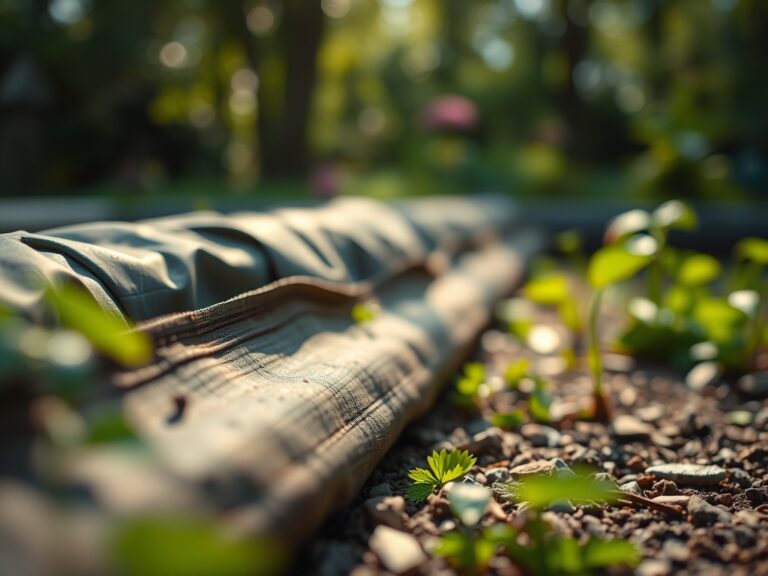
After transplanting, focus on soil integration. Apply a thin layer of organic mulch to regulate soil temperature and suppress weed competition. Monitor the soil moisture daily using a soil moisture meter.
Pro-Tip: Mycorrhizal fungi inoculation during this phase enhances mycorrhizal symbiosis. These fungi extend the reach of the root system, increasing the uptake of phosphorus and micronutrients by up to 200 percent.
The Clinic:
Physiological disorders in winter sowing often stem from moisture imbalances or temperature fluctuations.
Symptom: Yellowing of lower leaves (Chlorosis).
Solution: This typically indicates Nitrogen deficiency or waterlogged soil. Ensure drainage holes are not blocked. If the soil is free-draining, apply a liquid seaweed extract to provide immediate bioavailable nutrients.
Symptom: Purpling of stems and leaf undersides.
Solution: This is a sign of Phosphorus deficiency, often caused by soil temperatures below 50 degrees Fahrenheit. Phosphorus becomes chemically locked in cold soil. No action is usually required; the plant will recover as the rhizosphere warms.
Symptom: White, fuzzy growth on the soil surface.
Solution: This is a fungal outbreak due to poor airflow. Increase the size of the ventilation slits in your containers to reduce humidity and disrupt the fungal life cycle.
Maintenance:
Precision maintenance prevents the "boom and bust" cycle of seedling growth. Use a soil moisture meter to ensure the substrate remains at a consistent 60 percent saturation. When the containers are moved to a sunnier location in spring, check them daily; small volumes of soil can desiccate within hours.
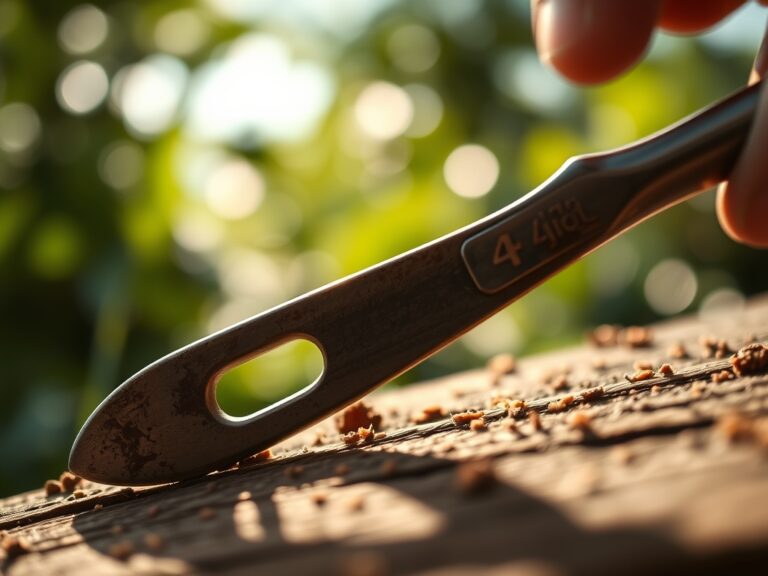
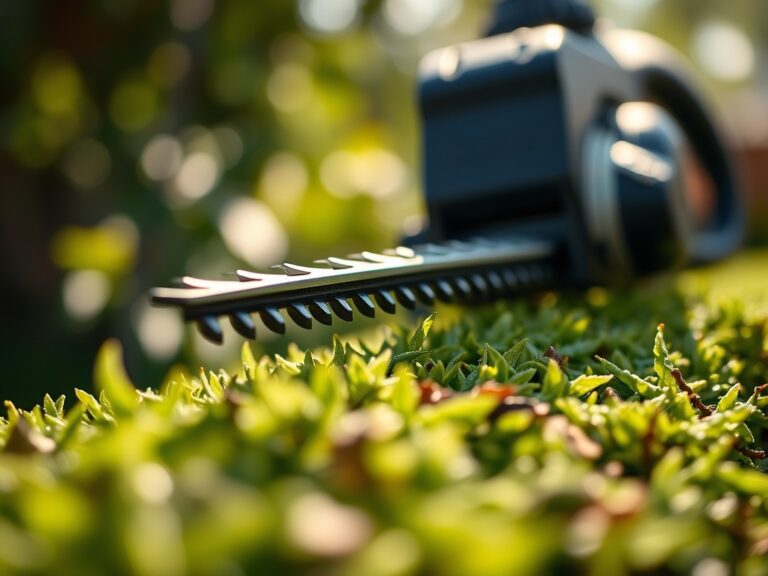
Watering should be targeted. Provide 1.5 inches of water per week at the drip line once seedlings are in the ground. Use bypass pruners to remove any dead or diseased tissue immediately to prevent the spread of pathogens. If a late spring frost is predicted, cover the young plants with a frost blanket to maintain a microclimate 5 to 10 degrees warmer than the ambient air.
The Yield:
For those sowing cut flowers or cold-weather crops, harvest timing is critical for longevity. Harvest flowers in the "tight bud" stage, just as the color becomes visible. Use a sharp, sterilized knife to make a 45-degree cut, which increases the surface area for water uptake.
For edible greens, harvest early in the morning when turgor pressure is at its peak. This ensures the cell walls are fully hydrated, resulting in a crisp texture. Immediately submerge the harvest in cool water to remove field heat and slow the process of senescence, extending the shelf life of the produce.
FAQ:
Can I use recycled milk jugs for winter sowing?
Yes. Translucent plastic jugs are ideal. Ensure they are cleaned with a 10 percent bleach solution to kill pathogens. Cut the jug in half horizontally, leaving a small hinge, and remove the cap for ventilation.
What happens if the seeds sprout during a mid-winter thaw?
Most cold-hardy species can survive brief freezes. If a prolonged warm spell occurs, move containers to a shaded area to slow metabolic activity. If sprouts emerge, ensure they do not dry out during subsequent freezes.
Do I need to water the containers during the winter?
Generally, no. Snow and rain enter through the top ventilation holes, providing sufficient moisture. However, if you experience a dry winter with no precipitation for over three weeks, lightly mist the substrate to maintain hydration.
How do I know when to open the containers permanently?
When daytime temperatures consistently exceed 60 degrees Fahrenheit and seedlings are touching the top of the container, remove the lids. This prevents heat stress and allows the plants to harden off through increased airflow and UV exposure.