8 Fruity Ways How to Prep a Berry Patch
The smell of damp, acidic earth signifies a high concentration of organic matter undergoing aerobic decomposition. Successful cultivation begins with the cellular turgor of a healthy leaf, which relies on a root system capable of navigating porous, nutrient-dense substrate. To master how to prep a berry patch, you must prioritize the chemical architecture of the soil before the first seedling arrives. This process requires a precise balance of mineral availability and microbial activity to ensure long term perennial success.
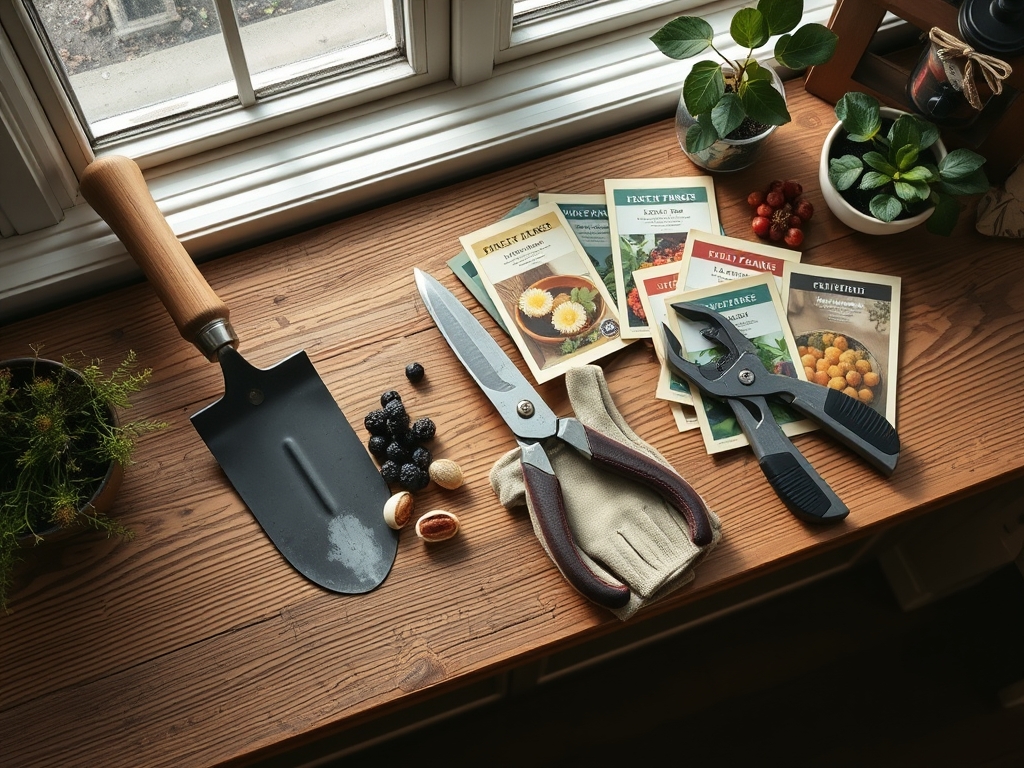
Materials:
The ideal substrate for a berry patch is a **friable loam** with a high sand content to facilitate drainage. Most berries, specifically blueberries, require an acidic environment with a **pH between 4.5 and 5.5**. Raspberries and blackberries prefer a slightly more neutral range of **5.8 to 6.5**.
To achieve these levels, integrate elemental sulfur for acidification or dolomitic lime to raise pH. For initial soil enrichment, use a 10-10-10 NPK ratio for general establishment or a 5-10-10 ratio for varieties that require higher phosphorus to stimulate root elongation. The Cation Exchange Capacity (CEC) should be high, meaning the soil can hold onto essential ions like potassium, calcium, and magnesium. Incorporate 3 to 4 inches of aged pine bark or peat moss to improve the organic matter percentage to at least 5 percent.
Timing:
Timing is dictated by the hardiness zone and the local frost date window. In USDA Zones 4 through 8, the primary window for preparation is late autumn or very early spring when the soil is workable but the plants remain dormant. This dormancy allows the root system to establish without the metabolic demand of foliage production.
The biological clock of a berry plant involves a transition from the vegetative stage to the reproductive stage. This is often triggered by the photoperiod (the length of daylight) and vernalization (a specific period of cold temperatures). For example, strawberries require a chilling period below 45 degrees Fahrenheit to differentiate flower buds. Preparing the patch six months in advance of planting allows the soil chemistry to stabilize and the microbial life to populate the rhizosphere.
Phases:
Sowing and Site Selection
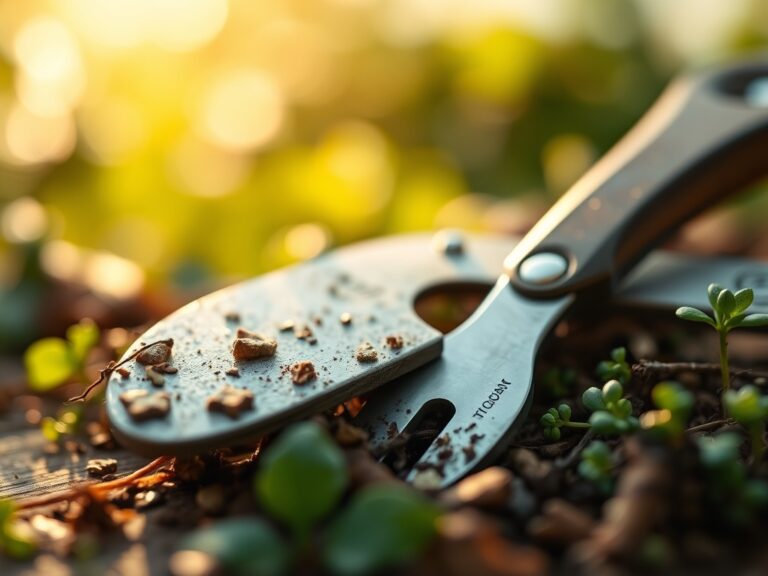
Select a site with a minimum of 8 hours of direct solar radiation. Clear the area of all perennial weeds. Use a hori-hori knife to remove taproots that can compete for moisture. If using seeds for specific alpine varieties, ensure the seedbed is fine and level.
Pro-Tip: Ensure the soil is not compacted. Biological Why: High bulk density limits oxygen diffusion to the roots, which inhibits cellular respiration and leads to the accumulation of toxic ethanol in the root tissues.
Transplanting
When moving dormant crowns or container grown plants, dig a hole twice as wide as the root ball. Spread the roots outward to prevent girdling. Ensure the crown is set exactly at the soil line; planting too deep causes crown rot, while planting too shallow leads to desiccation.
Pro-Tip: Inoculate the planting hole with endomycorrhizal fungi. Biological Why: This creates a mycorrhizal symbiosis where the fungi extend the root surface area, significantly increasing the uptake of phosphorus and water.
Establishing
Apply a 2 to 3 inch layer of organic mulch such as wood chips or straw. This regulates soil temperature and prevents the germination of weed seeds. Monitor the turgor pressure of the stems; wilting indicates a failure of the xylem to transport water.
Pro-Tip: Remove all blossoms during the first growing season. Biological Why: This redirects the plant's energy from reproductive fruit production to auxin-driven root development, ensuring a more robust plant in subsequent years.
The Clinic:
Physiological disorders often mimic infectious diseases but are rooted in environmental stress or nutrient imbalances.
- Symptom: Interveinal chlorosis (yellowing between green veins) on new leaves.
- Solution: This indicates Iron Deficiency, often caused by a pH that is too high. Apply chelated iron and lower the soil pH.
- Symptom: Marginal leaf scorch or browning on the edges of older leaves.
- Solution: This suggests Potassium Deficiency. Apply sulfate of potash to improve the plant's ability to regulate stomatal conductance.
- Symptom: Anthocyanin accumulation (purple tinting) on stems and leaves during cold snaps.
- Solution: This is often a temporary Phosphorus lock-up due to low soil temperatures. As the soil warms above 55 degrees Fahrenheit, the nutrient becomes mobile again.
Fix-It for Nitrogen Chlorosis: If the entire leaf turns pale green or yellow, apply a quick-release organic nitrogen source like fish emulsion. Nitrogen is a mobile nutrient; the plant will pull it from old growth to support new terminal buds.
Maintenance:
Precision is required for high yields. Deliver 1.5 inches of water per week directly at the drip line using drip irrigation or a soaker hose. Avoid overhead watering to minimize the risk of fungal pathogens on the foliage. Use a soil moisture meter to ensure the root zone stays between 60 and 80 percent field capacity.
Pruning is essential for airflow and light penetration. Use bypass pruners to remove "dead, damaged, or diseased" wood (the 3 Ds). For raspberries, distinguish between primocanes (first-year green stalks) and floricanes (second-year woody stalks) to ensure you do not remove the fruiting wood. Thinning the canes to roughly 6 inches apart prevents overcrowding and allows the plant to maximize its photosynthetic rate.
The Yield:
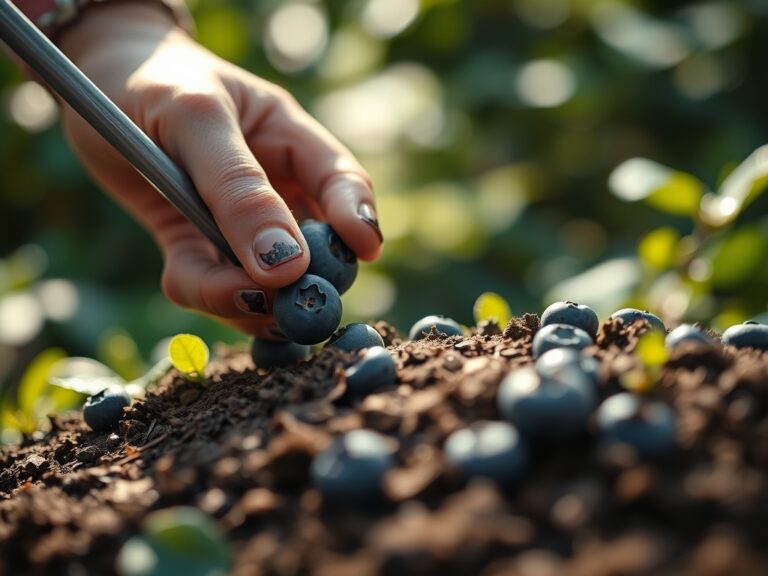
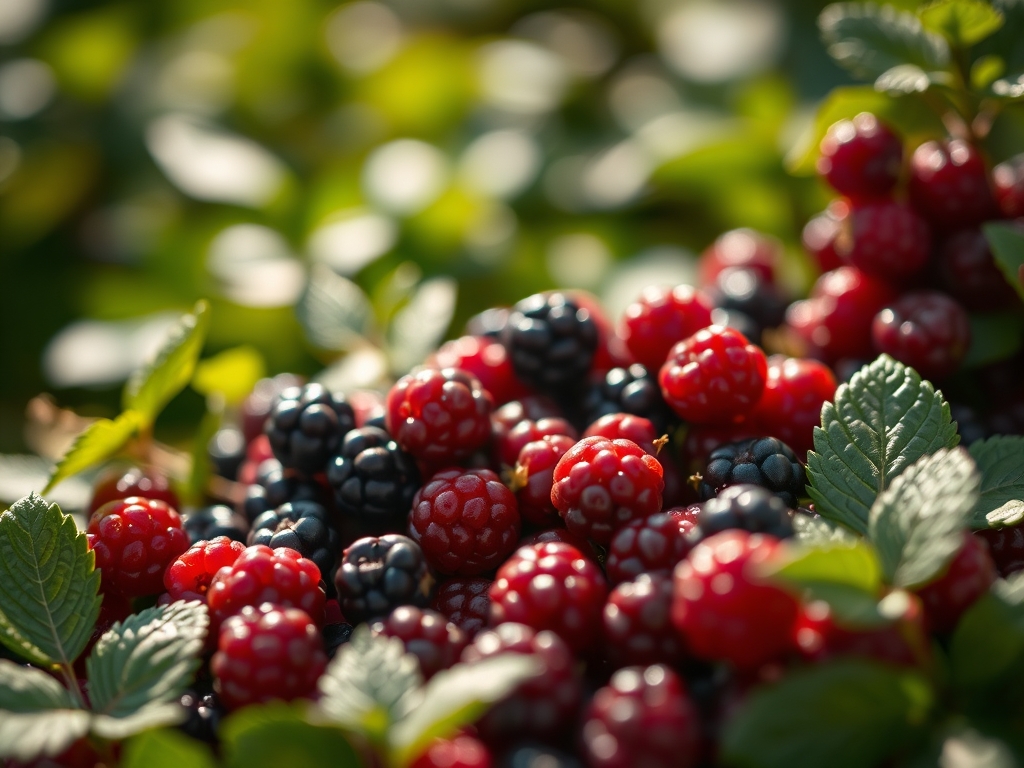
Harvesting is a matter of timing and tactile feedback. Berries do not continue to ripen significantly after they are detached from the parent plant. For strawberries, harvest when the fruit is 100 percent red. For blackberries, wait until the fruit transitions from a shiny gloss to a dull black; this indicates peak sugar concentration.
Handle the fruit with minimal pressure to avoid bruising the delicate epidermis. To maintain "day-one" freshness, harvest in the cool of the morning before the field heat builds up. Do not wash the berries until immediately before consumption; moisture on the surface of the fruit accelerates senescence and fungal decay. Store at 33 to 35 degrees Fahrenheit with high humidity to maintain fruit weight and crispness.
FAQ:
How do I lower soil pH quickly for berries?
Incorporate elemental sulfur or aluminum sulfate into the top 6 inches of soil. Elemental sulfur is slower but safer; it relies on soil bacteria to convert it into sulfuric acid. Monitor with a digital pH probe every 30 days.
Can I grow berries in heavy clay soil?
Yes, but you must modify the structure. Build raised beds 12 inches high and mix in 50 percent organic compost. This prevents the "bathtub effect" where water sits in the root zone and causes anaerobic root death.
What is the best mulch for a berry patch?
Pine needles or aged pine bark are superior for acid-loving berries. They provide a slow release of organic acids as they decompose. For neutral-loving berries, clean wheat straw is effective for moisture retention and weed suppression.
How often should I fertilize my established berry patch?
Apply a balanced fertilizer in early spring before bud break and again in late spring. Avoid high-nitrogen applications in late summer; this stimulates tender new growth that will be killed by the first hard freeze of autumn.