8 Simple Steps to Spray Resin Remover
The scent of damp earth and the high turgor pressure of a healthy leaf signify a thriving garden; however, resinous buildup on pruning tools can compromise plant health by introducing pathogens. Maintaining clean equipment is a fundamental requirement for any serious horticulturist. By following the correct steps to spray resin remover, you ensure that bypass pruners and saws remain sharp and sterile. This prevents the mechanical tearing of plant tissues and maintains the integrity of the vascular system during essential pruning cycles.
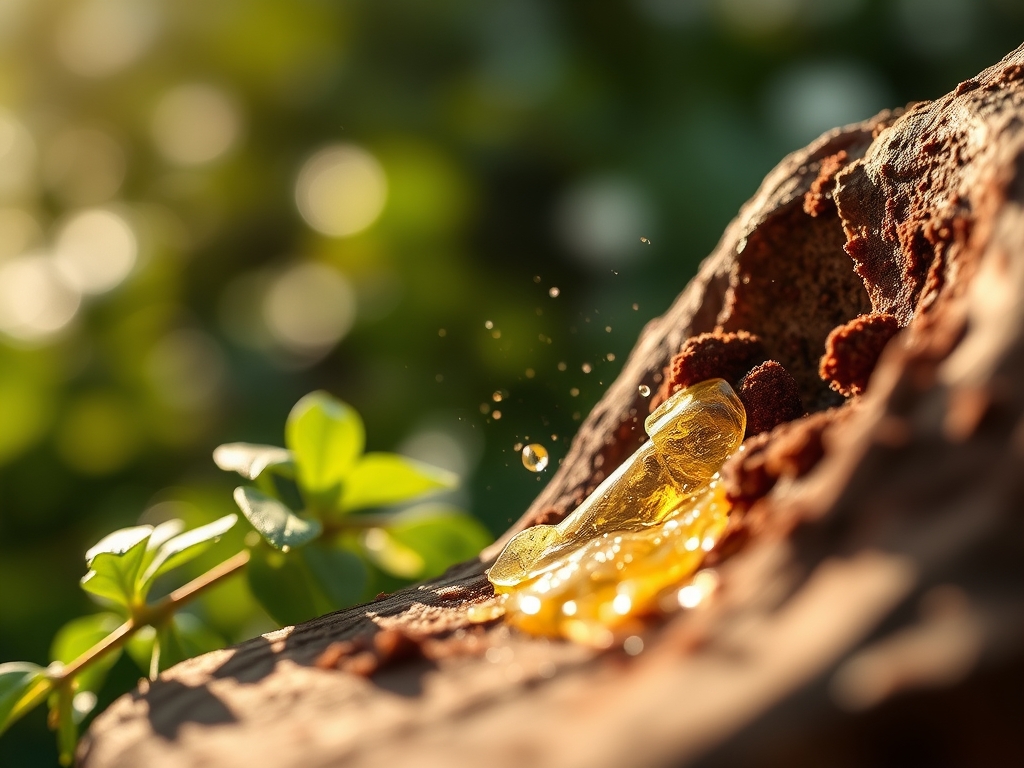
Resin is a complex mixture of volatile terpenes and non-volatile solids that hardens upon exposure to oxygen; this substance creates a sticky barrier that traps fungal spores and bacteria. If left untreated, this buildup increases friction during cuts, leading to crushed xylem and phloem cells. Effective removal requires a solvent that breaks down these organic compounds without damaging the metal temper or leaving toxic residues that could leach into the rhizosphere. Precision in tool maintenance is as vital as soil chemistry. A clean blade ensures a smooth abscission zone, allowing the plant to seal wounds through natural compartmentalization.
Materials:
Successful resin removal and subsequent plant care require specific inputs. The ideal substrate for recovery after pruning is a friable loam with a high Cation Exchange Capacity (CEC) of 15 to 25 meq/100g. This ensures that the plant has immediate access to mobile nutrients.
- Soil pH: Maintain a range between 6.2 and 6.8 to maximize nutrient bioavailability.
- NPK Ratio: Use a 10-10-10 balanced fertilizer for general maintenance; however, a 5-10-15 ratio is preferred for woody perennials to encourage root development over excessive vegetative growth.
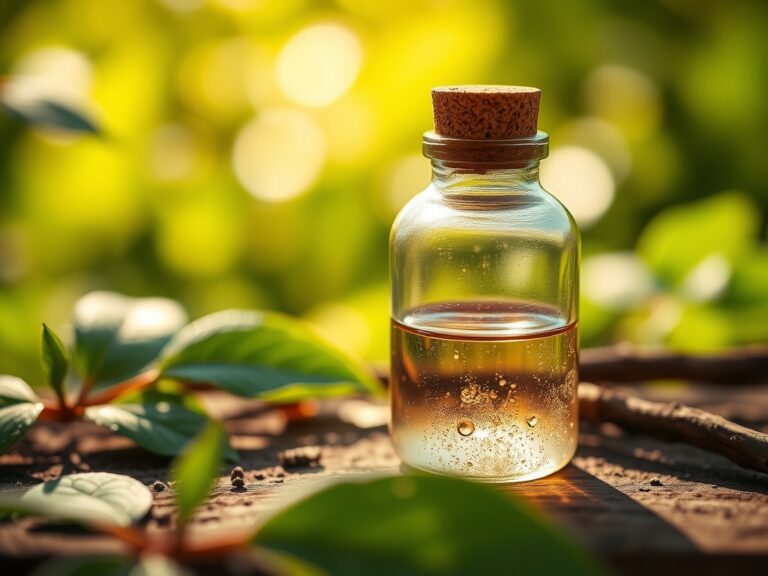
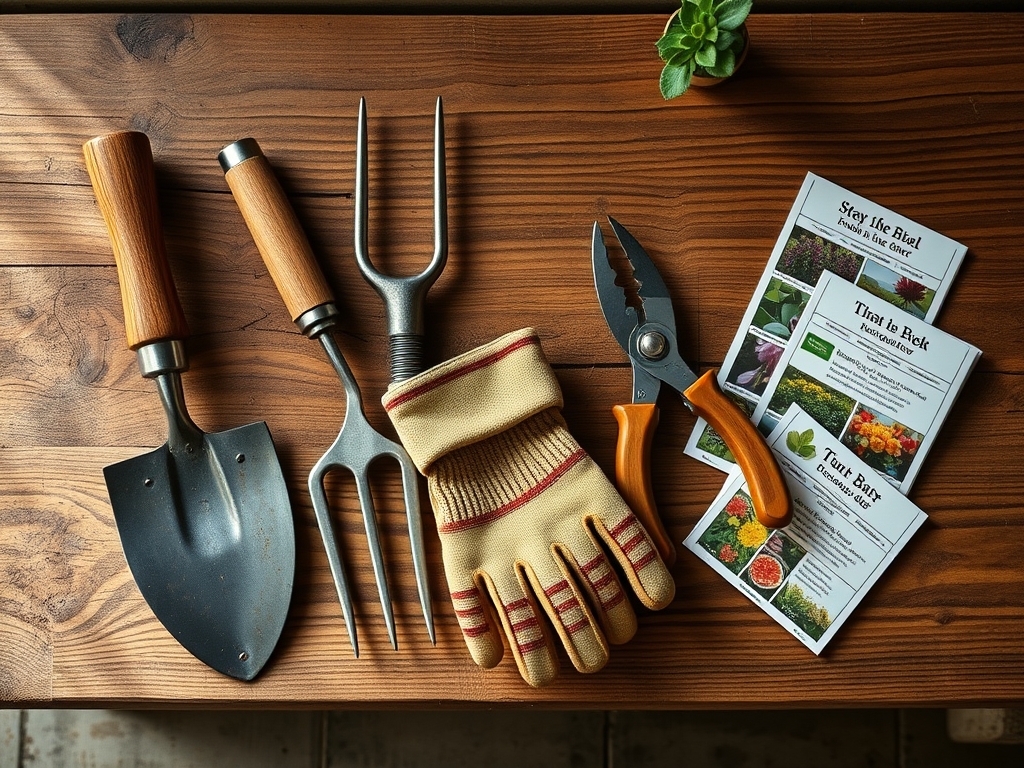
- Solvent: A specialized resin remover or isopropyl alcohol (70% concentration) to dissolve lipids and resins.
- Abrasives: A fine-grade steel wool or a stiff nylon brush to physically dislodge softened debris.
- Lubricant: Food-grade mineral oil to prevent oxidation of the steel after the cleaning process is complete.
Timing:
The biological clock of the plant dictates the cleaning schedule. Pruning and tool maintenance should align with the dormant season for most species, typically between Hardiness Zones 4 and 8 during the late winter months. This window occurs after the first hard frost but before the spring sap flow begins.
As plants transition from the senescence phase to the vegetative stage, their metabolic activity increases. Performing resin removal on tools before this transition prevents the spread of dormant pathogens. In Hardiness Zones 9 and 10, this window is narrower; cleaning must be completed before the photoperiod reaches 12 hours of light, which triggers active hormonal shifts and new growth. Monitoring the frost-date window is essential; tools must be ready for the precise moment when the plant can best recover from structural pruning.
Phases:

Sowing and Preparation
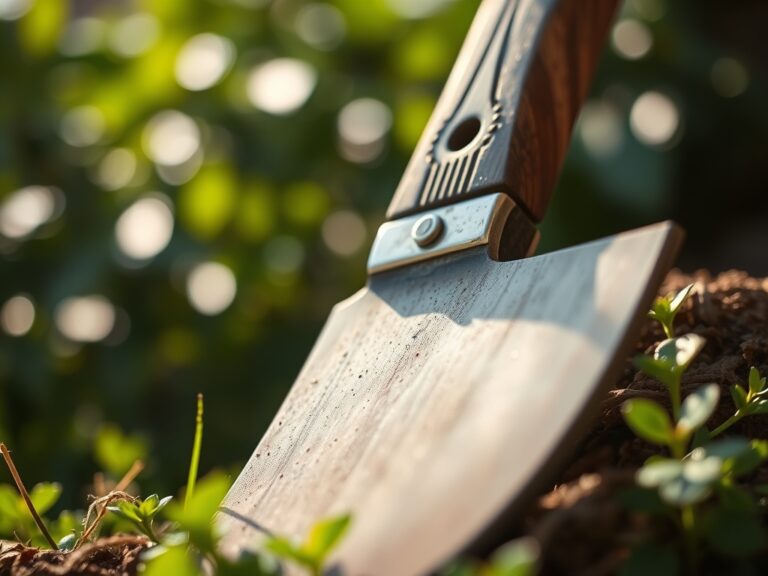
Before addressing the plant, prepare the workstation. Lay out your bypass pruners and hori-hori knife on a clean, dry surface. Apply the resin remover liberally to all metal surfaces, ensuring the solvent penetrates the pivot bolt where resin often accumulates. Allow it to sit for 120 seconds to break the molecular bonds of the sap.
Pro-Tip: Resin acts as a biological adhesive. By using a solvent, you are managing the surface tension of the organic buildup. This prevents the mechanical stripping of the metal's protective oxide layer, which is crucial for preventing rust.
Transplanting and Cleaning
Once the resin has softened, use a brush to scrub the blades in a downward motion. Rinse with distilled water to remove chemical residues. Dry the tools immediately with a microfiber cloth. This phase is analogous to transplanting; you are moving the tool from a state of contamination to a state of readiness.
Pro-Tip: Removing resin prevents cross-contamination of pathogens. Many fungal spores, such as Botrytis cinerea, survive in resinous debris. Clean tools ensure that the mycorrhizal symbiosis in the soil is not disrupted by the introduction of external diseases during root pruning.
Establishing Maintenance
The final step is the application of a thin layer of mineral oil. This creates a hydrophobic barrier. Reassemble the tools and check the tension of the pivot nut. A properly adjusted tool should cut through a single sheet of paper without tearing.
Pro-Tip: Proper tool tension reduces the physical force required for pruning. This minimizes auxin suppression in the plant; clean, sharp cuts allow the plant to maintain apical dominance or redirect growth hormones efficiently to lateral buds.
The Clinic:
When tools are neglected, plants often exhibit physiological disorders. Monitor for the following symptoms:
- Symptom: Jagged Wound Margins. This indicates dull, resin-clogged blades. Solution: Sharpen blades to a 20-degree angle after cleaning with resin remover.
- Symptom: Localized Necrosis at Cut Sites. This suggests pathogen transfer from dirty tools. Solution: Sterilize tools between every cut using a 10% bleach solution or ethanol.
- Symptom: Nitrogen Chlorosis (Yellowing Leaves). While often a soil issue, it can be exacerbated by the plant's struggle to heal poor cuts. Fix-It: Apply a high-nitrogen foliar spray (20-0-0) to boost chlorophyll production during the recovery phase.
- Symptom: Gummosis. Excessive sap leaking from wounds. Solution: Only prune during dry weather when humidity is below 60% to facilitate rapid callusing.
Maintenance:
Precision maintenance extends beyond the tool shed. Plants recovering from pruning require consistent hydration. Deliver 1.5 inches of water per week directly at the drip line to ensure the root zone remains hydrated without wetting the foliage. Use a soil moisture meter to verify that the moisture has penetrated to a depth of 6 inches.
For woody plants, use a hori-hori knife to remove weeds within a 24-inch radius of the trunk to reduce competition for nutrients. Inspect the bark for signs of mechanical damage monthly. If the soil becomes compacted, use a garden fork to aerate the top 3 inches, being careful not to disturb the primary lateral roots.
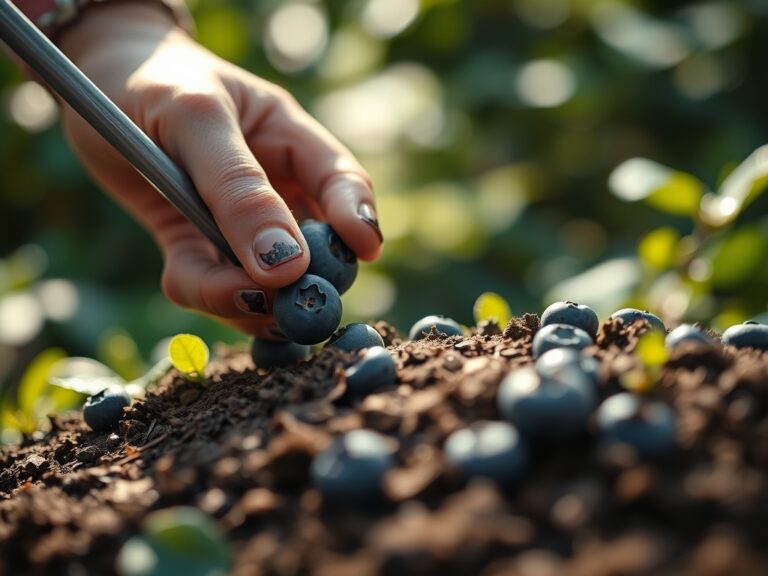
The Yield:
When harvesting flowers or fruit, the quality of the cut determines the shelf life. Use your cleaned bypass pruners to make a clean, diagonal cut. This increases the surface area for water uptake in the xylem. For "day-one" freshness, submerge the stems in 40-degree Fahrenheit water immediately after cutting. This rapid cooling slows the rate of respiration and senescence, preserving the sugars and essential oils within the plant tissues.
FAQ:
How often should I use resin remover?
Apply resin remover after every session involving coniferous or high-sap plants. For general maintenance, a deep clean every 30 days prevents cumulative buildup that can dull blades and harbor harmful pathogens.
Can I use household detergent instead?
Household detergents lack the specific solvents needed to break down complex terpenes. Use a dedicated resin remover or 70% isopropyl alcohol to ensure the metal is stripped of all organic residues without leaving a film.
Will resin remover damage my tool handles?
Most resin removers are safe for metal but may degrade certain plastics or rubbers. Apply the spray only to the metallic components and wipe any overspray off the handles immediately to maintain structural integrity.
Why is tool cleanliness important for soil health?
Clean tools prevent the introduction of soil-borne pathogens like Fusarium. By maintaining sterile equipment, you protect the rhizosphere and ensure that the beneficial microbial populations remain undisturbed during routine gardening tasks.