6 Best Solvent for Plant Sap
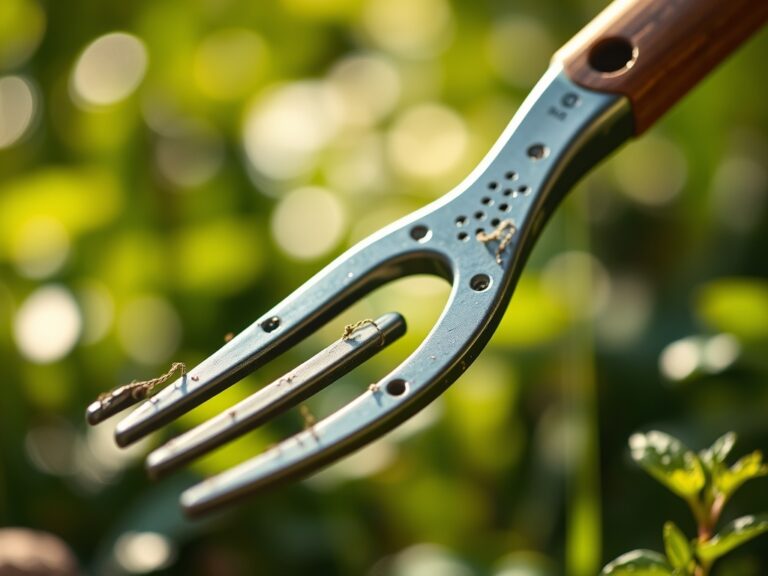
The smell of damp earth and the sharp, resinous scent of crushed xylem tissue signal a successful day in the orchard or greenhouse. When you prune a high-turgor woody perennial or harvest resinous herbs, the plant responds by exuding a sticky mixture of terpenes, polysaccharides, and alkaloids. This sap acts as a biological sealant, but on your bypass pruners or skin, it becomes a stubborn contaminant that attracts pathogens and grit. Finding the best solvent for plant sap is a requirement for maintaining tool longevity and preventing the cross-contamination of viral loads between specimens. Effective solvents must break the molecular bonds of complex resins without damaging the tempered steel of your blades or the delicate epidermal layers of your hands. Science dictates that like dissolves like; therefore, non-polar resins require non-polar solvents to achieve a clean surface.
Materials:
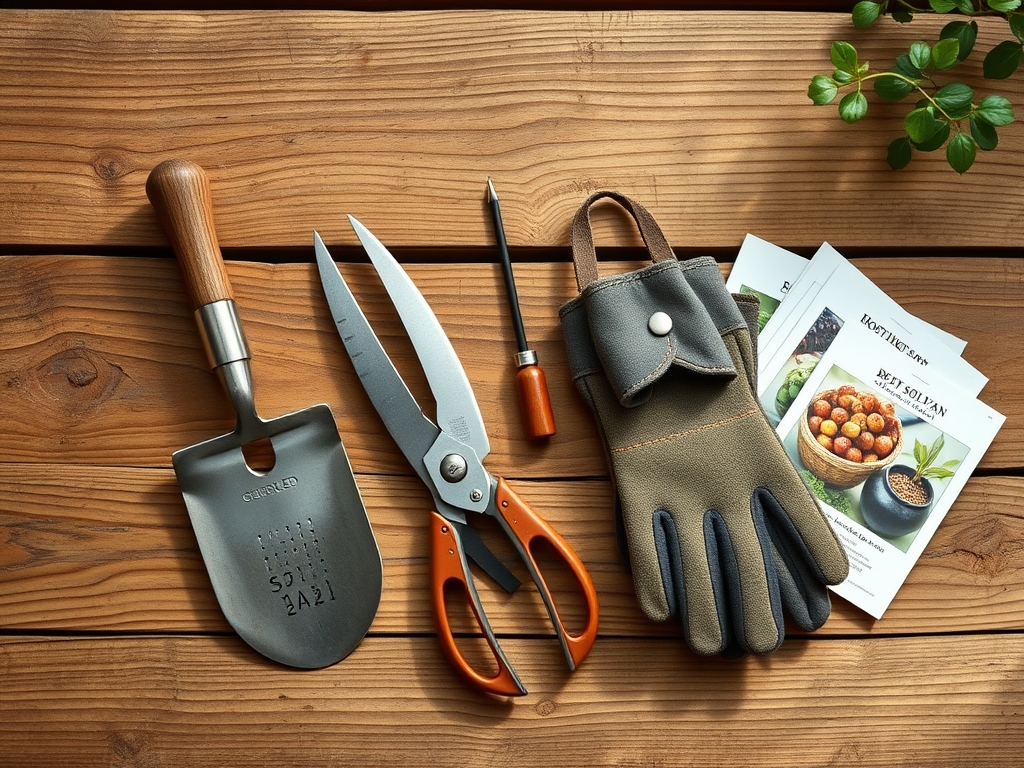
A successful horticultural operation begins in the rhizosphere. Before addressing sap removal, ensure your growing environment utilizes a **friable loam** with a **Cation Exchange Capacity (CEC) between 15 and 25 meq/100g**. This ensures that the nutrients you provide, specifically an **NPK ratio of 10-10-10** for general maintenance or **5-10-10** for root development, are actually available to the plant. Maintain a **soil pH between 6.2 and 6.8** to optimize the solubility of micronutrients like manganese and iron. When the soil structure is correct, the plant maintains optimal turgor pressure, which paradoxically leads to cleaner cuts and more manageable sap flow. For cleaning, gather 90 percent isopropyl alcohol, food-grade mineral oil, and a stiff-bristled nylon brush.
Timing:
Successful cultivation is governed by the photoperiod and local climate data. In Hardiness Zones 5 through 7, the primary pruning window occurs during dormancy, typically between late January and early March, before the sap begins to rise. This timing minimizes the volume of exudate you must manage. The biological clock of the plant dictates that the transition from vegetative to reproductive stages is triggered by hormonal shifts, specifically the ratio of auxins to gibberellins. If you must prune during the active growing season, do so in the early morning when temperatures are below 70 degrees Fahrenheit. At these temperatures, sap viscosity is higher, making it less likely to spray or coat tools extensively compared to the heat of the afternoon.
Phases:
Sowing and Seedling Development
Begin with sterilized trays and a seed-starting mix with a pH of 5.8. Ensure the substrate is moist but not saturated to prevent "damping off" caused by Pythium fungi. Maintain a consistent soil temperature of 75 degrees Fahrenheit using a heat mat to maximize germination percentages.
Pro-Tip: Utilize a bottom-watering technique to encourage geotropism, where roots grow downward toward the moisture source. This builds a robust root architecture early in the life cycle, ensuring the plant can handle later mechanical stress.
Transplanting to the Field
Move seedlings when they have developed at least two sets of true leaves. Dig a hole twice the width of the root ball to reduce soil compaction in the immediate rhizosphere. Incorporate organic matter to improve the soil's water-holding capacity and provide a slow-release source of nitrogen.
Pro-Tip: Inoculate the planting hole with mycorrhizal fungi. This symbiotic relationship extends the root system's reach by up to 100 times, significantly increasing the uptake of phosphorus and water during the critical establishment phase.
Establishing and Canopy Management
As the plant enters its rapid vegetative growth phase, monitor for apical dominance. If the plant becomes too leggy, selective pruning may be necessary to redirect energy to lateral branches. This is when you will encounter the highest volume of sticky resins and latex.
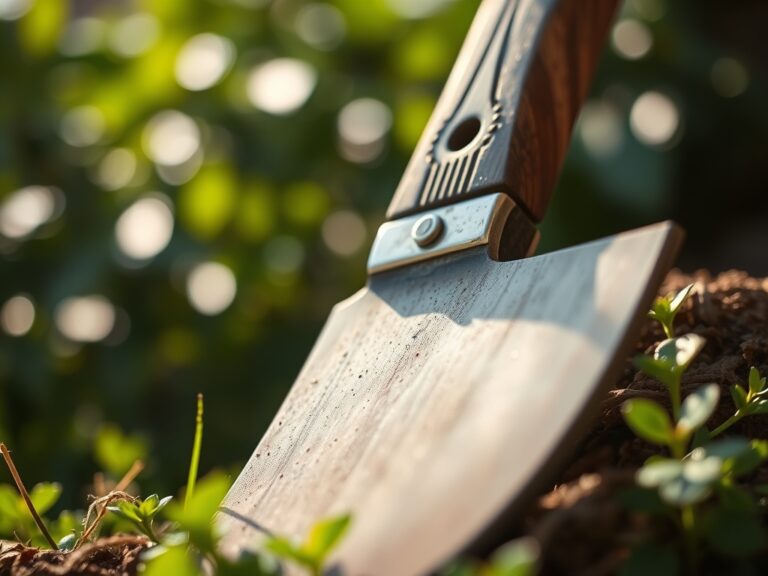
Pro-Tip: Use a hori-hori knife for precision root pruning or weeding near the base. Understanding auxin suppression is key; by removing the terminal bud, you stop the flow of auxins that inhibit lateral growth, resulting in a bushier and more productive plant.
The Clinic:
Physiological disorders often mimic infectious diseases, but they are usually rooted in environmental or nutritional imbalances.
Symptom: Interveinal chlorosis on young leaves.
Solution: This indicates an Iron (Fe) deficiency, often caused by a pH above 7.0. Apply a chelated iron foliar spray and lower the soil pH using elemental sulfur.
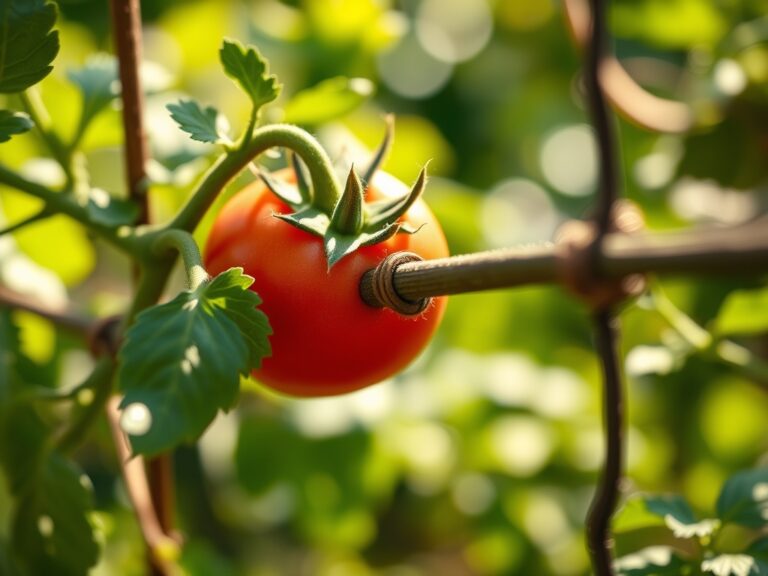
Symptom: Blossom end rot in fruiting crops.
Solution: This is a Calcium (Ca) transport issue, not necessarily a lack of calcium in the soil. Ensure consistent irrigation to maintain the transpiration stream, as calcium moves only through the xylem via turgor pressure.
Symptom: Purpling of older foliage.
Solution: This is a classic Phosphorus (P) deficiency. It often occurs in cold soils below 55 degrees Fahrenheit where P becomes chemically locked. Use a high-phosphorus starter fertilizer (NPK 10-52-10) to bridge the gap.
Fix-It for Nitrogen Chlorosis: If the entire plant turns pale green or yellow starting from the bottom up, apply a quick-release nitrogen source like urea or ammonium sulfate. Aim for a target of 0.2 pounds of actual nitrogen per 100 square feet.
Maintenance:
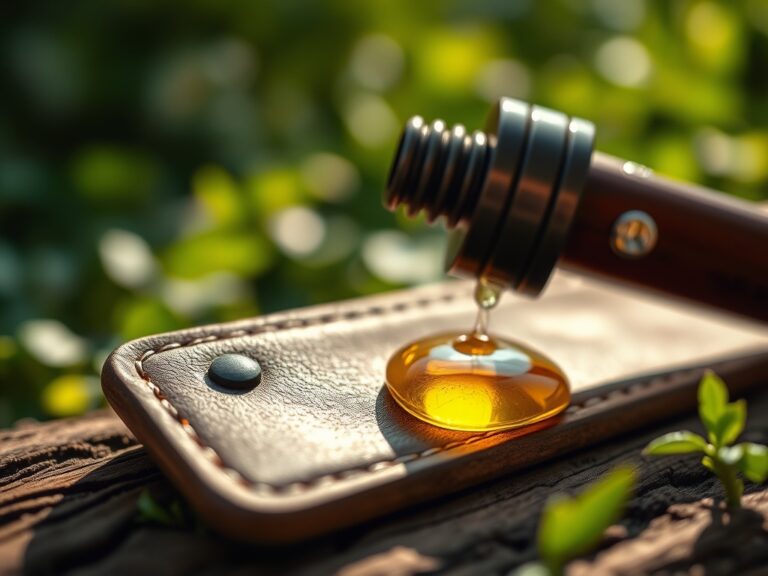
Precision maintenance prevents the buildup of sap that can harbor bacteria. Apply 1.5 inches of water per week at the drip line using a soaker hose to keep the foliage dry. After every use, clean your bypass pruners using the best solvent for plant sap, which in a professional setting is typically 90 percent isopropyl alcohol or a specialized citrus-based degreaser. The alcohol acts as a solvent and a disinfectant, killing pathogens like Erwinia amylovora. For heavy resin buildup from conifers, apply a thin layer of mineral oil and let it sit for ten minutes before scrubbing with a brass brush. Use a soil moisture meter daily to ensure the root zone stays between 60 and 80 percent of field capacity.
The Yield:
Harvesting is the culmination of months of metabolic work. For most crops, the ideal harvest time is just after the morning dew has evaporated but before the midday sun triggers transpiration stress. Use a sharp, cleaned blade to ensure a clean separation of the peduncle from the stem. For resinous herbs, harvest just before flowering when the essential oil concentration in the trichomes is at its peak. Post-harvest, immediately cool the produce to 40 degrees Fahrenheit to slow down the rate of senescence and cellular respiration. This preserves the sugars and acids, ensuring "day-one" freshness for the end user.
FAQ:
What is the best solvent for plant sap on tools?
Isopropyl alcohol (90%) is the industry standard. It dissolves the non-polar bonds in resins and latex while simultaneously disinfecting the metal surface. For heavy conifer pitch, a citrus-based solvent or mineral oil is more effective at breaking down thick hydrocarbons.
How do I remove sap from my skin safely?
Avoid harsh chemicals. Use a fat-based substance like olive oil, vegetable oil, or a specialized mechanic's hand cleaner. The oils bind to the sap's terpenes, allowing you to wipe the residue away before washing with standard soap and water.
Can I use WD-40 to clean my pruning shears?
While WD-40 acts as a solvent and displaces moisture, it leaves a petroleum residue that can be phytotoxic to sensitive plant tissues. If used, the tool must be wiped completely clean with alcohol before it touches a live plant again.
Why does sap get harder to remove over time?
Sap contains volatile organic compounds that evaporate when exposed to air. This process, known as polymerization, turns the liquid exudate into a hard, shellac-like resin. Immediate cleaning prevents this chemical hardening and protects the tool's cutting edge from pitting.
Does vinegar work as a sap solvent?
Vinegar is an acetic acid and is a polar solvent. It is generally ineffective against non-polar plant resins and pitches. Furthermore, the acid can cause flash rusting on high-carbon steel tools if not neutralized and dried immediately after application.