7 Secure Steps to anchor Trellis Posts
Damp earth smells of geosmin and microbial activity when you break the crust to set your foundation. A healthy plant maintains high turgor pressure; however, even the most vigorous vine will collapse into a heap of decaying biomass without a rigid support system. Gravity is the constant enemy of the vertical gardener. To prevent structural failure during peak fruiting, you must master the steps to anchor trellis posts with engineering precision. This process requires more than a shovel and a post. It demands an understanding of soil physics and the mechanical stresses exerted by a full canopy under wind load. A mature grapevine or heavy indeterminate tomato plant can exert over fifty pounds of downward pressure on a single vertical member. Failure to secure the base results in root shear and vascular strangulation. By following a systematic approach to post-installation, you ensure the rhizosphere remains undisturbed and the aerial portions of the plant receive optimal solar radiation throughout the growing season.
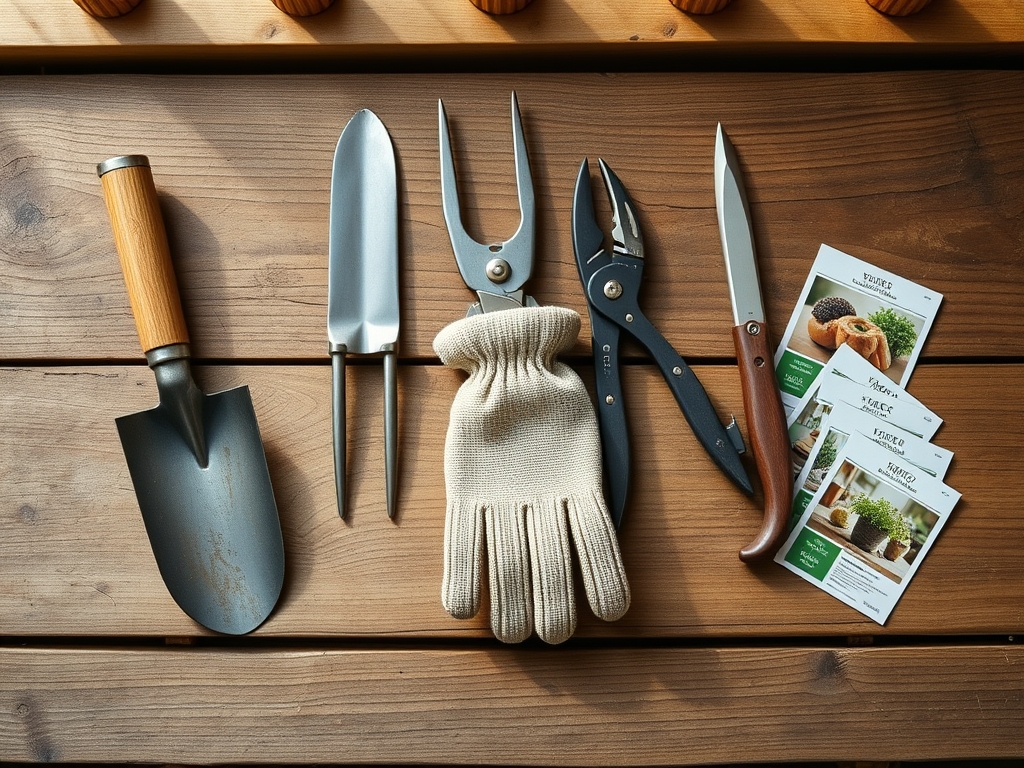
Materials:
The success of your trellis depends on the Cation Exchange Capacity (CEC) and physical structure of your substrate. Ideal installation occurs in a **friable loam** with a **pH between 6.0 and 7.0**. This balance ensures that the metal or wood posts do not undergo accelerated chemical degradation. If your soil is heavy clay, the high water retention will lead to anaerobic conditions and post rot. Conversely, sandy soils lack the cohesive strength to hold an anchor under tension.
Before setting posts, analyze your soil nutrient profile. For high-demand climbers, ensure the surrounding soil contains an NPK ratio of 5-10-10 to prioritize root development over excessive foliage. Use 4×4 pressure-treated timber or 12-gauge galvanized steel. You will also need Grade 80 concrete mix, a post-hole digger, a level, and crushed angular stone for drainage. Avoid rounded river rock; angular gravel provides the friction necessary to lock the post into the earth.
Timing:
Timing is dictated by the thermal mass of your soil and your local Hardiness Zone. In Zones 5 through 7, the window for anchoring posts opens once the frost line has retreated, typically between late March and early May. Attempting to anchor posts in frozen soil results in "frost heave," where the expansion of freezing water ejects the post from its cavity.
The biological clock of your crop is the ultimate deadline. You must have the trellis secured before the plant transitions from the vegetative stage to the reproductive stage. Once the plant begins diverting energy toward flower production, its auxins shift to support vertical extension. If the support is not present when the plant reaches 12 inches in height, the main stem may kinking, which permanently restricts the flow of water and nutrients through the xylem.
Phases:

Sowing and Site Preparation
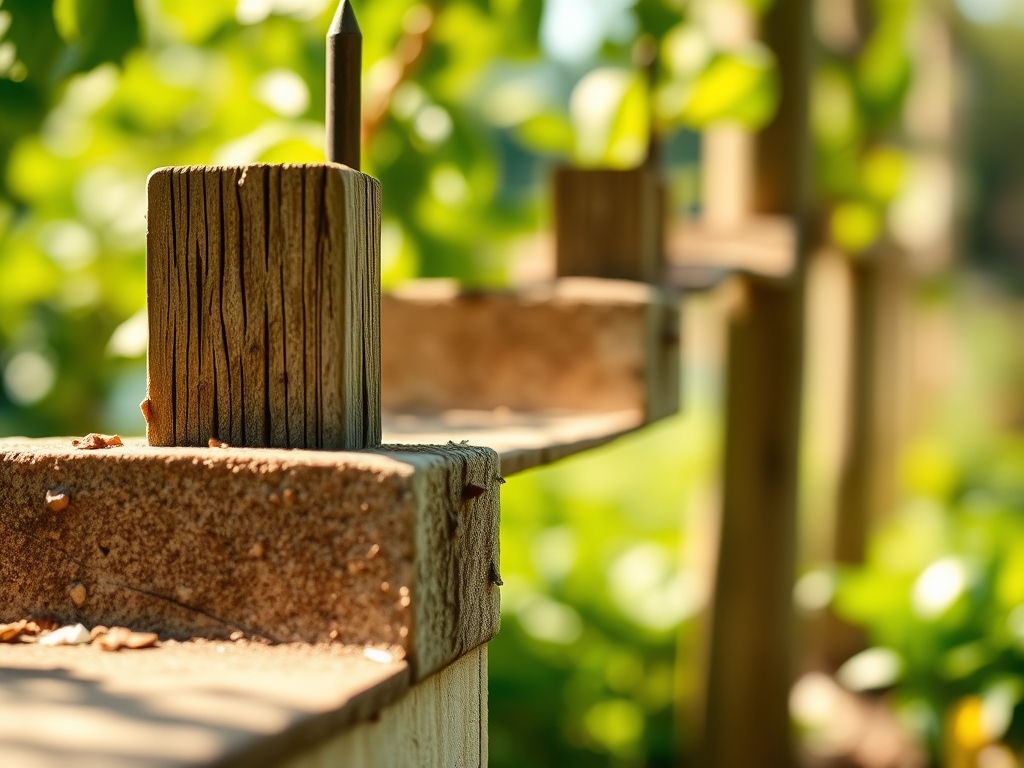
Excavate a hole to a depth of at least one-third the total height of the post. For a 6-foot trellis, you must dig 24 inches deep. Ensure the diameter of the hole is three times the width of the post. This volume allows for a sufficient concrete collar to resist lateral wind forces.
Pro-Tip: Maintaining a wide hole encourages mycorrhizal symbiosis near the post base. By backfilling the outer edges with organic matter, you create a fungal bridge that helps the plant's roots scavenge for phosphorus beyond the post's footprint.
Transplanting and Alignment
Place the post in the center of the hole and add 3 inches of crushed stone to the bottom. This prevents the post from sitting in standing water. Use a level to ensure the post is perfectly vertical on both the X and Y axes. Pour the concrete mix while dry, then slowly add water to allow for a slow cure.
Pro-Tip: Perfect vertical alignment is critical due to phototropism. If a post leans, the plant will grow at an angle to compensate for the light source, creating uneven weight distribution that can lead to structural collapse during a storm.
Establishing the Support
Once the concrete has cured for 48 to 72 hours, backfill the remaining space with native soil. Tamp the soil down firmly to eliminate air pockets. Attach your horizontal wires or netting, ensuring they are taut. Loose wires allow for "vine whip," which can abrade the plant's cuticle and invite pathogens.
Pro-Tip: Use a hori-hori knife to slice into the soil near the post to check for compaction. Proper aeration at the base prevents auxin suppression, ensuring the plant continues to send growth signals to the terminal buds.
The Clinic:
Physiological disorders often manifest when the trellis system fails or is improperly managed.
- Symptom: Leaf chlorosis (yellowing) near the base. Solution: Check for soil compaction around the post. Compacted soil limits oxygen to the roots. Use a garden fork to aerate the area.
- Symptom: Stem Canker. Solution: This is often caused by mechanical injury from loose trellis ties. Use soft horticultural tape and ensure the plant has 0.5 inches of "wiggle room" for stem expansion.
- Symptom: Blossom End Rot. Fix-It: While often a calcium deficiency, it is exacerbated by inconsistent moisture. Use a soil moisture meter to ensure the root zone stays at a consistent 15 to 20 percent moisture level.
- Symptom: Nitrogen Chlorosis. Fix-It: If upper leaves are pale green, apply a liquid fertilizer with an NPK of 10-5-5 to quickly boost chlorophyll production.
Maintenance:
A trellis is not a "set and forget" tool. You must monitor the tension of your wires monthly. Use bypass pruners to remove any dead or diseased tissue that could harbor pests over winter. Water requirements for trellised plants are higher due to increased evaporation from the elevated leaf surface area. Provide 1.5 inches of water per week at the drip line. Avoid wetting the foliage to prevent fungal spores from germinating. Check the post base for any signs of shifting after heavy rain events. If the post moves more than 0.25 inches under pressure, reinforce the base with additional crushed stone.
The Yield:
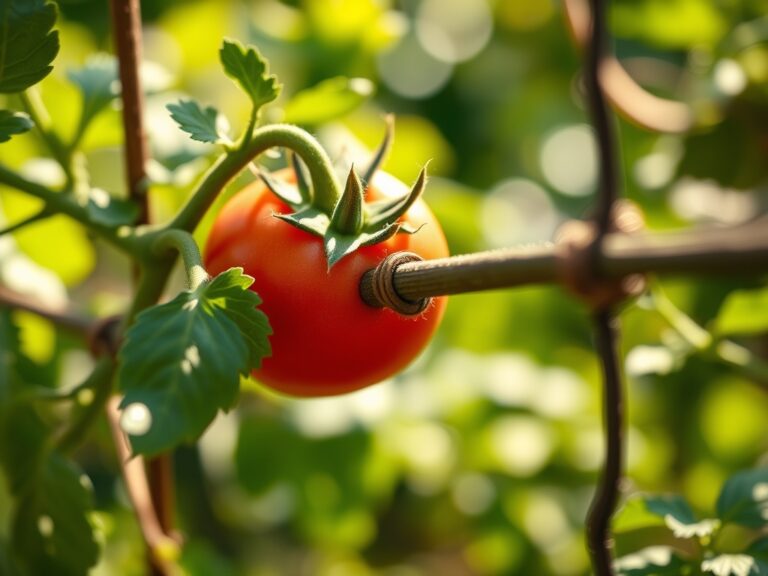
Harvesting from a well-anchored trellis is more efficient because the fruit is held at eye level, away from soil-borne pathogens. For indeterminate tomatoes or pole beans, harvest when the fruit reaches its varietal color and firmness. Use sharp snips to cut the pedicel; do not pull the fruit, as this can damage the vine's vascular system. To maintain "day-one" freshness, harvest in the early morning when the plant's turgor pressure is at its peak. Immediately move the produce to a cool, shaded area to slow down the rate of respiration and senescence.
FAQ:
How deep should I bury my trellis posts?
Bury posts to a depth of at least one-third of their total length. For an 8-foot post, 32 inches should be below ground. This depth provides the leverage needed to resist the lateral force of wind and heavy fruit.
Can I anchor posts without using concrete?
Yes, in high-clay soils, you can use compacted crushed angular stone. The stone provides excellent drainage while locking the post in place through friction. This method is preferred for organic systems where concrete leaching is a concern.
What is the best material for trellis posts?
Pressure-treated wood (rated for ground contact) or galvanized steel are the industry standards. These materials resist rot and oxidation for 10 to 20 years. Avoid untreated softwoods, which will fail within two seasons due to fungal decay.
When should I install my trellis system?
Install the system before transplanting your crops. Driving posts into the ground after plants are established will cause significant root pruning and transplant shock. Early installation ensures the root system develops undisturbed around the support structure.