10 Strong Ways How to Maintain a Garden Fork
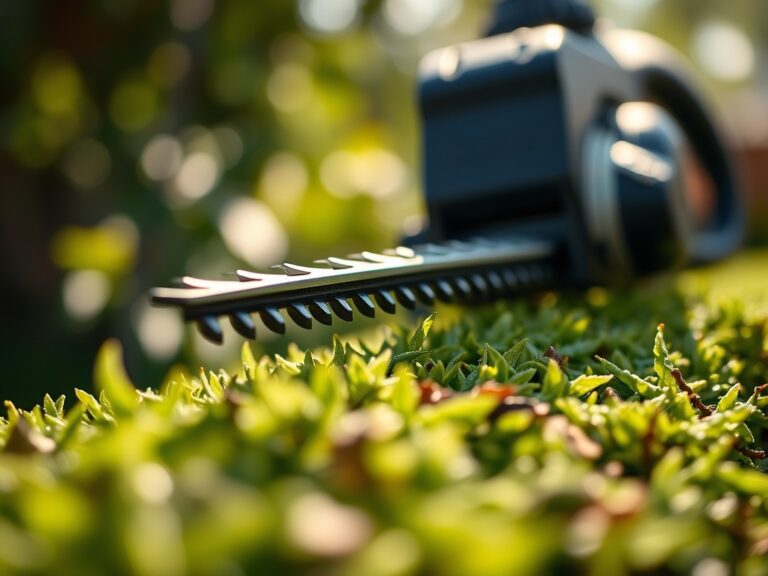
The smell of damp earth and the resistance of compacted clay define the daily reality of the horticulturist. When the turgor pressure of a plant remains low despite adequate hydration, the issue often lies in soil compaction within the rhizosphere. A sharp, well-aligned tool is the only way to fracture these anaerobic layers without destroying the delicate fungal networks below. Learning how to maintain a garden fork ensures that every plunge into the substrate is efficient; reducing physical strain on the operator and preventing the transmission of soil-borne pathogens across different garden beds.
A neglected fork becomes a vector for disease and a source of unnecessary labor. Rust creates friction, which requires more force to penetrate the soil profile, often leading to handle failure at the ferrule. A dull tine will tear through root systems rather than sliding past them, causing unnecessary plant stress and potential senescence in sensitive perennials. By adhering to a strict maintenance protocol, you preserve the structural integrity of the high-carbon steel and the ergonomic balance of the handle. This guide provides the technical framework for tool longevity and soil health.
Materials:
To maintain a garden fork properly, you must understand the environment it inhabits. The ideal substrate for most garden crops is a **friable loam** with a **Cation Exchange Capacity (CEC) between 15 and 25 meq/100g**. Soil pH levels significantly impact metal oxidation; acidic soils with a **pH below 5.5** accelerate the corrosion of steel tines. When amending soil to support plant health and tool longevity, aim for a balanced **NPK ratio of 10-10-10** for general maintenance, or a **5-10-10 ratio** for root development in heavier clays.
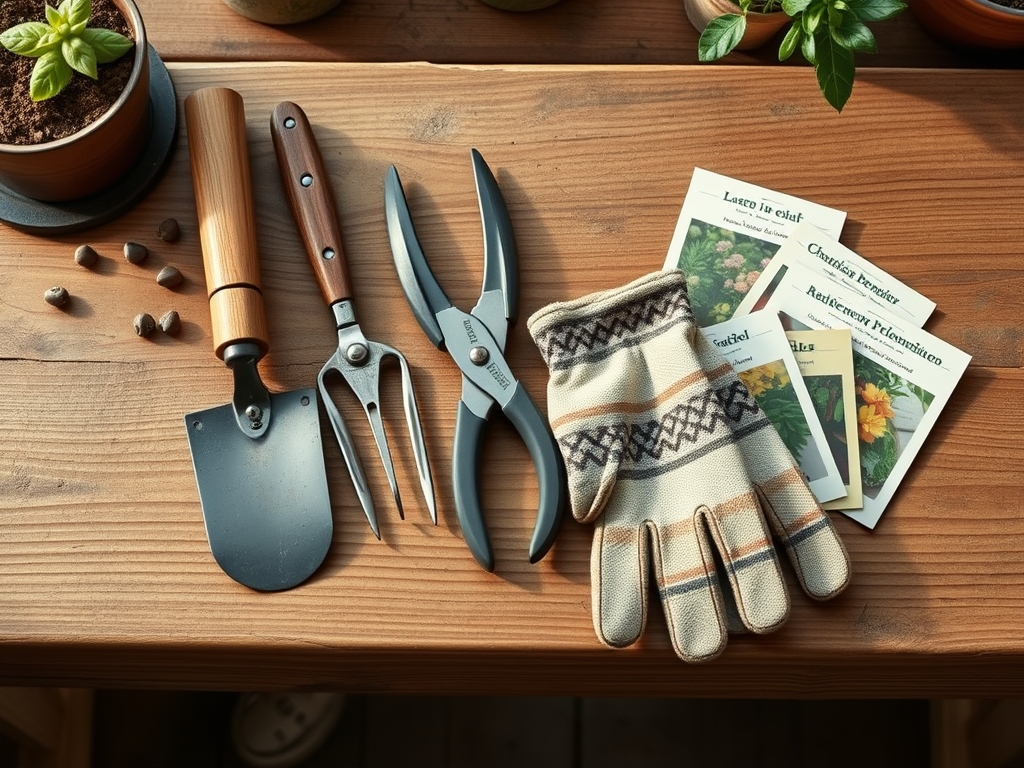
Essential maintenance supplies include:
- Steel wool (Grade 00) or a wire brush for removing oxidized iron.
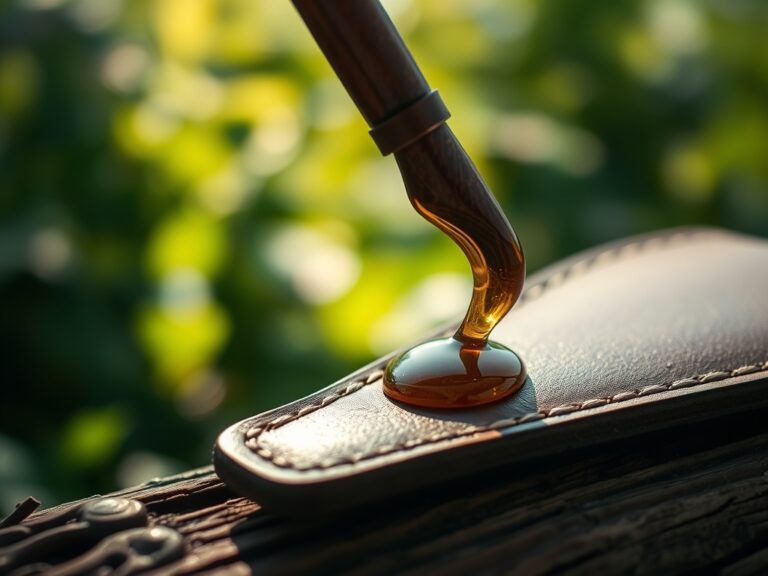
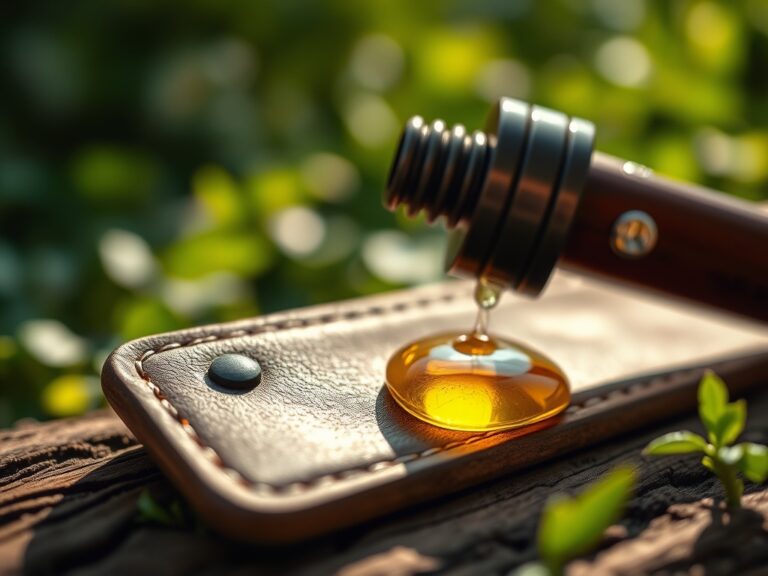
- Linseed oil (boiled) for wood handle saturation and moisture repulsion.
- 10-inch mill bastard file for restoring the 45-degree bevel on tine tips.
- Mineral oil for a protective barrier against moisture.
- A bucket of sharp sand mixed with motor oil for daily abrasive cleaning.
Timing:
Maintenance schedules must align with local climate conditions and the biological clock of the garden. In Hardiness Zones 4 through 7, the primary maintenance window occurs during the dormant season, typically after the first killing frost when the soil temperature drops below 45 degrees Fahrenheit. This prevents the tool from sitting with damp soil particles during the winter freeze-thaw cycles.
The biological clock of the garden dictates that major aeration and soil turning should occur during the transition from the vegetative stage to the reproductive stage of the cover crop, or in the early spring before bud break. Using a maintained fork during these windows ensures that the soil structure is open for gas exchange when microbial activity peaks at 65 to 75 degrees Fahrenheit.
Phases:

Sowing Preparation
Before the first seeds are placed, use the fork to loosen the top 8 to 12 inches of soil. A maintained fork with sharp tines reduces the "smearing" of clay particles, which can create a hardpan layer that inhibits radical emergence.
Pro-Tip: Maintaining sharp tines facilitates mycorrhizal symbiosis. Cleanly fractured soil allows fungal hyphae to expand rapidly into new pore spaces, increasing the surface area for nutrient uptake by up to 100 times.
Transplanting
When moving seedlings from flats to the field, use the fork to create a receiving hole that is twice the width of the root ball. This ensures the rhizosphere is sufficiently aerated to prevent transplant shock.
Pro-Tip: Deep aeration near the transplant site encourages gravitropism. When the fork creates vertical channels, roots naturally follow gravity into deeper, cooler soil layers where moisture levels are more consistent during the heat of the day.
Establishing
As the crop enters its rapid growth phase, use the fork to gently lift the soil around the drip line. This increases the oxygen diffusion rate (ODR), which is critical for ATP production in the root cells.
Pro-Tip: Proper soil aeration suppresses auxin-driven apical dominance in some root crops. By reducing physical resistance in the soil, the plant can allocate more carbohydrates to lateral root expansion rather than struggling to push a single taproot through compacted earth.
The Clinic:
Physiological disorders in plants often mirror the condition of the tools used to manage their environment.
-
Symptom: Nitrogen Chlorosis.
- Cause: Soil compaction leading to anaerobic conditions that prevent nitrogen fixation.
- Fix-It: Use a garden fork to aerate the soil to a depth of 10 inches. Apply a high-nitrogen fertilizer with a ratio of 21-0-0 (Ammonium Sulfate) to quickly restore chlorophyll production.
-
Symptom: Root Rot (Phytophthora).
- Cause: Poor drainage and contaminated tool tines.
- Fix-It: Sterilize fork tines with a 10 percent bleach solution or isopropyl alcohol. Use the fork to incorporate coarse organic matter to improve macropore space.
-
Symptom: Stunted Growth.
- Cause: Mechanical impedance from "glazed" soil walls caused by dull tools.
- Fix-It: Sharpen the leading edges of the fork tines. A sharp tool cuts through soil aggregates rather than compressing them, allowing for better root penetration.
Maintenance:
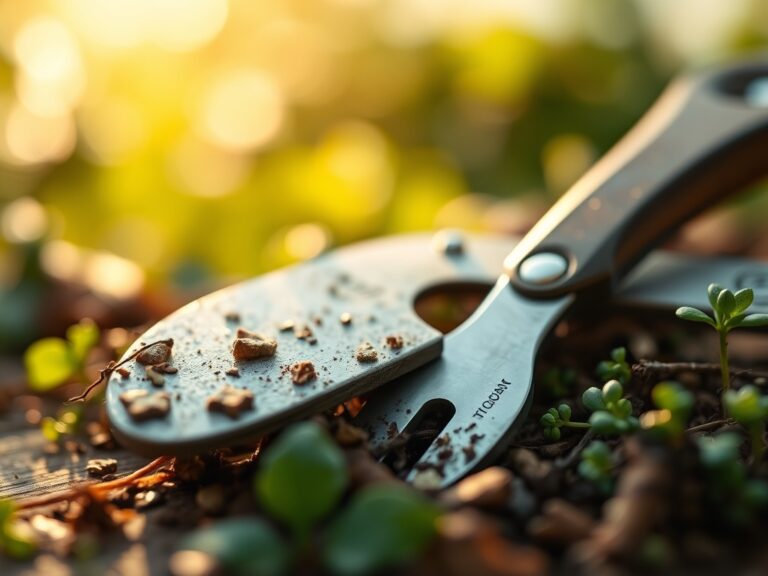
To maintain a garden fork, you must treat it as a precision instrument. After every use, remove all organic matter. Soil holds moisture against the metal, triggering the oxidation process. Use a hori-hori knife to scrape away stubborn clay. Once clean, plunge the tines into a bucket of oiled sand five times to polish the surface.
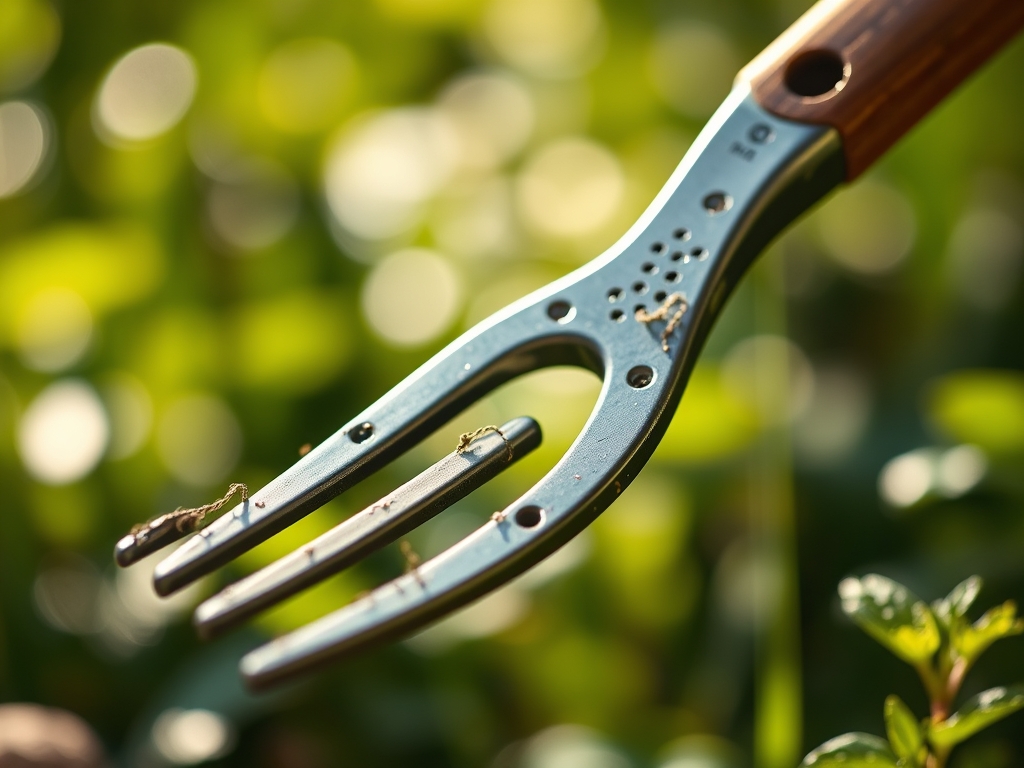
Check the handle for splinters or cracks. If the wood is dry, sand it with 120-grit sandpaper and apply a thin coat of linseed oil. For the metal components, ensure the rivets are flush. If the tines become bent, use a bench vise to slowly apply pressure until they are parallel. A fork out of alignment creates uneven torque, which can snap a hardwood handle under 150 pounds of leverage. Monitor soil moisture with a soil moisture meter; never use your fork in saturated soil, as this destroys soil structure and places maximum stress on the tool's neck.
The Yield:
When harvesting root crops like carrots or potatoes, the garden fork is indispensable. Insert the fork 6 inches away from the base of the plant to avoid mechanical damage to the harvestable tissue. Lift the soil mass upward in a single, fluid motion.
For "day-one" freshness, minimize the time the produce spends in direct sunlight. Post-harvest, the respiration rate of the plant increases. Cooling the produce to 40 degrees Fahrenheit immediately after harvest slows down enzymatic degradation and maintains the crispness of the cell walls. A clean, smooth fork ensures that the skin of the vegetable remains intact, preventing the entry of spoilage organisms during storage.
FAQ:
How often should I oil the handle?
Apply boiled linseed oil once every three months or whenever the wood feels "thirsty." This prevents water absorption, which causes the wood to swell and eventually rot inside the metal ferrule.
Can I use a grinder to sharpen tines?
Avoid high-speed grinders because the heat can draw the temper out of the steel, making it brittle. Use a manual mill bastard file to maintain the metal's structural integrity and hardness.
Why is my fork rusting despite storage?
High humidity in storage sheds often leads to flash rusting. Always wipe the tines with a rag soaked in mineral oil before long-term storage to create a hydrophobic barrier against atmospheric moisture.
How do I fix a bent tine?
Slide a hollow metal pipe over the bent tine for leverage. Slowly pull the tine back into alignment with the others. Avoid rapid movements, which can cause stress fractures in the high-carbon steel.