6 Basic Steps to Use an Indoor Composting Bin
Success in indoor horticulture begins with the smell of geosmin and the firm turgor of a healthy leaf. Managing organic waste within a confined living space requires precision to avoid anaerobic rot and offensive odors. Mastering the steps to use an indoor composting bin transforms kitchen scraps into a nutrient dense soil amendment. This process relies on a controlled carbon to nitrogen ratio of 30:1 to maintain aerobic decomposition. By regulating moisture and oxygen, you accelerate the breakdown of cellulose and lignin while preserving essential nitrogen for the rhizosphere.
Indoor composting is not merely disposal; it is a chemical engineering task. You are managing a microbial colony that thrives at temperatures between 60 and 80 degrees Fahrenheit. If the internal temperature drops, microbial activity slows; if it spikes without ventilation, you risk the growth of unwanted pathogens. A well managed bin produces a dark, crumbly humus that smells of damp earth rather than decay. This material provides the structural foundation for high performance potting mixes, ensuring that your indoor plants have immediate access to bioavailable minerals and beneficial fungi.
Materials:
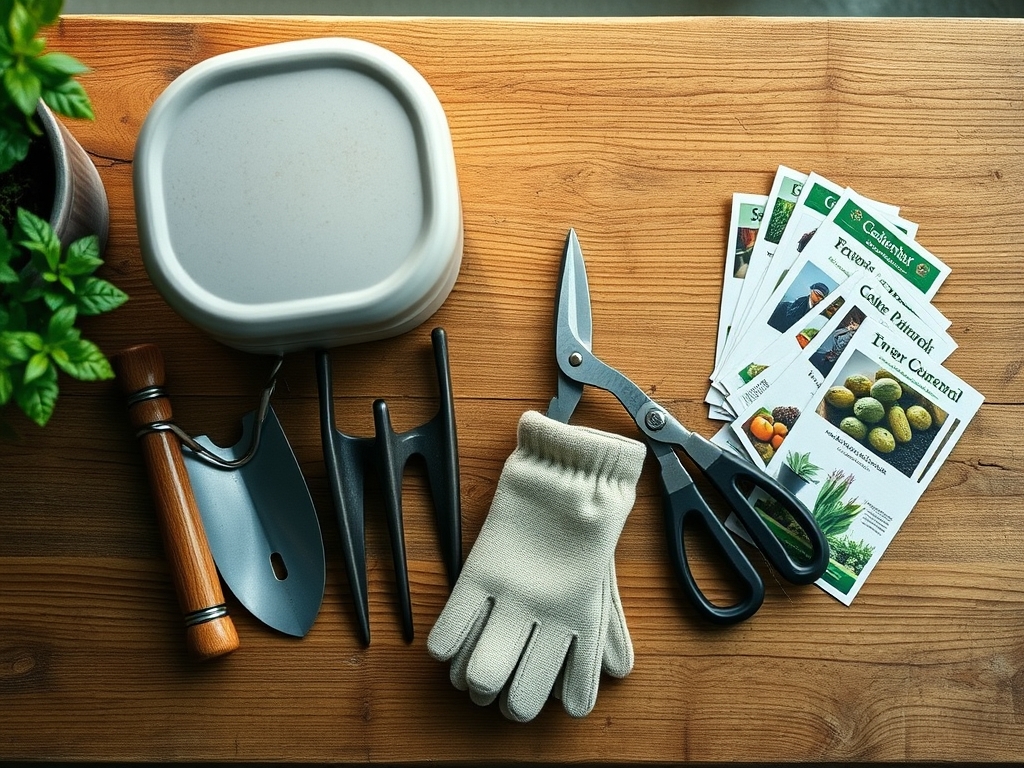
The quality of your finished compost depends on the initial substrate. Aim for a friable loam texture that allows for gas exchange. For indoor bins, you must balance green materials (nitrogen) and brown materials (carbon). Nitrogen rich inputs like vegetable trimmings often possess an NPK ratio of approximately 2.5-0.5-2.0. Carbon sources, such as shredded cardboard or dried coco coir, provide the structural matrix.
Maintain a target pH between 6.0 and 7.5. If the environment becomes too acidic (below 5.0), microbial respiration ceases. Use a high Cation Exchange Capacity (CEC) material like zeolite or biochar to help retain ammonium ions and prevent leaching. Your bin should include a drainage layer of coarse perlite or expanded clay pebbles to prevent waterlogging at the base.
Timing:
Indoor composting operates independently of external Hardiness Zones, though ambient room temperature affects the biological clock of the microbes. In colder climates (Zones 3 through 5), ensure the bin is kept away from drafty windows to maintain a consistent 68 degree baseline. The transition from raw waste to finished humus typically takes 8 to 12 weeks, depending on the surface area of the inputs.
Monitor the biological clock of your indoor plants to time your compost application. Apply finished compost during the early vegetative stage when nitrogen demand is highest. Avoid heavy application during the reproductive stage or senescence, as excess nitrogen can inhibit flower development and weaken cellular walls, making the plant susceptible to environmental stress.
Phases:

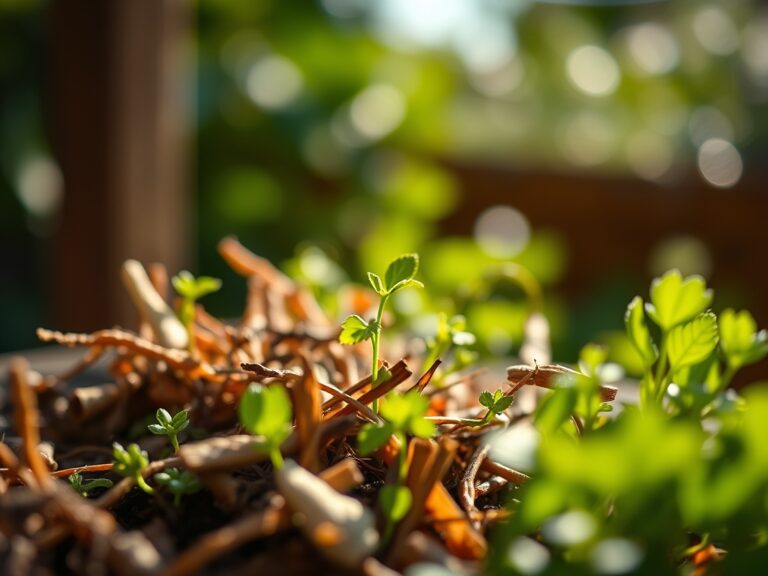
Sowing the Bin
Begin by layering 2 inches of carbon rich bedding at the bottom of the bin. This acts as a buffer for moisture. Add your first batch of nitrogenous waste, ensuring it is chopped into pieces smaller than 1 inch to increase the surface area for microbial colonization.
Pro-Tip: Introduce a handful of active garden soil to inoculate the bin with indigenous microorganisms. This facilitates immediate mycorrhizal symbiosis once the compost is later applied to plant roots, extending the reach of the root system for phosphorus uptake.
Transplanting and Turning
Every 7 days, use a small hand rake to aerate the pile. This prevents the formation of anaerobic pockets where methane producing bacteria thrive. If the mixture feels dry, mist it with dechlorinated water until it reaches the consistency of a wrung out sponge.
Pro-Tip: Aeration prevents the buildup of carbon dioxide in the pore spaces. High CO2 levels can lead to root asphyxiation if the compost is used before it is fully stabilized. Proper oxygenation ensures that aerobic bacteria dominate the decomposition process.
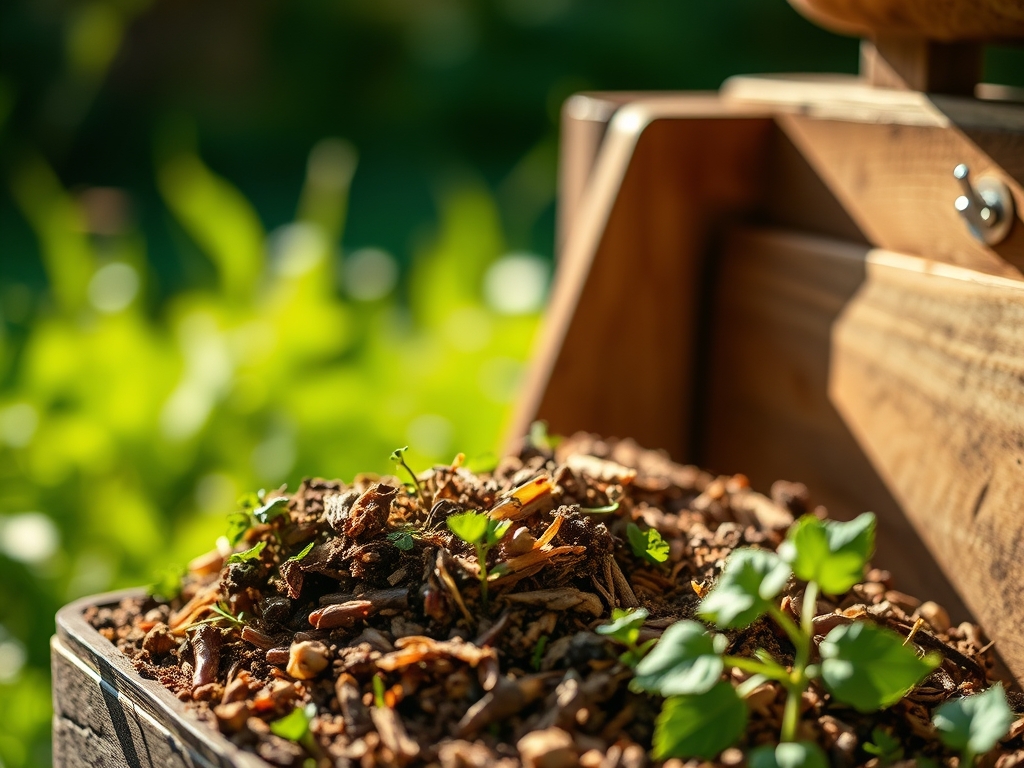
Establishing Stability
Once the bin is full, stop adding new material and allow it to cure for 3 weeks. The temperature will stabilize, and the visible fragments of food will disappear. The final product should be dark brown and granular.
Pro-Tip: During this phase, the reduction of ammonia levels is critical. High ammonia concentrations can cause auxin suppression in young plants, which stunts apical dominance and prevents the plant from growing toward its light source effectively.
The Clinic:
Physiological disorders in the compost bin often manifest as olfactory or visual cues.
Symptom: Putrid, sulfuric odor.
Solution: This indicates anaerobic conditions. Add dry carbon material and increase aeration frequency.
Fix-It: If you notice Nitrogen chlorosis (yellowing leaves) in plants treated with fresh compost, the material was likely "hot" or unfinished. The microbes are robbing nitrogen from the soil to finish breaking down carbon. Stop application and allow the compost to cure longer.
Symptom: Presence of small flies.
Solution: Ensure all nitrogenous waste is buried under 2 inches of carbon bedding.
Fix-It: For Calcium deficiency (blossom end rot or tip burn), add crushed eggshells to the bin during the initial phase. This increases the calcium carbonate levels in the final humus.
Symptom: Slimy texture.
Solution: Excess moisture. Remove the lid to allow evaporation and add shredded paper to absorb liquid.
Maintenance:
Precision maintenance ensures a high quality yield. Use a soil moisture meter to keep the bin between 40% and 60% moisture content. If the meter reads above 70%, the risk of fungal pathogens increases. When harvesting the finished compost, use a hori-hori knife to scrape the dark humus from the bottom of a multi-tray system.
For the plants receiving the compost, apply a 1 inch layer to the soil surface. Use bypass pruners to remove any dead or decaying foliage from the plants before application to ensure maximum airflow. Water the plants with exactly 1.5 inches of water per week at the drip line to help move the soluble nutrients into the root zone without flushing them out of the container.
The Yield:
Harvesting compost is a matter of visual and tactile confirmation. The material must be cool to the touch and indistinguishable from dark soil. To maintain "day-one" freshness and microbial potency, store finished compost in a breathable bag in a cool, dark location. If the compost dries out completely, the microbial populations will go dormant or die. Use the compost within 6 months of harvest to ensure the highest concentration of bioavailable nutrients and enzymes.
FAQ:
How do I stop my indoor bin from smelling?
Maintain a 30:1 carbon to nitrogen ratio. Always cover food scraps with a layer of shredded paper or coco coir. Ensure adequate oxygenation by turning the pile weekly to prevent anaerobic bacteria from producing foul gases.
Can I put meat or dairy in an indoor bin?
No. Meat and dairy require high thermophilic temperatures to break down safely. In an indoor bin, these items will putrefy, attract pests, and create pathogens that are difficult to manage in a residential environment.
What is the best temperature for indoor composting?
The ideal range is 60 to 80 degrees Fahrenheit. This range supports mesophilic bacteria which are the primary decomposers in small scale systems. Avoid placing bins near heaters or in unheated garages during winter.
How long does it take to get finished compost?
With proper aeration and moisture, expect finished compost in 2 to 4 months. Factors such as the size of the scraps and the frequency of turning will significantly impact the speed of the decomposition process.