5 Easy Ways How to Start a Worm Farm Apartment
The smell of damp, oxygenated earth and the firm turgor of a leaf saturated with nitrogen define a successful indoor ecosystem. In a confined urban space, the bridge between kitchen waste and high-grade fertilizer is vermicompost. Learning how to start a worm farm apartment requires mastering the rhizosphere within a plastic or wooden vessel. This process converts organic matter into bioavailable nutrients through the digestive tract of Eisenia fetida, the red wiggler.
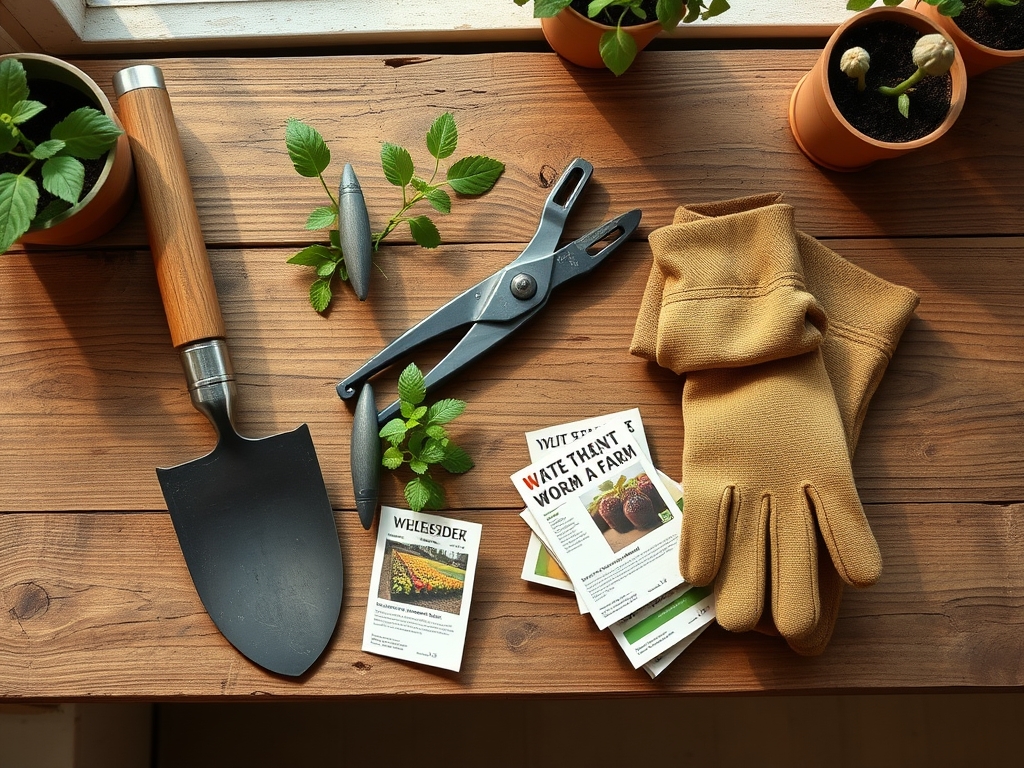
Materials:
The substrate must maintain a **pH between 6.0 and 7.0** to prevent skin irritation for the worms. The ideal bedding consists of **friable loam** mixed with shredded cellulose. This provides a high **Cation Exchange Capacity (CEC)**, allowing the resulting castings to hold onto essential ions.
The nutrient profile of finished vermicompost typically yields an NPK ratio of 5-5-3, though this fluctuates based on the feedstock. You require a non-transparent container with a minimum depth of 12 inches to allow for vertical migration. Bedding should be a mix of 70 percent brown matter (carbon) and 30 percent green matter (nitrogen). Use a soil moisture meter to ensure the bedding remains at 70 to 80 percent moisture content. If the bedding feels like a wrung-out sponge, the hydration levels are correct for gas exchange.
Timing:
While apartment living offers a controlled climate, the biological clock of the worm colony is sensitive to ambient temperatures. Eisenia fetida thrive in Hardiness Zones 4 through 9 if kept outdoors, but in an apartment, you must maintain a consistent range of 60 to 80 degrees Fahrenheit.
The biological clock of the system begins with a 14-day acclimation period. During this phase, the microbial community establishes itself on the bedding surfaces. This is the vegetative stage of the bin, where bacteria begin the enzymatic breakdown of cellulose before the worms even ingest the material. Avoid introducing large quantities of nitrogenous waste until the initial microbial colony reaches a density sufficient to prevent anaerobic pockets.
Phases:

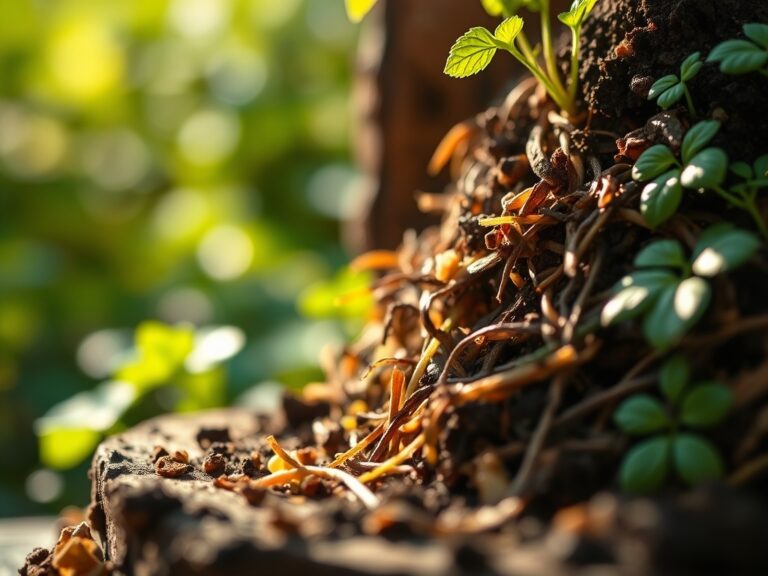
Sowing the Bedding
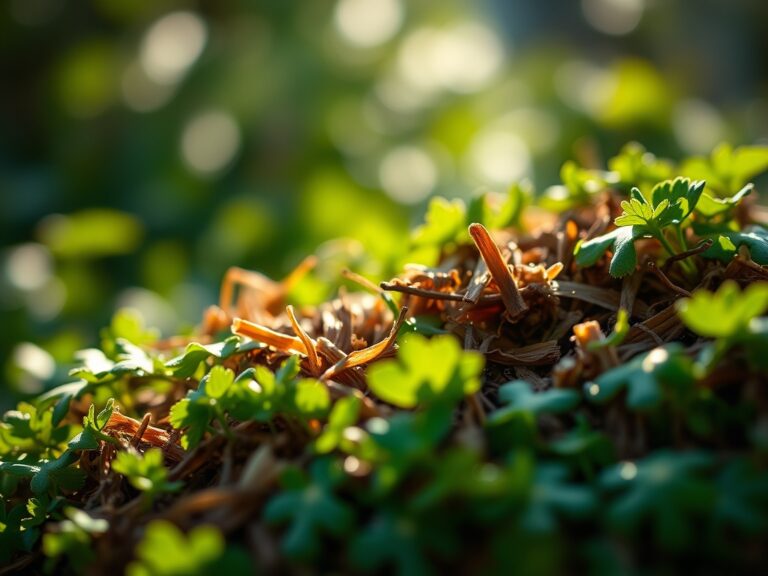
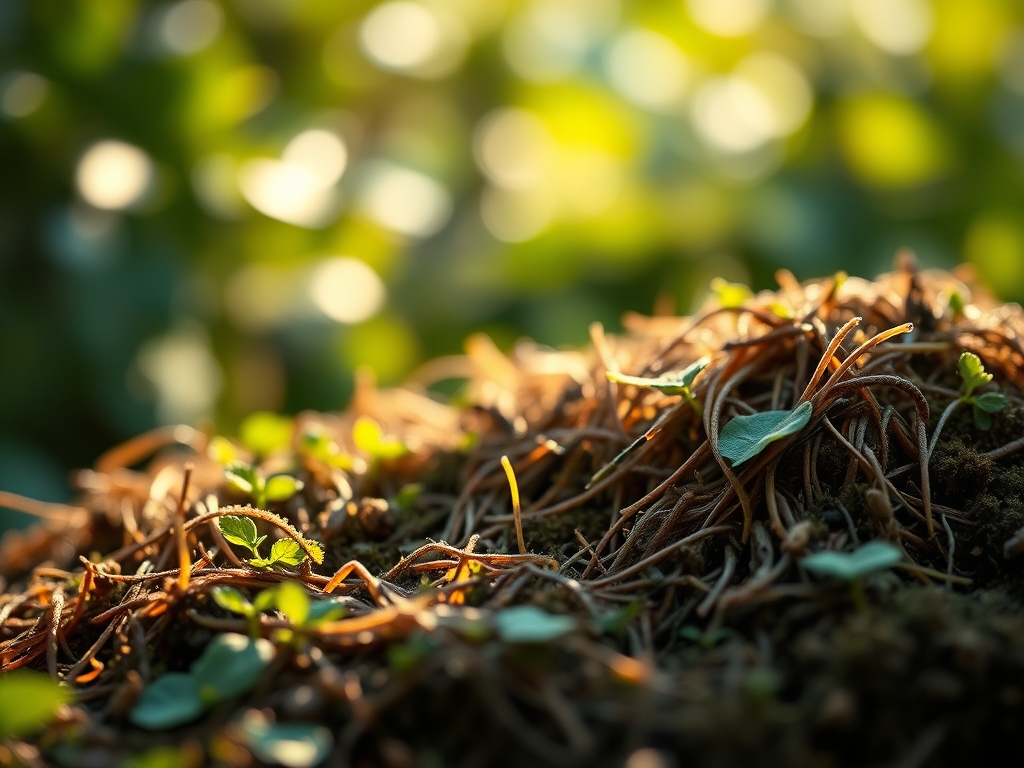
Layer the bottom of the bin with 3 inches of damp, shredded cardboard and coco coir. This creates the structural foundation for the rhizosphere mimics. Add a handful of garden soil or finished compost to inoculate the bin with beneficial microbes.
Pro-Tip: Include crushed eggshells to provide calcium carbonate. This acts as a buffer against acidity and provides grit for the worms' gizzards, facilitating the mechanical breakdown of food through mycorrhizal-like symbiotic digestion.
Transplanting the Colony
Introduce one pound of worms for every square foot of surface area. Place them on top of the bedding and leave a light source on for the first 24 hours. This utilizes their negative phototropic response to force them deep into the substrate, ensuring they do not escape the new environment.
Pro-Tip: Maintain a dark environment after the first day to prevent auxin suppression in any companion plants nearby and to keep worm stress levels low. High stress leads to protein breakdown and colony collapse.
Establishing the Cycle
Feed the colony in a localized "pocket" method. Bury food scraps 2 inches deep in one corner, then move to the next corner the following week. This allows the worms to migrate toward the food while maintaining a "safe zone" if the new waste begins to ferment or heat up.
Pro-Tip: Avoid citrus and alliums. These contain antimicrobial compounds that inhibit the microbial biofilm formation necessary for the worms to process organic matter.
The Clinic:
Physiological disorders in a worm bin are usually caused by an imbalance in the gaseous environment or moisture levels.
- Symptom: Sour or putrid odor. This indicates anaerobic conditions.
- Solution: Increase porosity. Use a hori-hori knife to gently aerate the bedding and add dry shredded paper to absorb excess leachate.
- Symptom: Worms clustering at the top (Protein Poisoning). This is often caused by overfeeding high-protein or starchy foods.
- Solution: Remove uneaten food immediately. Add calcium carbonate (garden lime) to neutralize the "sour crop" effect in the worms.
- Symptom: Nitrogen Chlorosis in plants fed with young compost. If using unfinished castings, the high carbon content can temporarily tie up nitrogen.
- Fix-It: Ensure the castings are dark, crumbly, and smell like forest floor before application. If chlorosis occurs, supplement with a liquid kelp fertilizer to bridge the gap.
Maintenance:
Precision is the difference between a waste bin and a farm. Check the moisture every 48 hours using a soil moisture meter. If the reading drops below 60 percent, use a spray bottle to apply dechlorinated water.
Use bypass pruners to chop food scraps into pieces smaller than 0.5 inches. Smaller surface area increases the rate of microbial colonization. Once every quarter, use a hori-hori knife to turn the bottom layers, ensuring that the cation exchange remains active throughout the profile. If the bin produces liquid (leachate), drain it immediately. This liquid is not "worm tea" and can be phytotoxic if it has gone anaerobic.
The Yield:
Harvesting occurs every 3 to 6 months. The castings are ready when the original bedding is no longer recognizable. Use the "light separation" method: pile the compost under a bright lamp. Worms will move toward the center to avoid light. Scrape away the outer layers of pure castings.
Post-harvest, store the castings in a breathable bag at room temperature. This preserves the turgor pressure of the beneficial microbes and prevents the loss of volatile nitrogen. Apply the castings at a rate of 1 part castings to 4 parts potting soil for maximum efficacy in apartment containers.
FAQ:
How do I prevent fruit flies in my apartment?
Bury all food scraps at least two inches deep under the bedding. Cover the surface with a thick layer of damp newspaper or a burlap sack. This creates a physical barrier that prevents flies from reaching the nitrogen-rich waste.
Can I use any type of earthworm?
No. You must use Eisenia fetida or Lumbricus rubellus. Standard garden earthworms are deep-burrowing soil dwellers. They will die in the shallow, highly organic environment of a worm bin. Red wigglers are specialized for surface-level decomposition.
How much can I feed my worms?
Start with 0.5 pounds of food per pound of worms per week. Monitor the consumption rate. If food remains after seven days, reduce the frequency. Overfeeding leads to anaerobic fermentation and a drop in pH levels.
What do I do if the bin gets too wet?
Incorporate dry, shredded cardboard or high-carbon "browns." Leave the lid off for 12 hours to increase evaporation. Ensure the drainage holes are not clogged with compacted castings to allow excess moisture to exit the system.