10 Classic Ways How to Build a Cedar Fence
The scent of freshly cut Thuja plicata heartwood carries a heavy concentration of thujaplicins; these natural fungicides are the primary reason a gardener must learn how to build a cedar fence to protect the botanical integrity of a managed landscape. When the spade cuts through the rhizosphere, the resistance of the soil indicates the compaction levels that will dictate post-hole depth and drainage requirements. A successful installation requires more than structural engineering; it demands an understanding of how timber interacts with the local microclimate and soil chemistry.
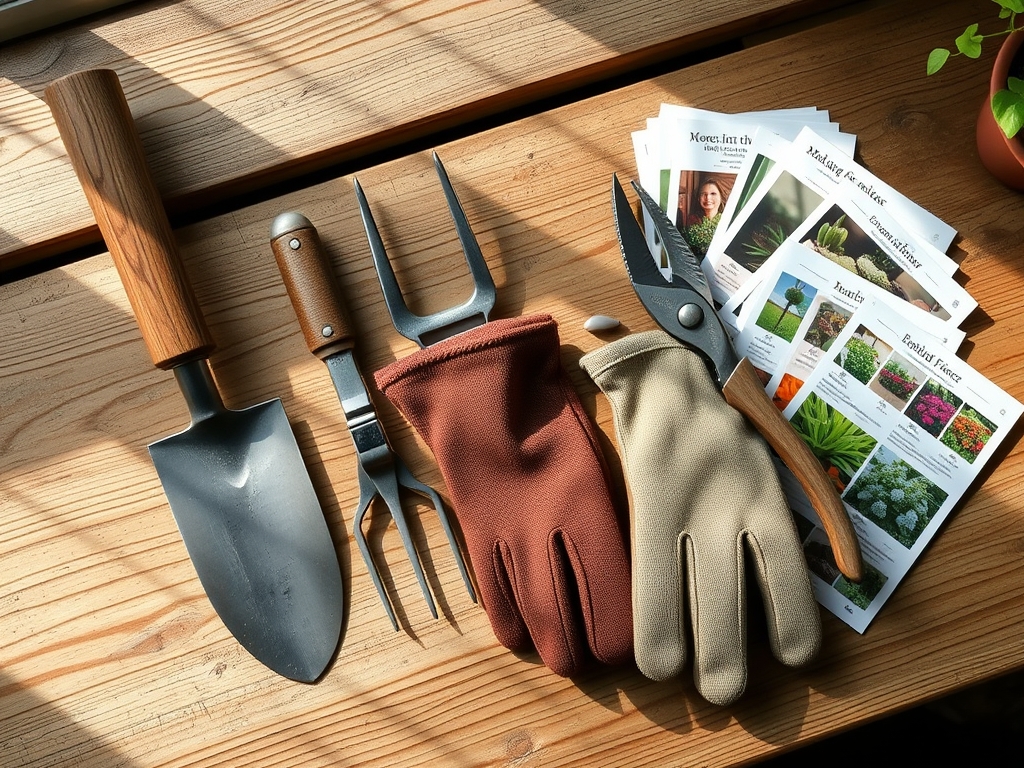
Materials:
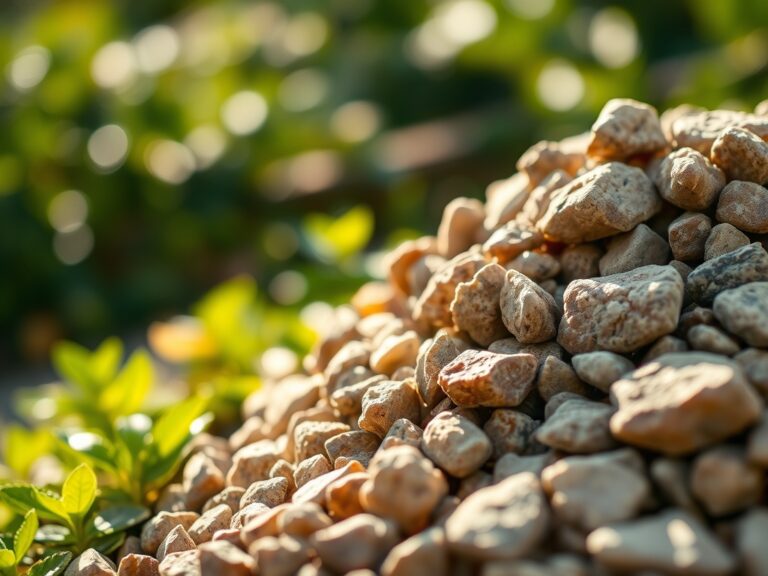
Before the first post is set, the soil chemistry must be analyzed. Western Red Cedar is naturally rot-resistant, but high alkalinity in the soil can accelerate the degradation of metal fasteners through galvanic corrosion. Aim for a **soil pH between 6.0 and 7.5**. If the installation site sits atop a heavy clay substrate with low Cation Exchange Capacity (CEC), drainage becomes the primary concern to prevent anaerobic conditions at the post base.
The ideal substrate for a fence line is a friable loam that allows for rapid percolation. If your soil is heavy clay, you must incorporate a 1:1 ratio of crushed stone to native soil in the backfill to ensure moisture does not pool against the wood. For the surrounding vegetation, maintain a balanced NPK ratio of 10-10-10 to offset the nitrogen drawdown that occurs as organic mulch or sawdust from the construction decomposes. High-carbon materials like cedar sawdust can temporarily immobilize nitrogen in the top 2 to 4 inches of soil, leading to localized chlorosis in nearby ornamental plants.
Timing:
The biological clock of your garden dictates the construction window. In Hardiness Zones 4 through 7, the optimal time to build is during the dormant season or late autumn after the first killing frost. This timing prevents the compaction of the soil during the active vegetative growth phase of your perennials. When plants are in a state of senescence, their root systems are less susceptible to the mechanical stress caused by heavy foot traffic and excavation.
Avoid construction during the spring thaw when the soil is at its highest moisture saturation. Working in these conditions destroys soil structure by collapsing the macropores necessary for oxygen exchange. Wait until the soil temperature reaches a consistent 55 degrees Fahrenheit and the moisture level allows a handful of soil to crumble when squeezed. This ensures the posts are anchored in stable ground that will not shift during the transition from the vegetative to the reproductive stages of the surrounding flora.
Phases:

Sowing the Perimeter
The first phase involves marking the line and excavating post holes to a depth of at least one-third the total height of the post. In regions with deep frost lines, you must dig 6 inches below the frost line to prevent heaving.
Pro-Tip: When clearing the fence path, use a sharp hori-hori knife to make clean cuts on any encroaching roots. Clean cuts facilitate faster wound sealing through the production of callus tissue, preventing opportunistic fungal pathogens from entering the plant's vascular system.
Transplanting the Posts
Set your 4×4 or 6×6 cedar posts into the holes. Instead of pouring concrete directly against the wood, use a 6-inch base of compacted gravel. This creates a sump that draws moisture away from the end grain. Fill the remainder with a high-strength mix, sloped away from the post at the surface to shed water.
Pro-Tip: Align the posts to maximize sunlight penetration for the understory. Improperly placed fencing can create "light pockets" that trigger auxin suppression in sun-loving plants, leading to leggy, weak growth as the plant attempts to reach over the structure for more photons.
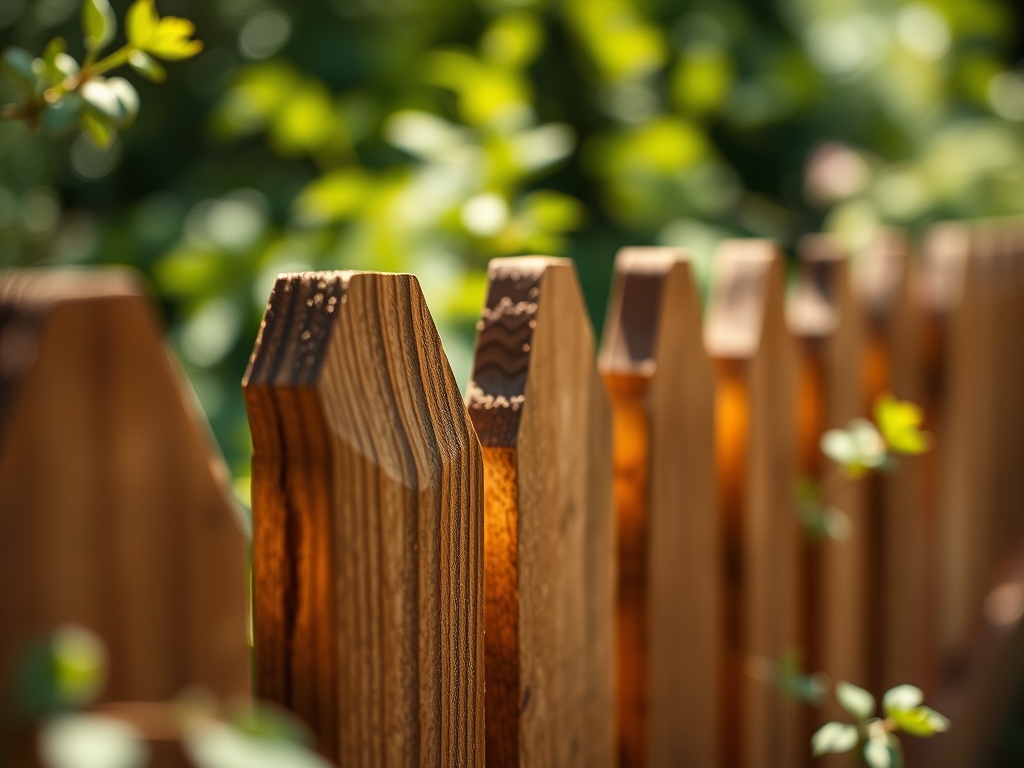
Establishing the Rails and Pickets
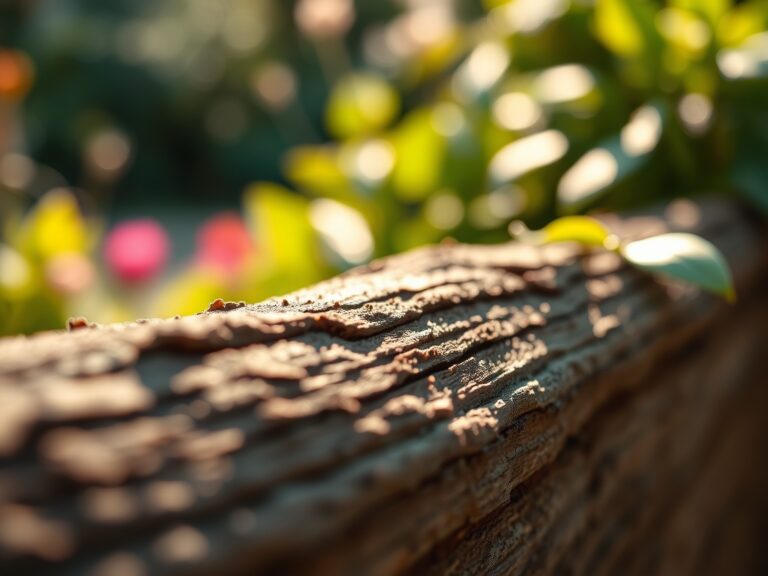
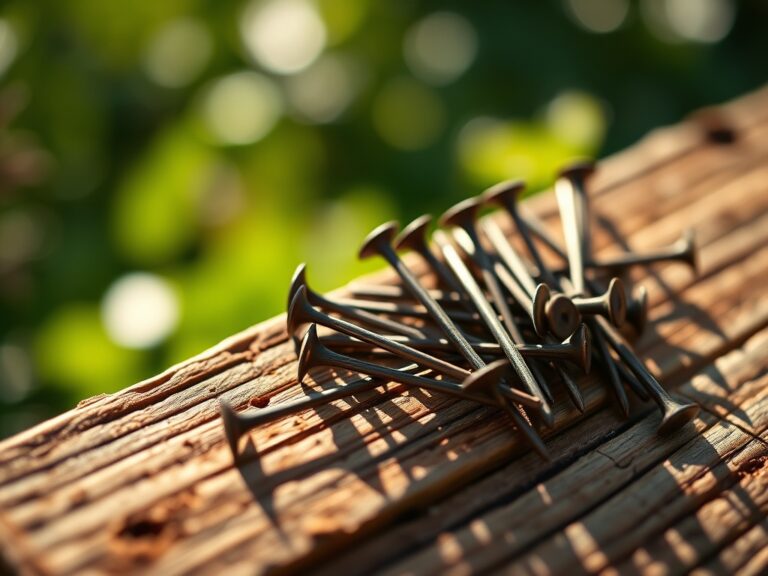
Attach horizontal stringers using 3-inch stainless steel screws. Cedar contains high levels of tannins that react with galvanized nails, causing unsightly black streaks. Space pickets 1/8 inch apart to allow for hygroscopic expansion and contraction as the wood cells absorb and release atmospheric moisture.
Pro-Tip: Elevate the bottom of the pickets 2 inches above the soil line. This prevents the wood from acting as a wick, which would pull moisture into the cellular structure and invite wood-boring insects or fungal decay through capillary action.
The Clinic:
Physiological disorders in the landscape often manifest shortly after a major structural project like a cedar fence installation.
-
Symptom: Interveinal chlorosis (yellowing leaves with green veins) on nearby shrubs.
-
Solution: This indicates iron or nitrogen deficiency caused by soil pH shifts or sawdust decomposition. Apply a chelated iron foliar spray and a high-nitrogen fertilizer (NPK 20-10-10) to the root zone.
-
Symptom: Marginal leaf burn or wilting despite adequate watering.
-
Solution: Mechanical root damage during excavation has reduced the plant's ability to maintain turgor pressure. Prune back the canopy by 20 percent using bypass pruners to reduce the transpiration load on the compromised root system.
-
Symptom: Sudden fungal blooms at the base of the fence.
-
Solution: This suggests poor drainage and anaerobic soil conditions. Incorporate gypsum to improve soil structure in clay-heavy areas and redirect downspouts at least 5 feet away from the fence line.
Maintenance:
A cedar fence requires consistent monitoring of the surrounding environment to ensure longevity. Use a soil moisture meter to check the hydration levels at the fence base; the goal is to maintain a consistent moisture profile without saturation. Most perimeter plants require 1.5 inches of water per week delivered directly at the drip line.
Annually inspect the posts for "frost heave" or shifting. Use a level to check for plumb. If a post has moved, it suggests the soil CEC or drainage has failed, requiring the addition of organic matter or gravel to stabilize the "rhizosphere" of the structural element. Clean the wood with a mild oxygen bleach solution every two years to remove biofilm and algae that trap moisture against the grain.
The Yield:
While a fence does not produce a caloric yield, it creates a controlled microclimate that extends the growing season. The thermal mass of the wood absorbs solar radiation during the day and releases it at night, often raising the ambient temperature by 2 to 3 degrees Fahrenheit. This allows for the cultivation of marginally hardy species that would otherwise fail in an open field. To harvest the maximum aesthetic "yield," apply a UV-inhibiting oil-based stain every three to five years to prevent the degradation of lignin, the polymer that gives wood its structural strength.
FAQ:
How deep should I dig fence post holes?
Dig holes to a depth of one-third the post height. In cold climates, ensure the hole extends 6 inches below the local frost line to prevent soil movement and structural instability caused by ice lens formation.
Should I use pressure-treated wood for cedar fence posts?
While cedar is rot-resistant, the portion of the post below grade faces constant moisture. Using UC4A rated pressure-treated wood for posts and cedar for the visible rails and pickets provides the best balance of longevity and aesthetics.
How do I prevent cedar fence boards from warping?
Install pickets with the "bark side" facing out. Use two stainless steel fasteners per rail to counteract the natural cupping that occurs as the wood dries. Maintain a 1/8-inch gap for seasonal expansion and contraction.
What is the best way to protect the wood from ground rot?
Ensure the wood never makes direct contact with the soil. Maintain a 2-inch clearance at the bottom. Use a gravel base in the post hole to facilitate drainage and prevent water from pooling around the timber base.