8 Quick Steps to Install Fence Pickets
The scent of fresh-cut cedar carries a high concentration of volatile organic compounds; it is a sharp, resinous aroma that signals the beginning of a structural boundary. A well-built fence functions much like a cell wall, providing turgor and protection to the interior landscape. Mastering the steps to install fence pickets requires more than basic carpentry. It demands an understanding of soil mechanics and wood physiology. You must account for the expansion and contraction of fibers as they interact with ambient humidity and ground moisture. A failure to align these pickets with precision leads to structural senescence, where the integrity of the line fails long before the material should naturally decay. Precision starts at the soil line and moves upward, ensuring every board maintains its vertical axis against the gravitational pull and wind shear common in open horticultural spaces.
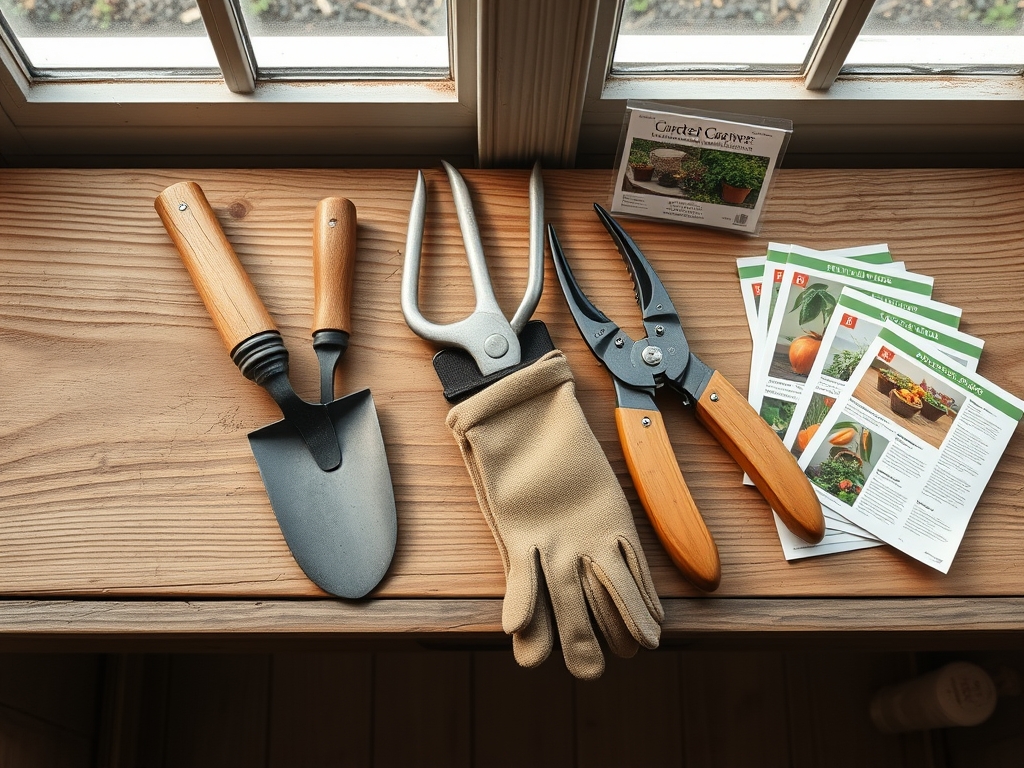
Materials:
Before the first picket is set, the soil profile must be evaluated. The ideal substrate for post-stability is a friable loam with a high Cation Exchange Capacity (CEC), which allows for proper drainage around the concrete footings. If the soil pH is below 5.5, the acidity can accelerate the corrosion of galvanized fasteners. Utilize 304 or 316 grade stainless steel screws to mitigate this risk. For the surrounding vegetation, maintain a balanced NPK ratio of 10-10-10 in the rhizosphere to offset any nitrogen immobilization caused by decaying sawdust. The physical texture of the backfill should be granular enough to prevent water pooling, which leads to anaerobic conditions and fungal pathogens at the base of the timber.
Timing:
Installation should occur during the dormant season for most temperate Hardiness Zones, specifically Zones 4 through 8. Aim for a window after the first hard frost but before the ground becomes impenetrable. This timing prevents compaction of the soil structure when the moisture content is high. In terms of the "Biological Clock," installing during the transition from vegetative to reproductive stages of neighboring perennials ensures that you do not interfere with the heavy nutrient uptake required for flowering. Avoid installation during periods of high humidity (above 70 percent) to ensure the wood fibers are at their most stable equilibrium moisture content.
Phases:

Sowing the Line
The first of the steps to install fence pickets is establishing a perfectly level string line. Use a high-visibility mason line stretched at a height of 6 inches above the grade. This line acts as the architectural DNA for the entire project. Ensure the line is taut to prevent sag, which would result in an uneven top edge.
Pro-Tip: Maintaining a consistent gap of 2 inches between the soil and the bottom of the picket prevents capillary action. This prevents the wood from reaching a state of permanent saturation, which would otherwise trigger premature cellular breakdown through fungal colonization.
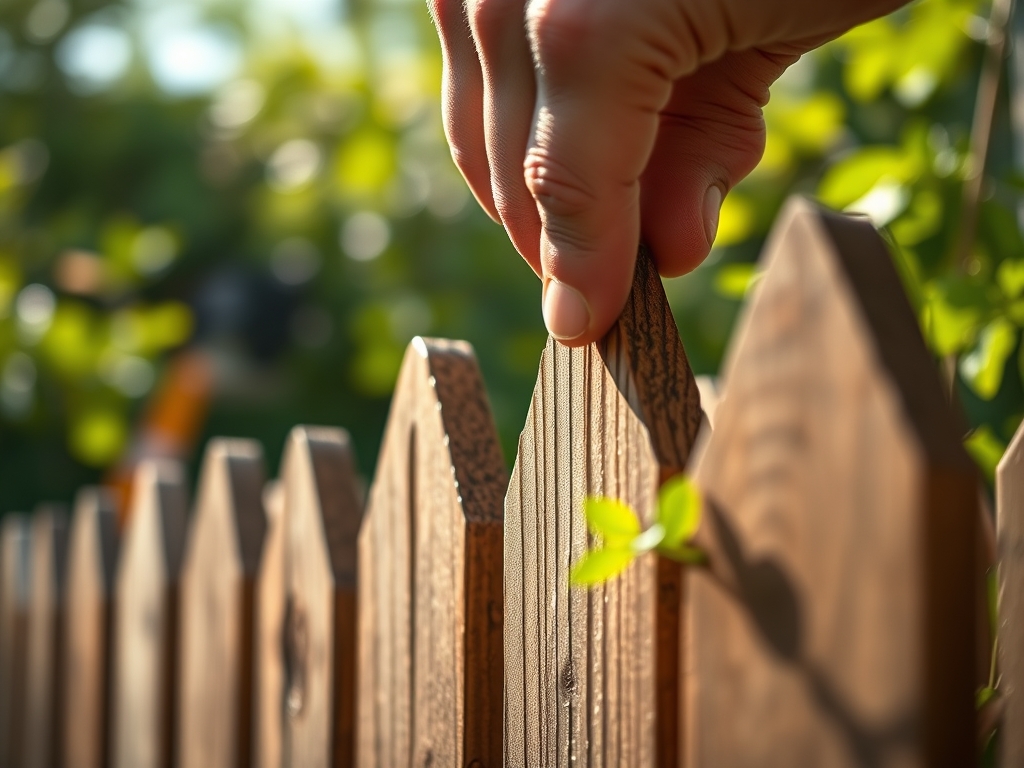
Transplanting the Pickets
Begin at a corner post and work outward. Use a 1/4 inch spacer between each board to allow for thermal expansion. Fasten each picket with two screws per rail, located exactly 1 inch from the edges to prevent splitting. Monitor the vertical plumb with a 48 inch level on every third picket to correct for any incremental drift.
Pro-Tip: Aligning the grain patterns can minimize warping. This is a response to auxin suppression in the original tree; placing the "bark side" out ensures that as the wood dries, the edges curl inward toward the rails, maintaining a tighter seal against the elements.
Establishing the Boundary
Once the pickets are secured, trim the tops to a uniform height or a decorative dog-ear. This removes the end-grain fibers that are most susceptible to moisture infiltration. Apply a paraffin-based sealant to these fresh cuts immediately to lock in the remaining internal moisture and prevent checking.
Pro-Tip: Use a copper-naphthenate solution on any wood that makes direct contact with the earth. This chemical barrier mimics the natural antimicrobial properties of certain hardwoods, preventing the rhizosphere's microbial population from digesting the cellulose.
The Clinic:
Physiological disorders in a fence often mirror those in plants.
- Symptom: Discoloration or "Bleeding." Solution: This is often tannin migration. Use an oxalic acid cleaner to neutralize the pH and remove the staining.
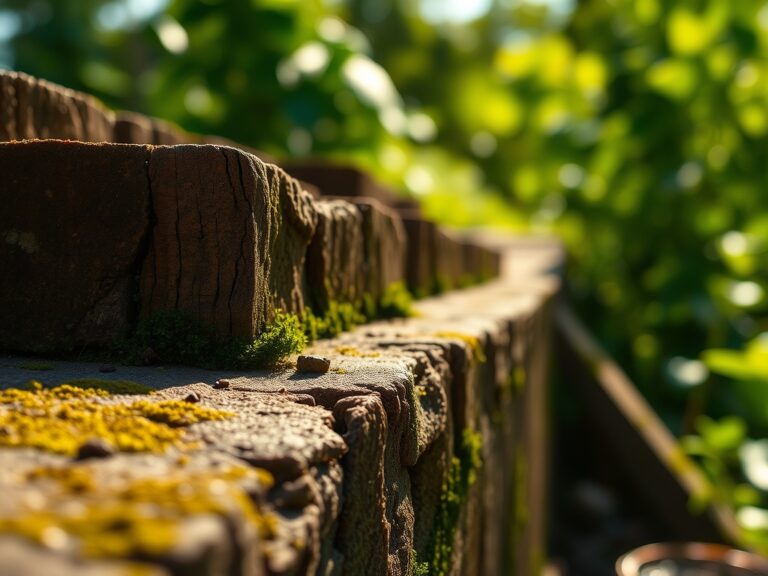
- Symptom: Warping or Cupping. Solution: This indicates uneven moisture loss. Increase airflow by thinning nearby foliage with bypass pruners to allow for uniform drying.
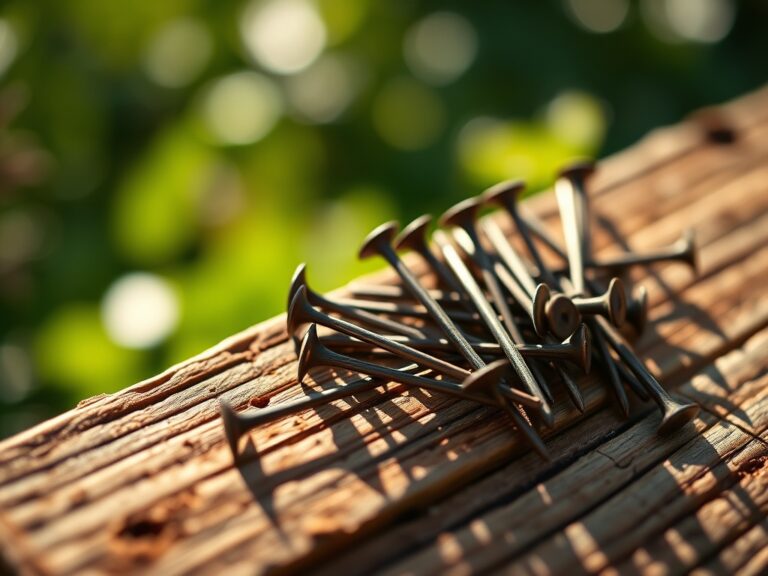
- Symptom: Fastener "Bleeding" (dark streaks). Solution: This is a reaction between steel and wood acids. Replace with stainless steel to stop the chemical oxidation.
- Fix-It (Nitrogen Chlorosis): If plants near the fence turn yellow, the wood mulch may be leaching nitrogen. Apply a high-nitrogen fertilizer (21-0-0) at a rate of 0.5 pounds per 100 square feet to restore chlorophyll production.
Maintenance:
A professional maintenance schedule is mandatory for longevity. Inspect the base of the pickets monthly using a soil moisture meter to ensure the area is not holding more than 20 percent moisture. Vegetation should be kept at least 12 inches away from the fence face. Use a hori-hori knife to remove invasive vines that attempt to climb the pickets; these vines trap humidity and promote rot. Apply 1.5 inches of water per week at the drip line of nearby shrubs, but ensure the spray pattern does not directly impact the wood. Annually check the torque on all fasteners and tighten any that have backed out due to the natural vibration of the structure.
The Yield:
While a fence does not produce a caloric yield, its "harvest" is the protection of the microclimate it creates. By reducing wind speed by up to 50 percent, the fence lowers the transpiration rate of the plants within the enclosure. This leads to higher turgor pressure and larger leaf surface areas. To maintain this "day-one" freshness of the landscape, ensure the fence remains structurally sound. A sturdy boundary prevents physical damage from wind-borne debris and keeps the internal garden ecosystem stable and productive for multiple growing seasons.
FAQ:
How deep should the fence posts be set?
Posts must reach below the frost line, typically 24 to 36 inches deep. This prevents frost heave from displacing the pickets and maintains structural verticality through seasonal freeze-thaw cycles in the soil profile.
What is the best wood for fence pickets?
Western Red Cedar and Redwood are superior due to high concentrations of natural thujaplicins. These organic compounds act as natural fungicides, resisting decay and insect predation more effectively than non-treated white woods or pines.
Can I install pickets directly on the ground?
No. Direct soil contact facilitates moisture wicking through the end-grain. Maintain a minimum 2-inch clearance to ensure airflow and prevent the migration of wood-decaying fungi from the organic matter in the soil.
How do I prevent the pickets from splitting?
Pre-drill pilot holes that are 75 percent of the fastener diameter. This reduces internal hoop stress within the wood fibers, preventing the longitudinal shearing that occurs when a screw displaces the cellular structure too rapidly.