6 Best Nails for Cedar Fencing
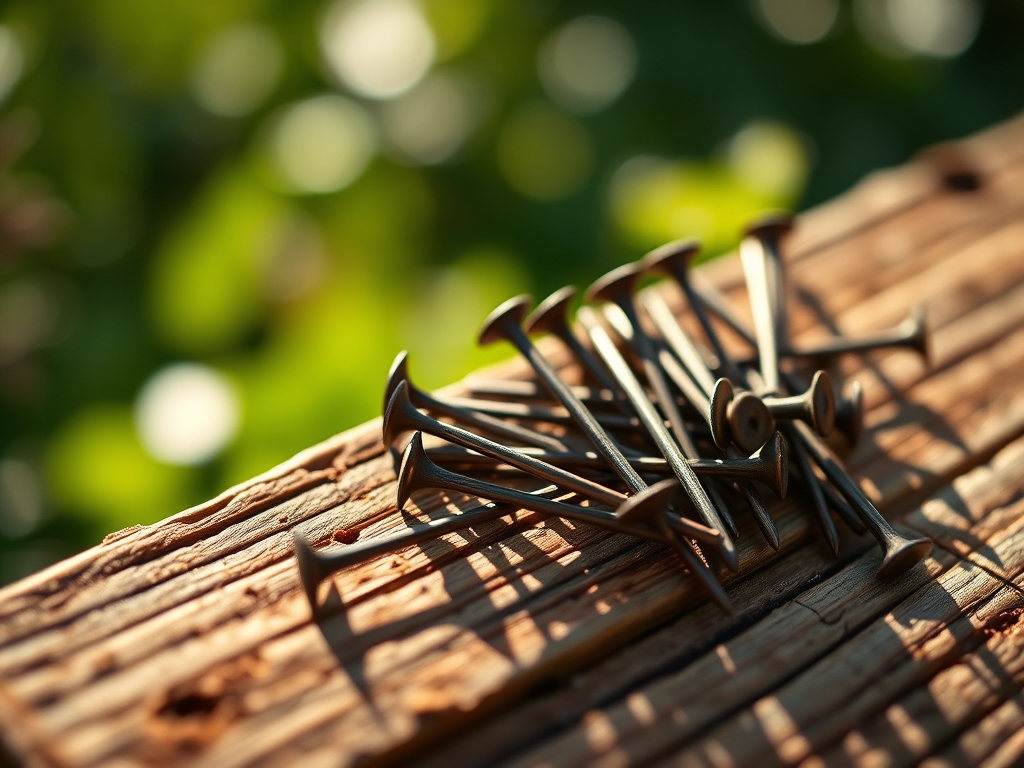
The scent of damp earth and the sharp, resinous aroma of freshly cut Western Red Cedar define the start of any serious perimeter project. Successful installation requires more than just structural alignment; it demands an understanding of cellular wood density and the chemical reactions occurring between metal and tannin. Selecting the best nails for cedar fencing is a decision rooted in metallurgy. Using the wrong fastener leads to black streaks caused by the reaction between iron and the natural oils in the wood. This process, known as tannin staining, compromises the aesthetic and structural integrity of the fence. A professional installation relies on high-quality 304 or 316 stainless steel to prevent oxidation.
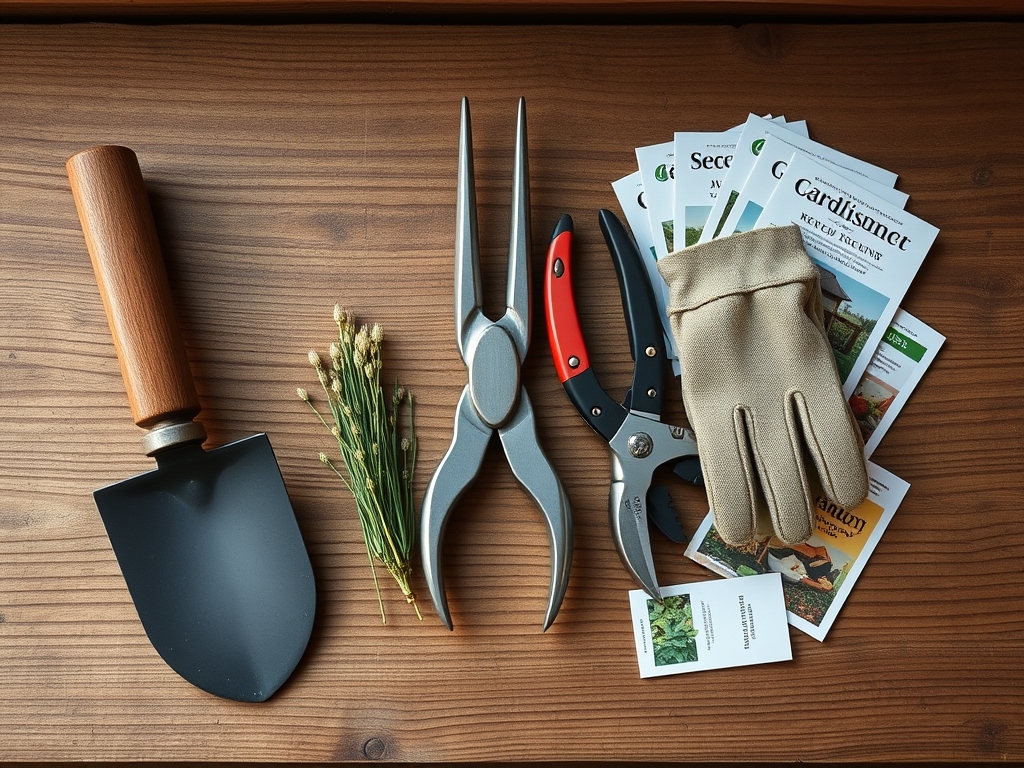
Materials:
The foundation of a long-lasting cedar fence begins beneath the surface in the rhizosphere. Cedar posts must be set in a friable loam with a **pH between 6.0 and 7.5** to prevent premature rot. If the soil Cation Exchange Capacity (CEC) is low, the soil will not hold the necessary minerals to support the weight of the structure over time. Ensure the substrate provides adequate drainage to prevent waterlogging at the base of the posts. For the surrounding vegetation, maintain a **10-10-10 NPK ratio** during the establishment phase to encourage root expansion. The physical texture of the soil should be crumbly and rich in organic matter, allowing for 1.5 inches of water penetration per week.
Timing:
Installation timing depends on your USDA Hardiness Zone. In Zones 4 through 7, construction should occur after the final spring frost but before the heat of mid-summer. This window aligns with the plant's biological clock, specifically the transition from vegetative to reproductive stages in surrounding flora. Installing during a period of moderate humidity prevents the cedar from drying too rapidly, which can cause checking or splitting. Avoid periods of high sap flow in early spring if you are pruning back existing foliage to make room for the fence line. Monitoring the photoperiod ensures that any disturbed landscape plants have enough daylight to recover from the stress of the construction footprint.
Phases:

Sowing and Preparation
Before the first nail is driven, the site must be cleared. Use a hori-hori knife to remove invasive root systems that might compete for nutrients near your post holes. Map the utility lines and ensure the soil is compacted to a density that supports a 4×4 pressure-treated post.
Pro-Tip: Maintaining soil density around the post prevents air pockets that harbor anaerobic bacteria. This is vital because anaerobic environments trigger root rot in nearby ornamental plants by starving the rhizosphere of oxygen.
Transplanting and Structural Alignment
When setting the fence line, consider the impact on the local microclimate. A solid cedar fence alters the wind patterns and light availability for the understory. Dig holes to a depth of at least 24 inches, or below the frost line in northern climates, to prevent heaving.
Pro-Tip: Use a level to ensure vertical accuracy, which prevents uneven weight distribution. Uneven stress on the wood fibers can lead to auxin suppression in the plant tissue of nearby climbers, as the physical pressure of a leaning fence disrupts the plant's natural growth hormones.
Establishing the Fasteners
Drive the nails at a slight upward angle to increase withdrawal resistance. Use 2-inch or 2.5-inch ring-shank nails to ensure the wood fibers lock into the grooves of the fastener. This mechanical bond is essential as the cedar undergoes seasonal expansion and contraction.
Pro-Tip: Always pre-drill holes near the ends of the boards. This prevents splitting by reducing the internal turgor pressure within the wood cells, ensuring the structural integrity of the lignin remains intact.
The Clinic:
Physiological disorders in the landscape surrounding your fence often stem from soil compaction or chemical leaching.
-
Symptom: Interveinal chlorosis (yellowing leaves with green veins).
Solution: This indicates a Manganese or Iron deficiency. Test the soil pH; if it is above 7.0, the nutrients are locked out. Apply a chelated iron drench to the root zone. -
Symptom: Black streaks on cedar boards.
Solution: This is tannin staining caused by galvanized nails reacting with moisture. Replace fasteners with Grade 304 stainless steel. -
Symptom: Leaf scorch on plants near the fence.
Solution: The fence may be reflecting too much thermal energy. Increase irrigation to 2 inches per week and apply a layer of hardwood mulch to cool the root zone. -
Fix-It for Nitrogen Chlorosis: If plants appear stunted and pale, apply a high-nitrogen fertilizer with a 20-10-10 NPK ratio to stimulate chlorophyll production and vegetative growth.
Maintenance:
A cedar fence requires consistent monitoring of the surrounding environment. Use a soil moisture meter to ensure the area stays within the 20% to 30% moisture range. Apply 1.5 inches of water per week at the drip line of any hedging plants along the fence. Inspect the fasteners annually for any signs of "popping" due to wood movement. Use bypass pruners to keep foliage at least 6 inches away from the cedar panels to allow for airflow, which prevents the growth of fungal pathogens and wood-destroying organisms. Clean the wood surface with a mild oxygen bleach solution every two years to remove accumulated organic matter and spores.
The Yield:
While a fence does not produce a harvest in the traditional sense, the "yield" is the longevity of the wood and the health of the enclosed garden. To maintain day-one freshness of the cedar's appearance, apply a UV-inhibiting transparent stain after the wood has reached a moisture content of less than 15%. This prevents the degradation of lignin caused by ultraviolet radiation. For those growing espalier fruit trees against the fence, harvest when the fruit detaches with a slight twist, indicating the abscission layer has fully formed.
FAQ:
What are the best nails for cedar fencing?
The best nails are 304 or 316 stainless steel ring-shank nails. These prevent tannin staining and provide superior grip. Avoid electro-galvanized nails; they will corrode and leave black streaks on the wood surface within one season.
Can I use a power nailer for cedar?
Yes; however, you must adjust the depth setting. The nail head should be flush with the surface. Over-driving the nail crushes the wood fibers and creates a pocket where water collects, leading to localized fungal decay and cellular breakdown.
How deep should fence posts be set?
Posts should be set at a depth of one-third to one-half of the above-ground height. In cold climates, always dig below the frost line, typically 36 inches, to prevent frost heave from displacing the structural alignment of the fence.
How do I prevent cedar from turning gray?
Apply a high-quality, oil-based stain with UV inhibitors. This coating protects the wood's natural oils and prevents the sun from breaking down the surface lignin. Reapply every two to three years based on sun exposure and local humidity levels.