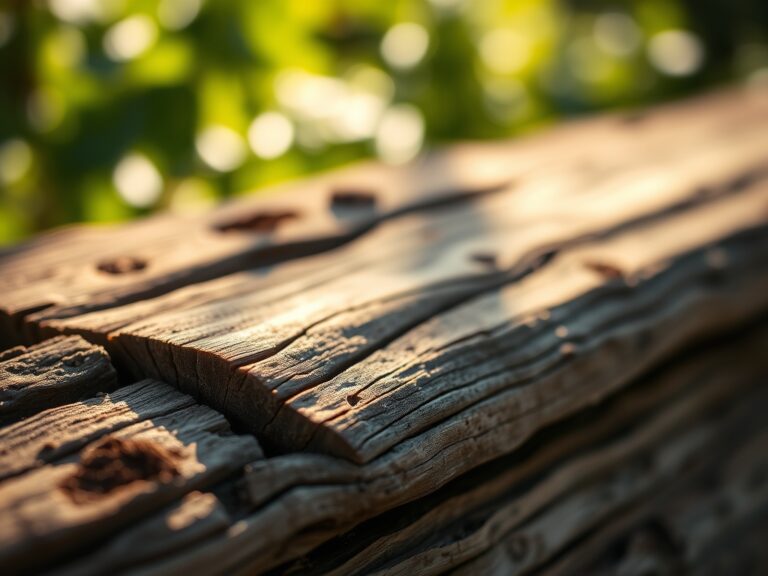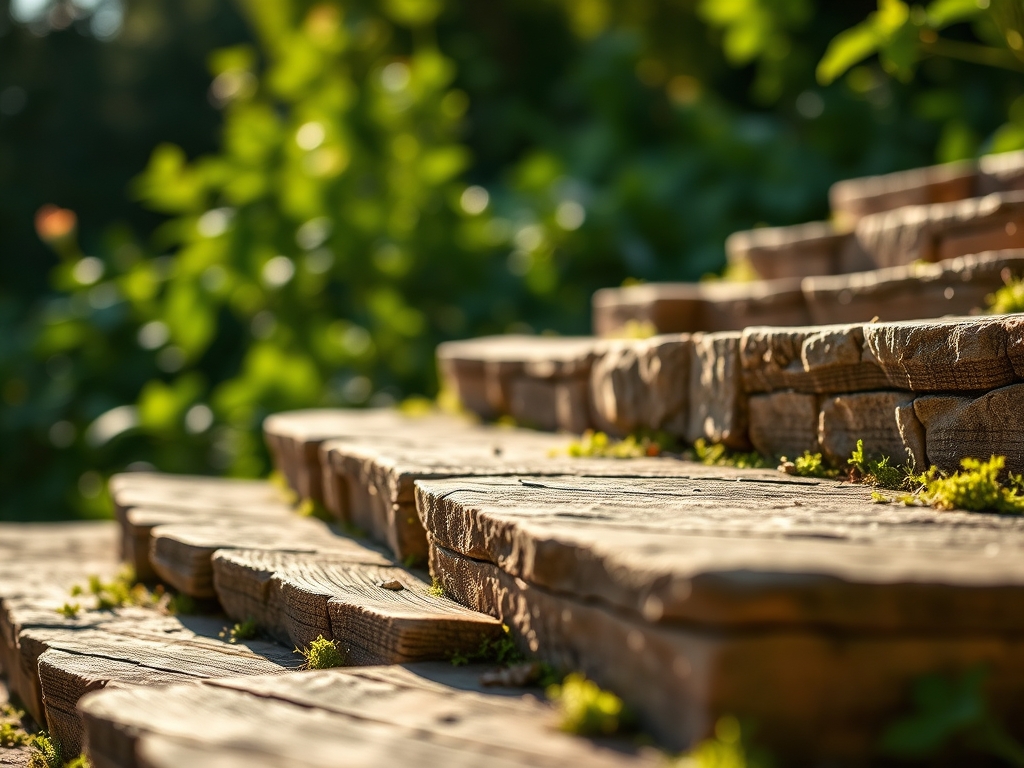
7 Strong Steps to Build Sleeper Terraces
The smell of damp, anaerobic subsoil exposed to the air signals the beginning of a structural transformation. When you cut into a slope, you disrupt the established rhizosphere to create a stable environment for future growth. Mastering the steps to build sleeper terraces requires more than physical labor; it demands an understanding of soil mechanics and hydrostatic pressure. A successful terrace prevents erosion while optimizing the turgor pressure of plants by ensuring consistent moisture levels across the vertical gradient of your landscape.
Gravity is the primary adversary in hillside gardening. Without proper intervention, nutrient runoff strips the topsoil of its cation exchange capacity, leaving plants stunted and prone to chlorosis. By installing sleepers, you create a series of level plateaus that slow water velocity and allow for deep infiltration. This process turns a challenging incline into a series of controlled microclimates. Each tier offers a unique opportunity to manipulate drainage and solar exposure, providing a foundation for a high performance garden that thrives on structural integrity and scientific precision.
Materials:
The success of your sleeper terrace depends on the chemical and physical properties of the backfill. You must use a friable loam with a **sand content of 40 percent, silt at 40 percent, and clay at 20 percent**. This ratio ensures adequate pore space for oxygen diffusion. For the substrate, target a **soil pH between 6.2 and 6.8** to maximize nutrient bioavailability.
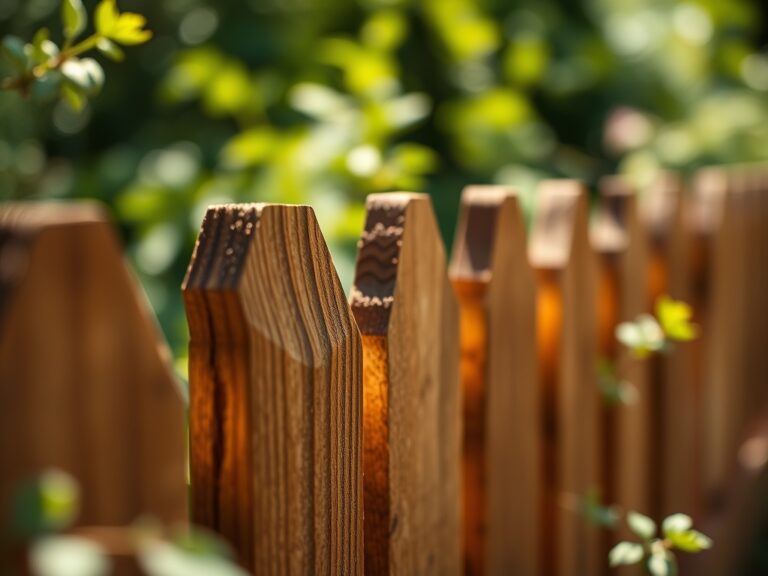
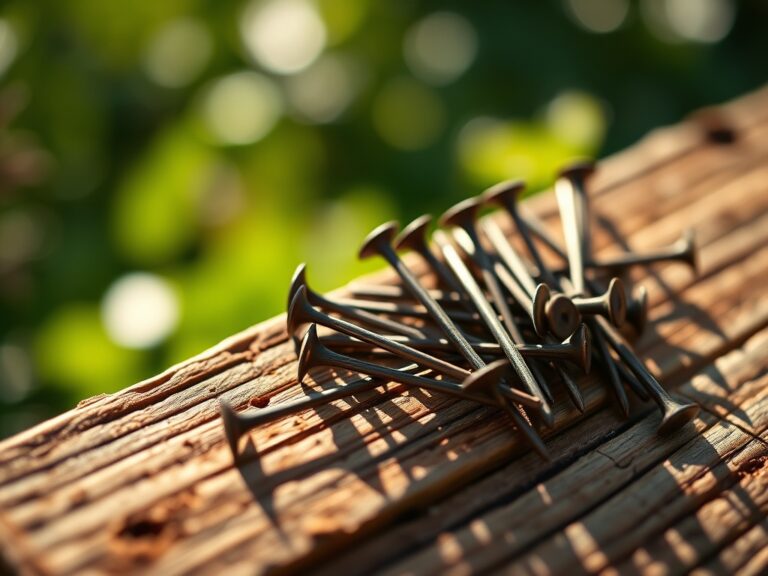
Incorporate a baseline fertilizer with an NPK ratio of 5-10-5 into the lower layers of the backfill. The higher phosphorus content encourages robust root development, which is essential for stabilizing the soil behind the sleepers. You will also need recycled or pressure-treated 8-foot sleepers, 12-inch galvanized steel spikes, and a 4-inch perforated drainage pipe wrapped in geotextile fabric to prevent siltation.
Timing:
The ideal window for construction is during the dormant season, typically between Hardiness Zones 4 and 8 from late autumn to early spring. Executing these steps to build sleeper terraces before the spring thaw prevents excessive soil compaction from heavy machinery or foot traffic on saturated ground.
Understanding the biological clock is critical. You want the structural work completed before your chosen cultivars enter their vegetative stage. If you plant too late in the spring, the heat can cause moisture stress before the root systems have integrated with the new terrace soil. Aim to have the soil settled for at least 21 days before the final frost date to allow for natural subsidence and the re-establishment of microbial activity.
Phases:

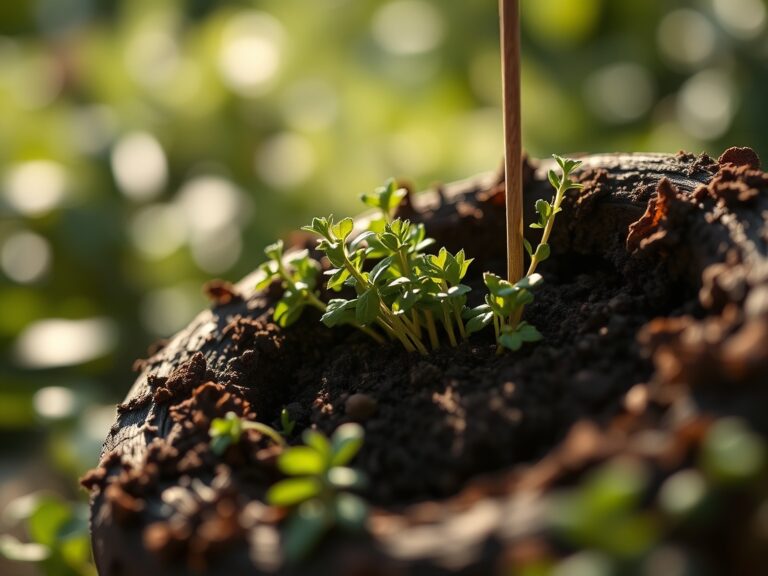
Sowing and Soil Preparation
Begin by excavating a trench for the first course of sleepers. This trench must be at least 2 inches deeper than the sleeper thickness to accommodate a leveling base of compacted gravel. As you backfill, avoid over-compacting the soil; high bulk density restricts root penetration and limits the oxygen available to the rhizosphere.
Pro-Tip: Incorporate a mycorrhizal inoculant into the backfill. This fosters mycorrhizal symbiosis, where fungal filaments extend the reach of the root system, significantly increasing the plant's ability to uptake phosphorus and water.
Transplanting into the Tiers
When placing plants into the terraces, ensure the root ball is level with the soil surface. Dig a hole twice the width of the root ball to allow for rapid lateral root expansion. If the plant is pot-bound, gently score the roots to break the circular growth pattern.
Pro-Tip: Orient the most foliage-heavy side of the plant toward the primary light source. This manages phototropism, ensuring the plant does not lean excessively and compromise the structural balance of the terrace edge.
Establishing the Root Matrix
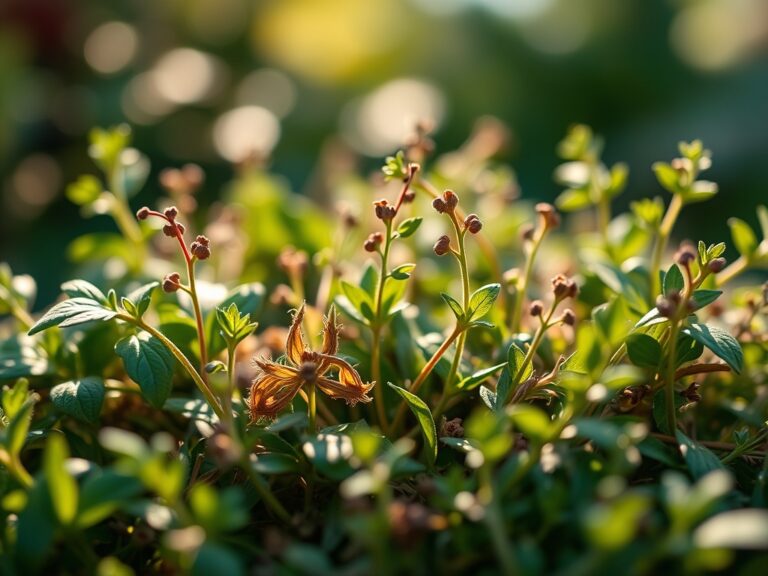
The first 90 days are the establishment phase. During this time, the plant transitions from relying on its nursery root ball to exploring the terrace substrate. Maintain consistent moisture levels to prevent the fine root hairs from desiccation.
Pro-Tip: Use a light mulch layer to suppress weeds and maintain soil temperature. This practice also aids in auxin suppression in certain weed species by limiting light exposure to the soil surface, preventing the germination of dormant seeds.
The Clinic:
Physiological disorders often manifest when the structural environment of the terrace is imbalanced. Observe the foliage for early warning signs of stress.
Symptom: Interveinal chlorosis on young leaves.
Solution: This typically indicates an iron deficiency, often caused by a soil pH above 7.0. Apply chelated iron and incorporate elemental sulfur to lower the pH.
Symptom: Marginal leaf burn or necrosis.
Solution: This suggests salt accumulation or potassium deficiency. Flush the soil with 2 inches of water to leach excess salts and apply a 0-0-50 potassium sulfate supplement.
Symptom: Stunted growth with dark purple undersides on leaves.
Solution: This is a classic sign of phosphorus deficiency. Check the soil temperature; if it is below 55 degrees Fahrenheit, phosphorus uptake is inhibited regardless of soil concentration.
Fix-It for Nitrogen Chlorosis: If older leaves turn uniform pale green or yellow, the plant is scavenging nitrogen for new growth. Apply a high-nitrogen liquid feed with an NPK of 10-0-0 for immediate uptake.
Maintenance:
Precision maintenance ensures the longevity of both the sleepers and the plants. Use a soil moisture meter to verify that the root zone receives 1.5 inches of water per week, delivered via drip irrigation at the drip line to minimize evaporation.
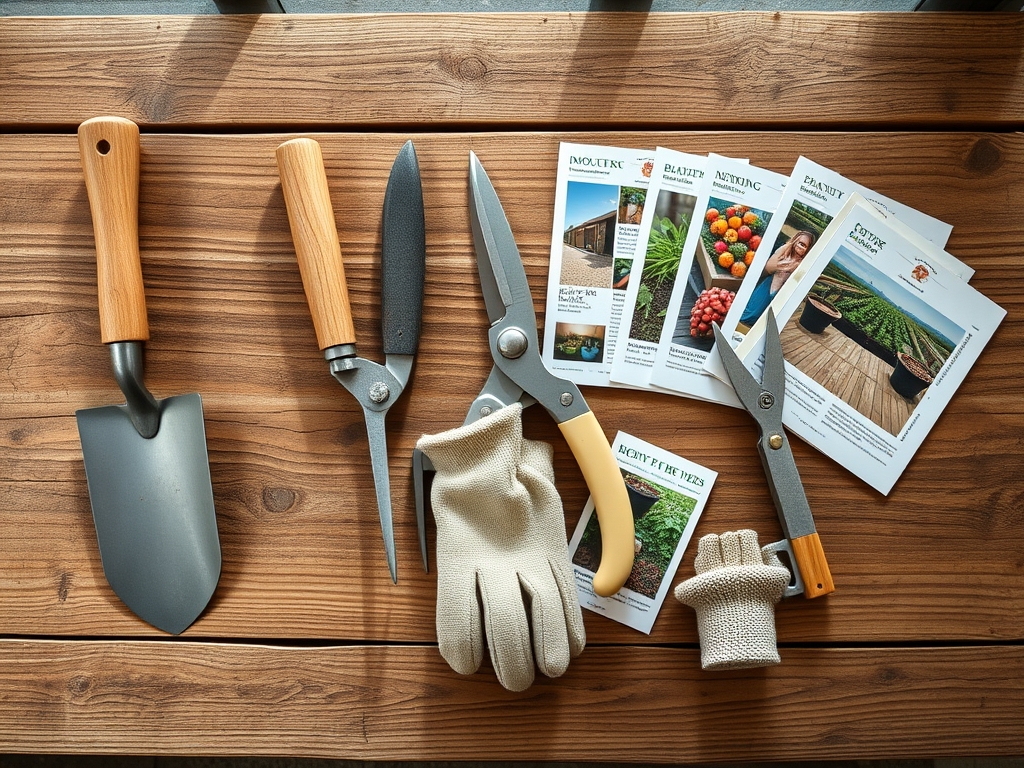
Pruning is essential for maintaining airflow and light penetration. Use bypass pruners for clean cuts on living tissue to prevent pathogens from entering the vascular system. For precision weeding around delicate root zones, a hori-hori knife allows you to extract taproots without disrupting the surrounding soil structure. Check the sleepers annually for signs of rot or shifting; a deviation of more than 5 degrees from vertical requires immediate structural reinforcement.
The Yield:
If your terraces are dedicated to production, timing the harvest is a matter of cellular chemistry. For most fruiting crops, harvest in the early morning when turgor pressure is at its peak. This ensures the cells are fully hydrated, extending the post-harvest shelf life.
Use a sharp blade to sever the stem, leaving a small portion attached to prevent moisture loss from the fruit. For flowers, immediately submerge the stems in 100 degree Fahrenheit water to break air bubbles in the xylem, ensuring "day-one" freshness for several days. After the final harvest, leave the root systems of annuals in the ground to decompose; this adds organic matter and maintains the pore spaces in your terrace soil.
FAQ:
How deep should the first sleeper be buried?
The base sleeper should be buried to half its depth. This provides the necessary lateral resistance to prevent the wall from kicking out under the weight of saturated soil and hydrostatic pressure during heavy rain events.
What is the best drainage material for terraces?
Use 20mm clean crushed stone behind the sleepers. This creates a high-porosity zone that allows water to move quickly to the drainage pipe, preventing the buildup of hydrostatic pressure that causes structural failure in timber walls.
Can I use sleepers for vegetable terraces?
Yes, but ensure they are untreated or treated with ACQ (Alkaline Copper Quaternary) rather than older creosote or CCA treatments. This prevents the leaching of harmful chemicals into the soil where they could be absorbed by edible crops.
How do I prevent the sleepers from rotting?
Apply a bitumen-based sealer to the back of the sleepers where they contact the soil. Additionally, ensure the geotextile membrane separates the soil from the drainage gravel to keep the timber as dry as possible through efficient water shedding.