10 Basic Steps to Plant Perennial Edibles
The smell of rain on warm soil marks the moment when following the right steps to plant perennial edibles transforms a patch of ground into a decades-long food source. Unlike annuals that demand replanting each spring, perennial crops establish deep root systems that mine nutrients from subsoil layers and survive winter dormancy to produce year after year. Mastering these steps to plant perennial edibles requires attention to soil chemistry, timing precision, and an understanding of how these plants allocate resources between vegetative growth and reproductive structures.
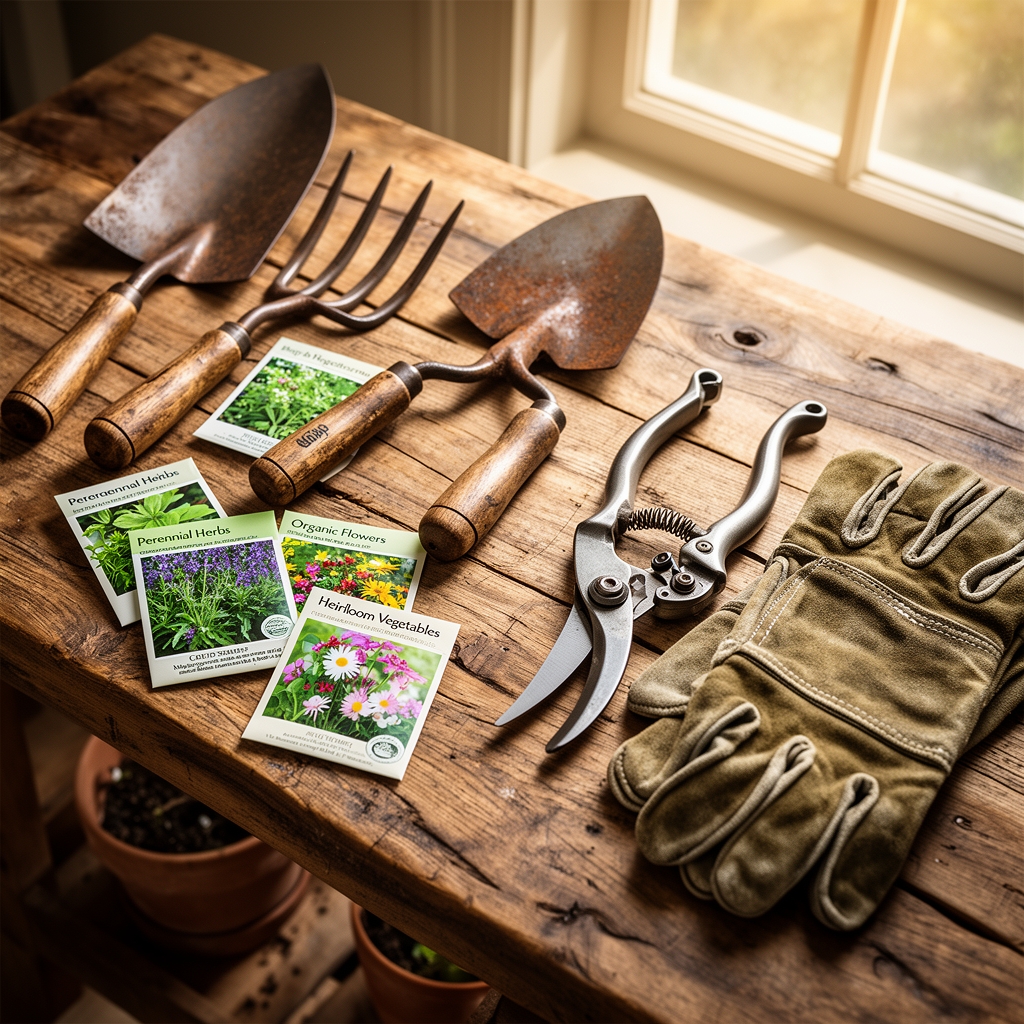
Materials and Soil Preparation
Successful establishment begins with soil testing to determine pH and baseline nutrient levels. Most perennial edibles thrive in soil with a pH between 6.0 and 7.0, where cation exchange capacity allows efficient nutrient uptake. For new beds, incorporate 2-3 inches of finished compost to improve organic matter content to at least 5 percent by volume.
Apply a balanced organic fertilizer such as 4-4-4 meal (blood, bone, and kelp) at a rate of 2 pounds per 100 square feet two weeks before planting. This allows soil microorganisms to begin decomposition and makes nitrogen available in forms that perennial root systems can access. For acid-loving species like rhubarb or blueberries, amend with elemental sulfur at 1 pound per 100 square feet to lower pH by approximately 0.5 units.
Stock mycorrhizal inoculant containing both endo- and ectomycorrhizal species. These fungal symbionts colonize root surfaces and extend the effective absorption area by up to 700 percent, particularly for phosphorus uptake. Purchase bare-root or container stock certified disease-free by your state agricultural authority.
Timing and Climate Considerations
Regional hardiness zones dictate planting windows. In zones 3-6, plant dormant bare-root stock in early spring as soon as soil can be worked, typically when temperatures reach 45-50°F at a 4-inch depth. This allows roots to establish before shoot growth demands water and nutrients.
Zones 7-10 benefit from fall planting six to eight weeks before the first expected frost. Cooler air temperatures reduce transplant shock while soil remains warm enough for active root growth. Autumn rains reduce irrigation demands during the critical establishment phase.
Container-grown stock offers flexibility but requires attention to root-bound specimens. Reject plants showing circling roots at the container edge, as these patterns persist even after transplanting and restrict auxin distribution that drives new root exploration.
Planting Phases
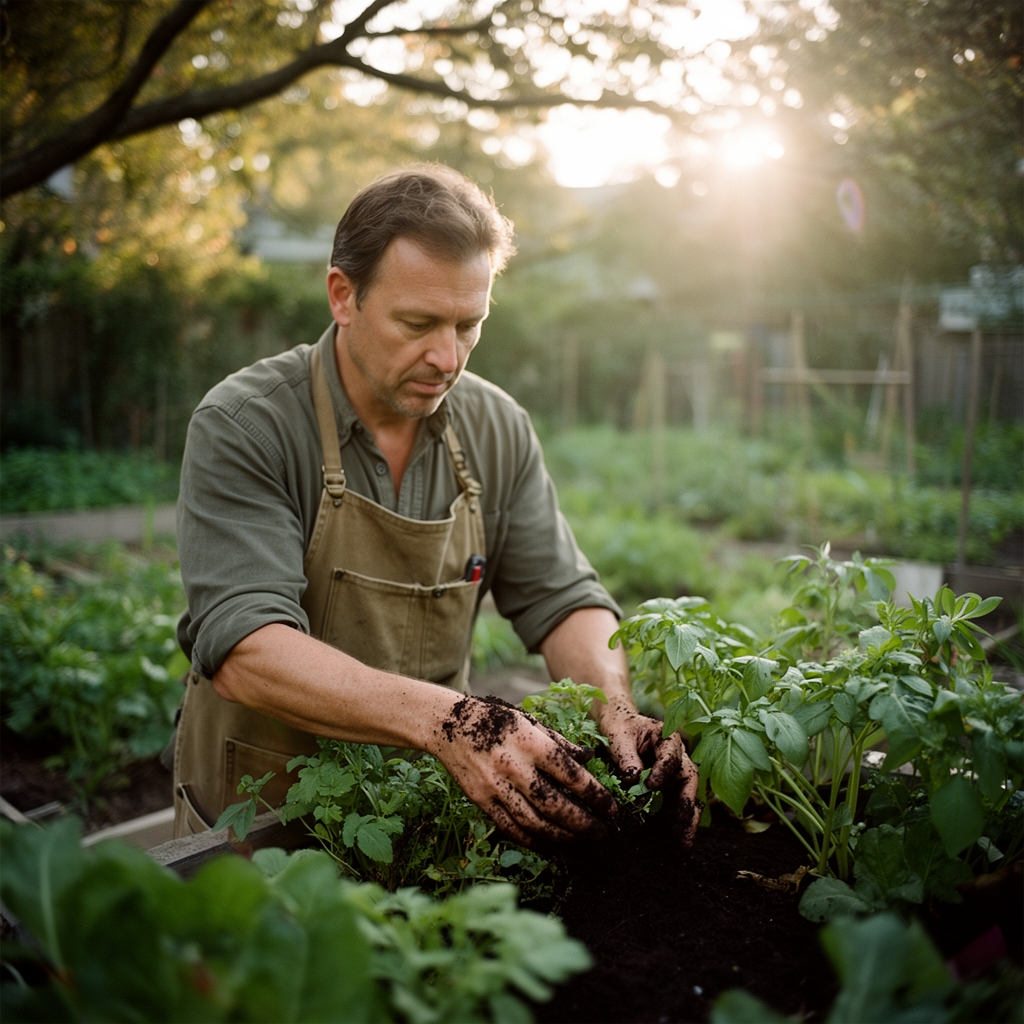
Site Selection and Bed Formation
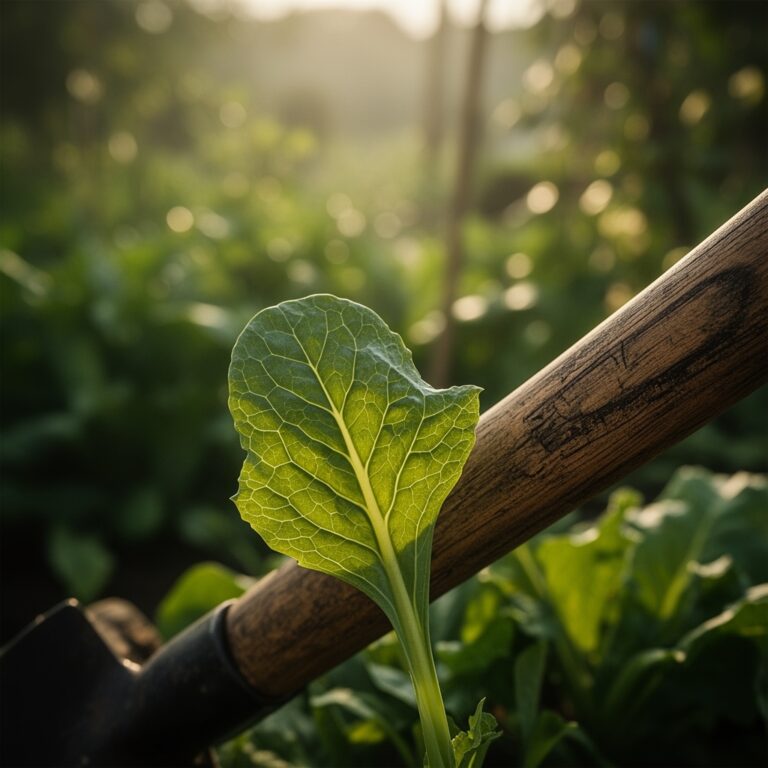
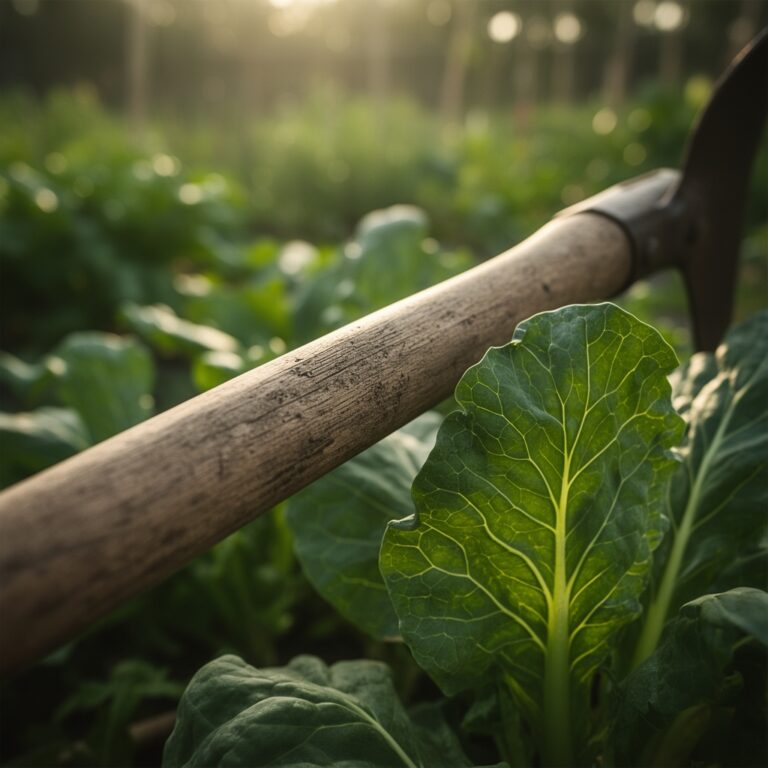
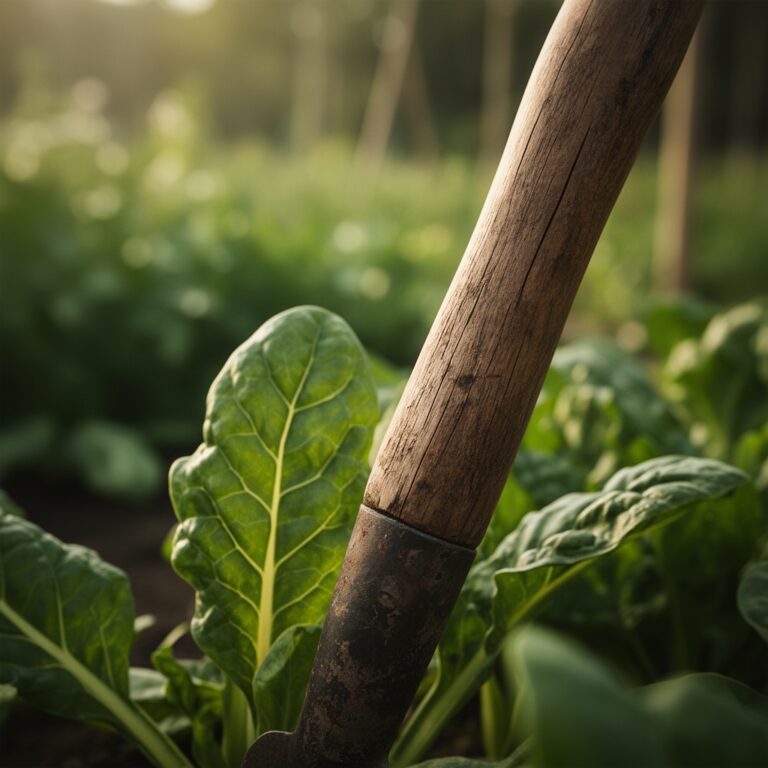
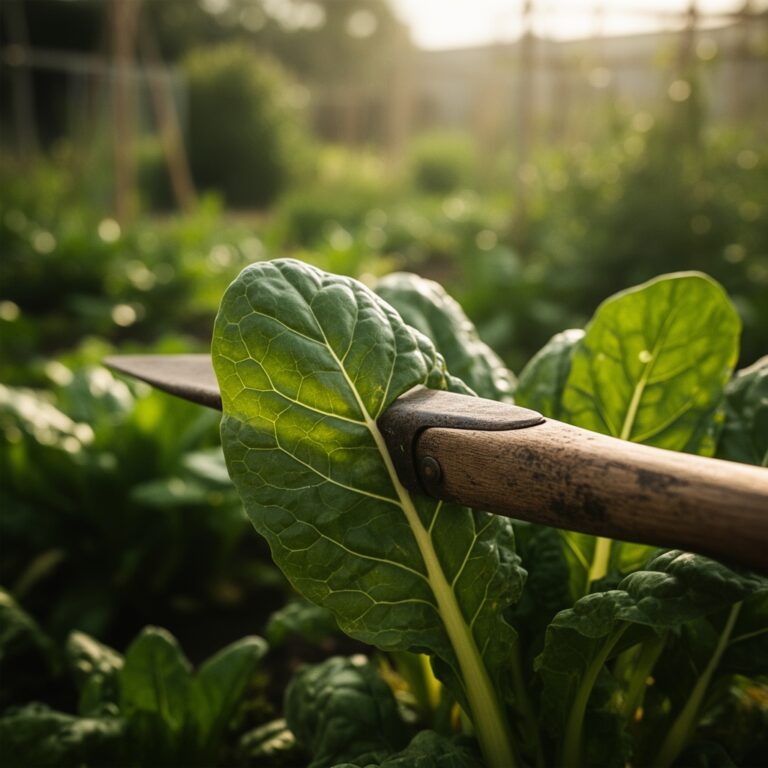
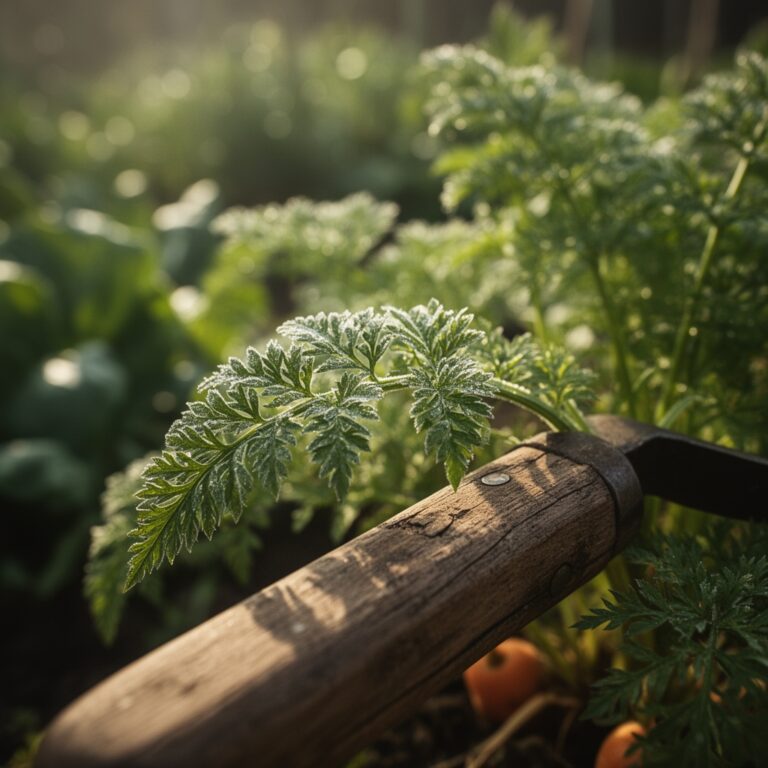
Choose locations receiving a minimum of 6-8 hours direct sunlight for fruiting perennials. Leaf crops like sorrel or lovage tolerate partial shade. Avoid low spots where cold air settles, creating frost pockets that damage spring growth.
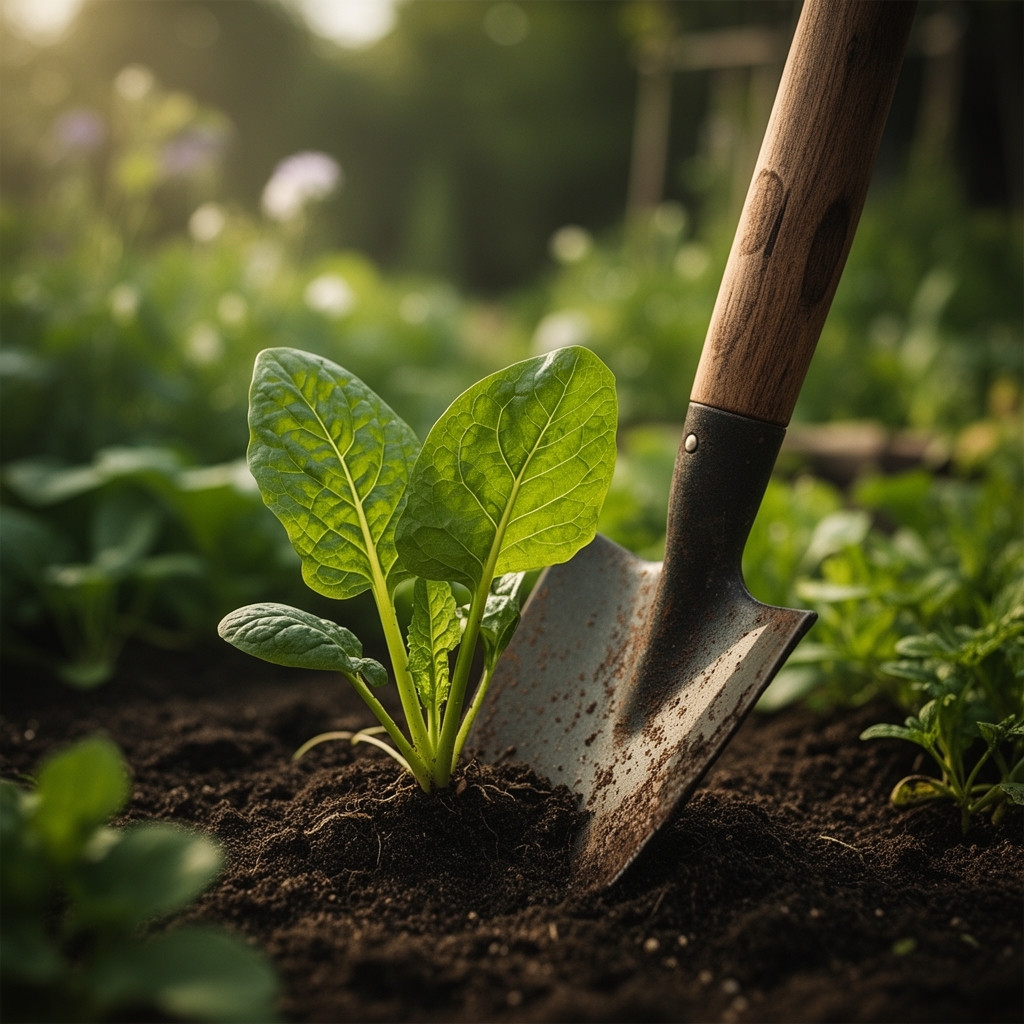
Dig holes twice the width of the root ball but no deeper. Planting too deep restricts oxygen to roots and encourages crown rot. The junction between roots and stem should sit level with surrounding soil.
Pro-Tip: Create a small berm around each plant 18 inches in diameter to capture water and direct it toward the root zone rather than allowing runoff.
Transplanting Protocol
Bare-root specimens require rehydration. Submerge roots in water containing 1 tablespoon of seaweed extract per gallon for 2-4 hours before planting. This rehydrates tissue and provides cytokinins that stimulate root hair development.
Spread roots in a natural radial pattern within the planting hole. Eliminate air pockets by working soil between roots with your fingers, then firm gently with your palms. Air pockets desiccate root tips and kill meristematic tissue responsible for elongation.
Apply mycorrhizal inoculant directly to root surfaces at the rate specified on the product label, typically 1-2 teaspoons per plant. Contact between fungal spores and root epidermis is essential for colonization.
Pro-Tip: Cut back top growth by one-third on bare-root plants to balance the root-to-shoot ratio. This reduces transpirational water loss while roots regenerate.
Initial Establishment
Water immediately after planting with 2-3 gallons per plant to settle soil. Maintain consistent soil moisture at 1-1.5 inches per week through the first growing season. Use a rain gauge to track natural precipitation and supplement as needed.
Apply 2-4 inches of organic mulch such as shredded leaves or straw, keeping material 3 inches away from stems to prevent fungal infection. Mulch moderates soil temperature, conserves moisture, and suppresses competition from annual weeds.
Pro-Tip: Install drip irrigation on a timer to deliver water at soil level, reducing foliar diseases that spread through water splash.
Troubleshooting Common Issues
Symptom: Yellowing leaves with green veins (interveinal chlorosis).
Solution: Iron deficiency caused by high pH or poor drainage. Apply chelated iron at 1-2 ounces per plant and improve drainage with organic matter.
Symptom: Wilting despite adequate soil moisture, brown streaks in vascular tissue.
Solution: Verticillium or fusarium wilt. Remove and destroy infected plants. Rotate to resistant species for 3-5 years.
Symptom: Holes in leaves, silvery trails visible in morning.
Solution: Slug feeding. Apply iron phosphate bait at labeled rates or use shallow beer traps.
Symptom: Stunted growth, roots show galls or swelling.
Solution: Root-knot nematodes. Solarize soil using clear plastic for 6-8 weeks in summer or plant French marigolds as a trap crop.
Symptom: Leaf margins brown and crispy, salt crust on soil surface.
Solution: Excessive fertilizer application causing salt burn. Leach soil with deep watering, applying 2-3 inches over several hours.
Long-Term Maintenance Protocols
Year two and beyond require reduced intervention. Apply 1-2 inches of compost around the root zone each spring as soil temperatures reach 50°F. This slow-release approach provides NPK without stimulating excessive vegetative growth at the expense of fruiting.
Monitor soil pH annually using a calibrated meter or laboratory test. Adjust as needed using lime to raise pH or sulfur to lower it, applied in fall for gradual winter breakdown.
Prune dead or diseased wood during dormancy, making cuts at a 45-degree angle 1/4 inch above outward-facing buds. This angle sheds water and prevents rot. Remove no more than 25 percent of total biomass in a single year to avoid stressing carbohydrate reserves.
Divide herbaceous perennials like chives or rhubarb every 3-5 years to maintain productivity. Dig entire clumps in early spring and separate into sections containing 3-5 buds each.
Frequently Asked Questions
When can I harvest from newly planted perennials?
Wait one full year to allow root establishment. Light harvesting of no more than 20 percent of foliage can begin in year two. Full production occurs in years three through five depending on species.
Should I fertilize in fall?
Avoid nitrogen applications after August 1 in cold climates. Late nitrogen promotes tender growth susceptible to winter damage. Phosphorus and potassium in fall support root growth and cold hardiness.
Can I grow perennial edibles in containers?
Yes, but select pots minimum 15 gallons for adequate root space. Use containers with drainage holes and insulate pots in winter zones below 7 to prevent freeze-thaw root damage.
How do I protect plants from frost after spring growth begins?
Cover with fabric row covers rated to protect 4-6 degrees below ambient temperature. Support fabric on hoops to prevent tissue contact. Remove covers daily once temperatures exceed 45°F.
What spacing do perennial edibles require?
Allow 18-36 inches between herbaceous species like sorrel, 4-6 feet for shrubs like currants, and 15-20 feet for tree crops. Adequate spacing ensures air circulation that reduces fungal disease pressure.