7 Best Aluminum Edging Brands
The smell of damp earth after a spring rain signals the peak of turgor pressure within the vascular tissues of your perennials. This internal water pressure keeps stems rigid; however, the structural integrity of the landscape depends on the physical containment of the rhizosphere. Without a rigid barrier, invasive stolons and aggressive root systems breach the boundaries of your manicured beds. Selecting from the best aluminum edging brands is the only way to ensure a permanent, corrosion-resistant line between turf and loam. Aluminum provides a specific gravity roughly one third that of steel, yet its oxide layer prevents the rapid degradation seen in ferrous metals or UV-degraded plastics. Professional grade edging maintains the crisp geometry required for high-end horticultural displays while resisting the heaving forces of freeze-thaw cycles. You are not just installing a border; you are managing the lateral migration of soil microbes and moisture. A clean edge prevents the leaching of nitrogen-rich runoff from the lawn into the specialized substrate of your ornamental beds.
Materials:
Successful installation begins with the substrate. The ideal medium is a **friable loam** with a **Cation Exchange Capacity (CEC) between 15 and 25 meq/100g**. This ensures the soil can hold essential nutrients without becoming a compacted, anaerobic mass that resists the placement of metal stakes. Before installing edging, analyze your soil pH. Most ornamental landscapes thrive in a **pH range of 6.2 to 6.8**.
If your soil is overly acidic, the solubility of aluminum increases, which can lead to phytotoxicity in sensitive root systems. For heavy feeders, maintain a baseline NPK ratio of 10-10-10 during the site preparation phase. If you are edging a rose garden or a high-phosphorus environment, a 5-10-5 ratio is preferred to encourage root elongation without forcing excessive soft-tissue growth that attracts aphids. The physical texture of the soil should be granular enough to allow the 6063-T6 alloy edging to seat firmly without bending under the pressure of a rubber mallet.
Timing:
Timing is dictated by the thermal properties of your specific Hardiness Zone. In Zones 4 through 7, the ideal window for installation opens as soon as the frost depth recedes, typically 14 to 21 days before the last predicted frost date. Installing during this window allows the soil to settle around the edging before the plant enters its peak vegetative stage.
The biological clock of your garden moves from the vegetative stage (leaf and stem production) to the reproductive stage (flowering and seed set) based on the photoperiod. You must secure your edging before the spring flush of growth. Once the soil temperature reaches a consistent 55 degrees Fahrenheit, root activity accelerates. Disturbing the soil profile after this point can cause mechanical damage to the fine root hairs, leading to a temporary drop in turgor and localized wilting.
Phases:

Sowing and Site Preparation
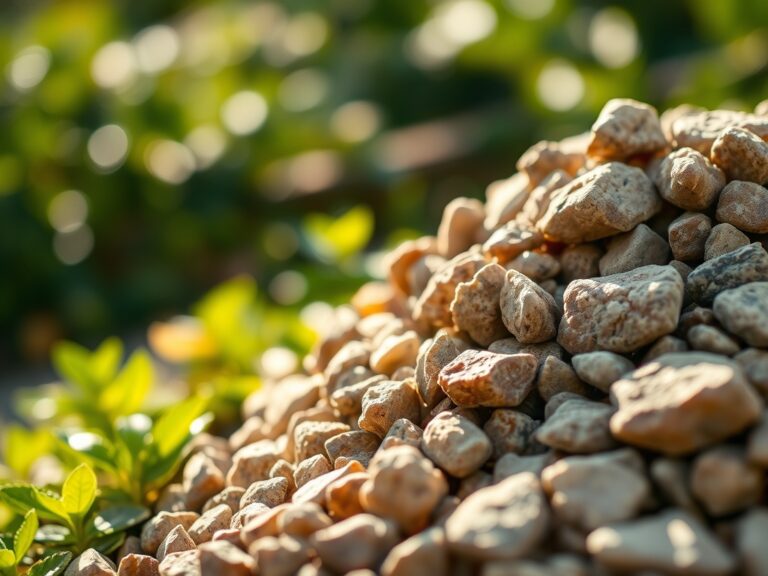
Clear a trench 4 inches deep using a sharp spade. Ensure the bottom of the trench is level to prevent the aluminum sections from buckling at the joints. Top-tier brands like Permaloc or Curv-Rite utilize interlocking sliding systems that require a stable base to function.
Pro-Tip: Maintaining a clean trench edge prevents auxin suppression in grass species. When grass roots are cleanly severed rather than crushed, the plant redirects auxins to lateral buds, creating a thicker, healthier turf line at the boundary.
Transplanting and Alignment
Place the aluminum strips into the trench, ensuring at least 2 inches of the metal remains below the soil surface. This depth is critical to intercepting the rhizomes of spreading grasses like Kentucky Bluegrass or Bermuda grass. Use 12-inch stakes driven at a 45-degree angle to anchor the system against frost heave.
Pro-Tip: Incorporating a thin layer of mycorrhizal inoculant along the interior of the edging promotes mycorrhizal symbiosis. These fungi extend the reach of the plant's root system, improving phosphorus uptake in the restricted space near the metal barrier.
Establishing the Border
Backfill the trench with a mix of 70% native soil and 30% organic compost. Tamp the soil firmly to remove air pockets that could lead to root desiccation. The final soil level should be 0.5 inches below the top of the edging to provide a "mowing strip" that protects your mower blades.
Pro-Tip: Proper tamping triggers thigmotropism in the roots. The physical contact with the firm soil and the aluminum barrier encourages the roots to grow deeper into the profile rather than circling at the surface.
The Clinic:
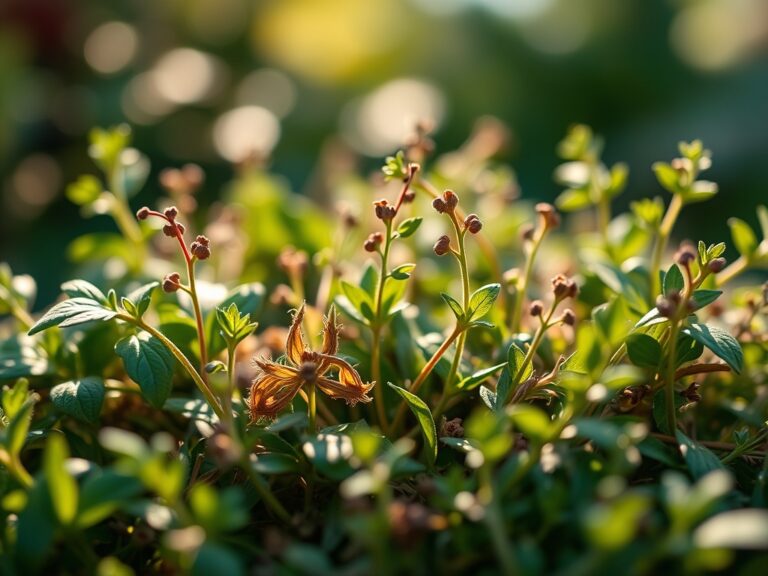
Symptom: Interveinal Chlorosis
Description: Yellowing between the veins of young leaves while veins remain green.
Solution: This is often an Iron (Fe) deficiency caused by high pH levels near the edging. Test the soil; if the pH is above 7.2, apply chelated iron or elemental sulfur to lower the alkalinity.
Symptom: Anthocyanin Accumulation
Description: Leaves turning a distinct purple or reddish hue, particularly on the undersides.
Solution: This indicates a Phosphorus (P) deficiency. Ensure the edging is not causing localized compaction that prevents P uptake. Apply a 0-20-0 superphosphate fertilizer at the drip line.
Symptom: Marginal Necrosis
Description: Browning and die-back of the leaf edges.
Solution: This is a classic sign of Potassium (K) deficiency or salt burn. If you use salt-based de-icers near your aluminum edging in winter, flush the soil with 2 inches of water to leach the sodium.
Maintenance:
Precision maintenance requires the right equipment. Use a soil moisture meter twice weekly to ensure the root zone maintains a consistent moisture level. Most established beds require 1.5 inches of water per week delivered directly to the drip line. Avoid overhead irrigation which can lead to fungal pathogens on the foliage.
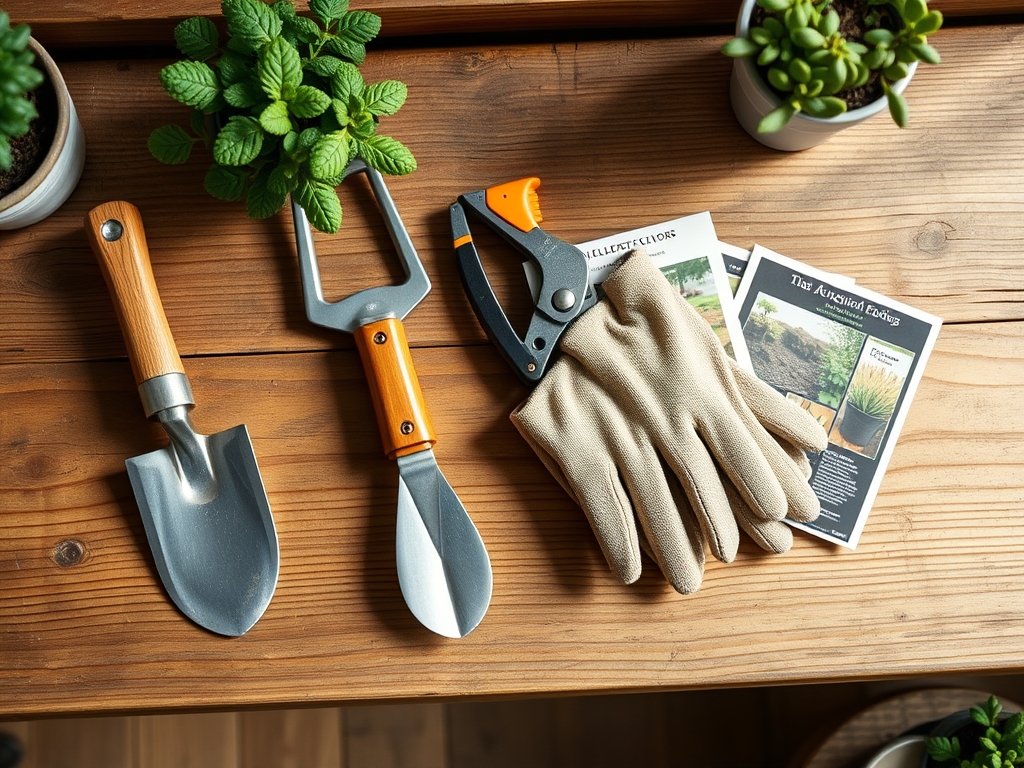
For pruning, use bypass pruners for green tissue and a hori-hori knife for dividing perennials that have grown too close to the aluminum border. If the edging has shifted due to extreme temperature fluctuations, use a dead-blow mallet to reseat the stakes. Check the integrity of the anodized finish annually; while aluminum does not rust, it can undergo pitting if exposed to concentrated acidic fertilizers.
The Yield:
For those growing cut flowers or herbs within their edged borders, harvesting is a science of timing. Harvest during the "cool of the day," typically between 6:00 AM and 8:00 AM, when the plant has maximum turgor. Use a sharp, sterilized blade to make a clean cut at a 45-degree angle to maximize the surface area for water uptake.
Immediately plunge the stems into 110-degree Fahrenheit water containing a carbohydrate source (sugar) and an acidifier (citric acid). This "hardening off" process prevents air embolisms in the xylem and ensures the harvest maintains its structural integrity for several days.
FAQ:
Which aluminum edging brand is most durable?
Permaloc and Curv-Rite are industry leaders. They use 6063-T6 grade aluminum, which provides superior structural memory and resistance to mechanical damage from lawn equipment. These brands offer various thicknesses, typically ranging from 1/8 inch to 3/16 inch.
Will aluminum edging harm my soil pH?
High-quality aluminum edging is anodized or chemically treated to remain inert. Under normal soil conditions (pH 6.0 to 7.5), the metal will not leach significant ions into the rhizosphere or alter the Cation Exchange Capacity of your substrate.
How deep should I install aluminum edging?
Install the edging so that 2 to 3 inches are subterranean. This depth is necessary to block the lateral growth of rhizomatous weeds and to provide enough leverage for the stakes to resist soil expansion during winter freeze cycles.
Can I use aluminum edging in curved beds?
Yes. Aluminum is preferred for its malleability. Professional brands are designed to form smooth radii without kinking. For tight curves, select a 1/8-inch thickness, which offers the highest flexibility while maintaining vertical rigidity against soil pressure.