8 Secure Steps to Anchor a Bridge Foundation
The scent of anaerobic decomposition in waterlogged silt serves as a warning that your landscape structure lacks stability. When the soil loses its structural integrity due to saturation, the turgor of surrounding vegetation cannot compensate for the shifting mass. You must master the steps to anchor a bridge foundation to ensure the transition from one bank to the other remains rigid. This process requires a deep understanding of soil mechanics and the biological impact of heavy foot traffic on the sensitive rhizosphere. Proper anchoring prevents the gradual subsidence that leads to mechanical failure.
Materials:
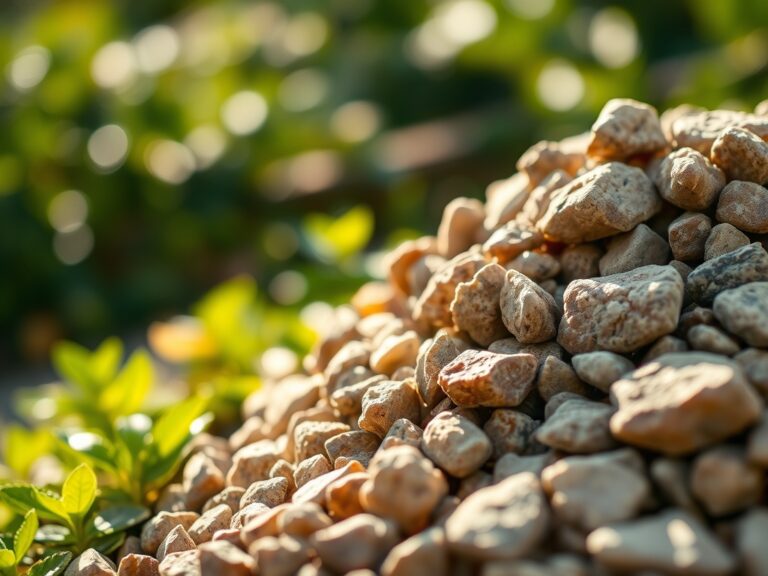
The ideal substrate for a bridge landing is a **friable loam** with a high sand content to facilitate drainage. You must analyze the soil pH; a range of **6.0 to 7.0** is optimal for the surrounding flora that will stabilize the bank. Before construction, amend the soil with a balanced **10-10-10 NPK ratio** fertilizer to support the root systems of stabilizing groundcovers. High Cation Exchange Capacity (CEC) in the clay fraction of your soil ensures that essential nutrients like potassium and magnesium remain available during the heavy irrigation required for plant re-establishment. Use **Grade 57 crushed limestone** for the base layer to provide a stable, non-shifting platform for the concrete footings.
Timing:
Successful installation depends on the thermal window of your specific Hardiness Zone. In Zones 4 through 7, you must complete the steps to anchor a bridge foundation at least six weeks before the first hard frost. This allows the soil to settle and any disturbed perennial roots to enter dormancy without the stress of frost heaving. Observe the biological clock of your local vegetation; the transition from the vegetative stage to senescence in late autumn is the ideal time for heavy earthwork. At this stage, sap flow is reduced, and the risk of damaging the vascular systems of nearby trees is minimized.
Phases:

Sowing the Perimeter
Once the foundation is set, you must re-vegetate the disturbed area. Sow a mix of deep-rooted fescue and clover. Ensure the seeds are in direct contact with the mineral soil at a depth of 0.25 inches.
Pro-Tip: Utilize mycorrhizal inoculants during sowing. This fosters a mycorrhizal symbiosis where fungal hyphae extend the root reach, increasing phosphorus uptake and soil aggregate stability by 40 percent.
Transplanting Stabilizers
Plant woody shrubs such as Cornus sericea around the anchor points. Dig holes twice the width of the root ball and set them at the same depth as the nursery container. Backfill with native soil to maintain consistent osmotic potential.
Pro-Tip: When planting, avoid burying the root flare to prevent stem girdling. This maintains proper gas exchange at the base of the plant, preventing the buildup of ethanol in the tissue which leads to root rot.
Establishing the Grade
Finalize the steps to anchor a bridge foundation by grading the soil away from the footings at a 2 percent slope. Use a heavy lawn roller to compress air pockets that could lead to localized erosion.
Pro-Tip: Apply a thick layer of hardwood mulch. This suppresses auxin production in weed seeds by blocking light, while simultaneously regulating soil temperature to protect the newly installed foundation from thermal expansion and contraction.
The Clinic:
Physiological disorders in the surrounding landscape often signal foundation issues.
Symptom: Interveinal chlorosis in nearby foliage.
Solution: This indicates Nitrogen chlorosis or high pH locking out iron. Test the soil; if pH exceeds 7.5, apply elemental sulfur at a rate of 5 pounds per 100 square feet.
Symptom: Marginal leaf burn on new transplants.
Solution: This is often caused by high salt index fertilizers or "fertilizer burn." Flush the soil with 2 inches of water to leach excess salts away from the root zone.
Symptom: Sudden wilting despite moist soil.
Solution: This suggests Phytophthora root rot caused by poor drainage around the bridge anchor. Improve the sub-surface drainage using a French drain system filled with 1 inch clean gravel.
Fix-It: For phosphorus deficiency (purplish tint on lower leaves), incorporate bone meal or a high-phosphate 0-20-0 fertilizer into the top 4 inches of the soil profile.
Maintenance:
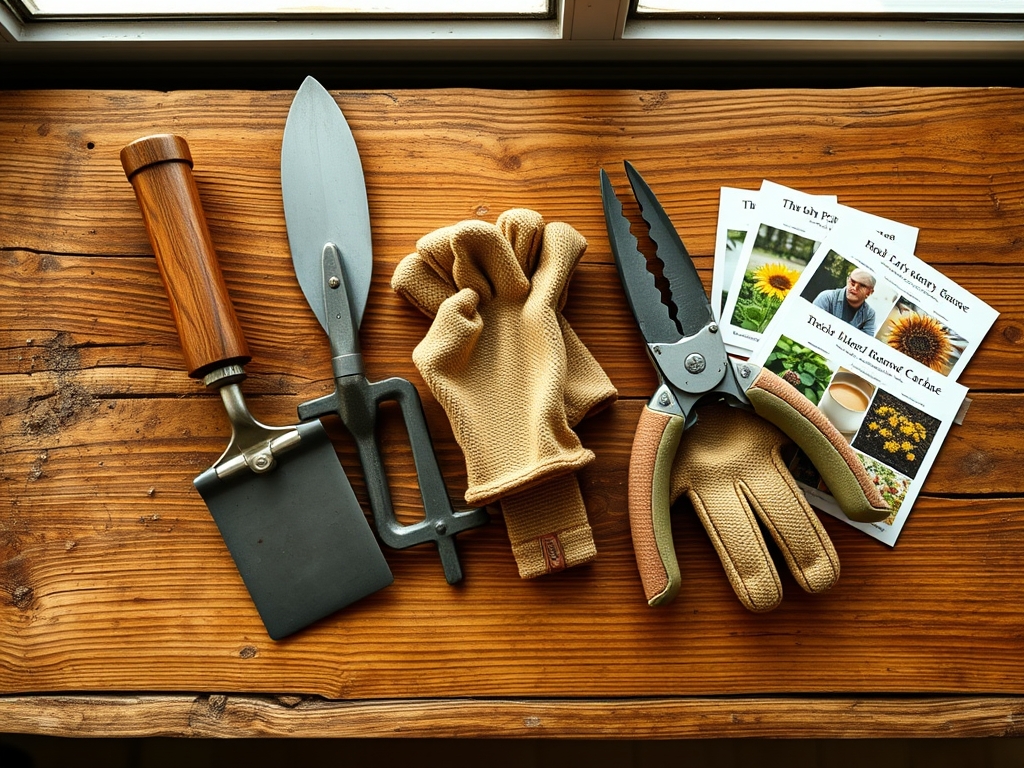
Precision is required to maintain the area around the bridge. Provide exactly 1.5 inches of water per week at the drip line of all stabilizing plants. Use a soil moisture meter to verify that the moisture has penetrated to a depth of 8 inches. When pruning encroaching vegetation, use sharp bypass pruners to make clean cuts at the branch collar; this facilitates rapid callus formation and prevents pathogen entry. For removing deep-rooted weeds near the foundation, a hori-hori knife allows you to extract the entire taproot without disturbing the compacted soil around the anchor. Monitor the concrete footings for hairline cracks twice a year, specifically after the spring thaw.
The Yield:
While a bridge foundation does not produce a caloric yield, the "yield" is measured in the longevity of the structure and the health of the riparian corridor. If you have planted edible stabilizers like elderberry, harvest the drupes when they reach a deep purple, almost black hue. Use sharp shears to remove the entire cluster. To maintain day-one freshness, submerge the clusters in a 34 degree Fahrenheit water bath immediately to remove field heat and slow the rate of cellular respiration. This prevents the degradation of anthocyanins and maintains the structural integrity of the fruit.
FAQ:
How deep should the bridge footings be?
Footings must extend at least 12 inches below the frost line for your specific Hardiness Zone. This prevents frost heaving from displacing the anchor. In most northern climates, a depth of 36 to 48 inches is standard.
What is the best soil for bank stabilization?
A mix of 60 percent sand, 20 percent silt, and 20 percent clay provides the best balance. This allows for rapid drainage while maintaining enough Cation Exchange Capacity to support the root systems of stabilizing plants.
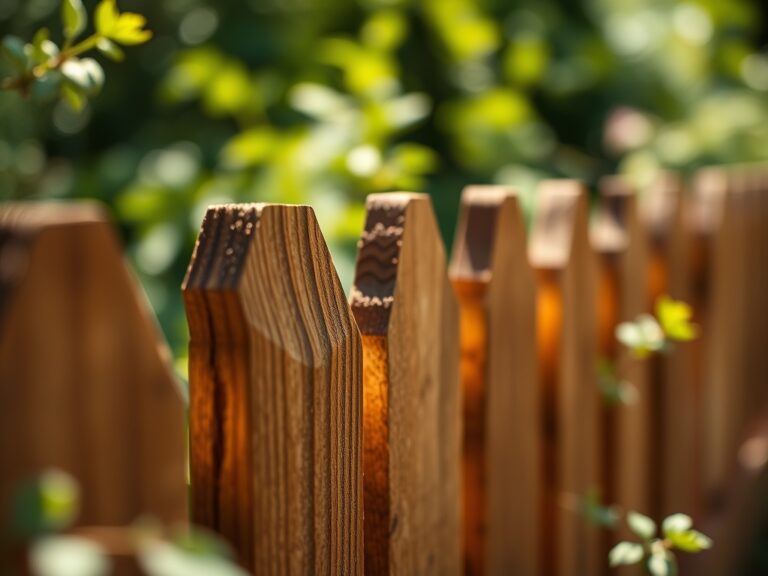
Can I use pressure-treated wood for the anchor?
Only use wood rated for ground contact (UC4A or higher). However, reinforced concrete footings are superior for long-term stability. Ensure any metal fasteners are hot-dipped galvanized to prevent galvanic corrosion in moist soil environments.
How do I prevent erosion around the anchor?
Install rip-rap stone or a heavy coconut fiber coir log at the base of the foundation. This breaks the kinetic energy of flowing water and allows silt to settle, which encourages the growth of native riparian vegetation.
When is the best time to check for foundation shifts?
Perform a transit level check during the spring equinox. Soil moisture is typically at its highest, and the ground has just finished the freeze-thaw cycle, making any structural movement or subsidence most visible.