9 Tiered Ways How to Design a Terrace Garden
The scent of damp peat moss mixed with the sharp, metallic tang of oxidized steel tools signals the start of a serious build. Successful cultivation begins with understanding the turgor pressure within a cell; it is the difference between a tattered leaf and a crisp, functional solar panel. Learning how to design a terrace garden requires a shift from aesthetic whim to structural engineering and cellular biology. Every kilogram of wet soil adds significant dead load to a building frame. You are not just planting; you are managing a high altitude ecosystem where wind desiccation and solar radiation are amplified.
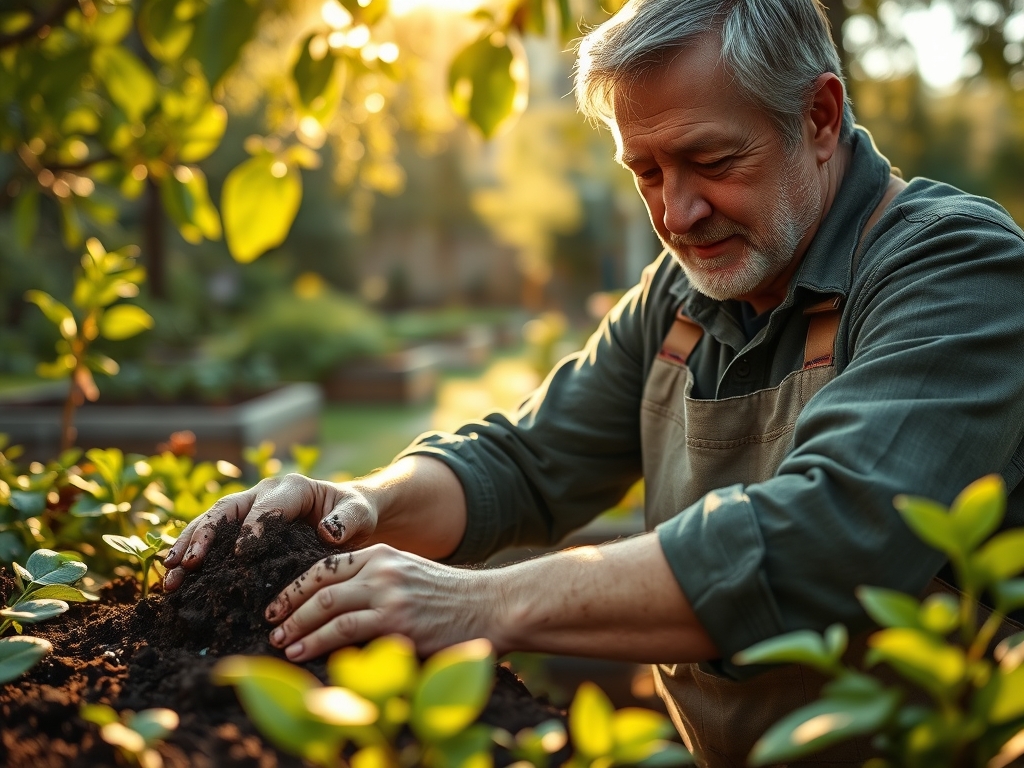
To master how to design a terrace garden, you must first respect the weight of water. Saturated soil can weigh up to 100 pounds per cubic foot. Structural integrity is the primary constraint. Once the load bearing capacity is verified, the focus shifts to the rhizosphere. This is the narrow region of soil directly influenced by root secretions and associated soil microorganisms. In a confined terrace environment, the margin for error is thin. You are the architect of a closed-loop system where nutrient cycling and drainage must be perfected before the first seed hits the substrate.
Materials:
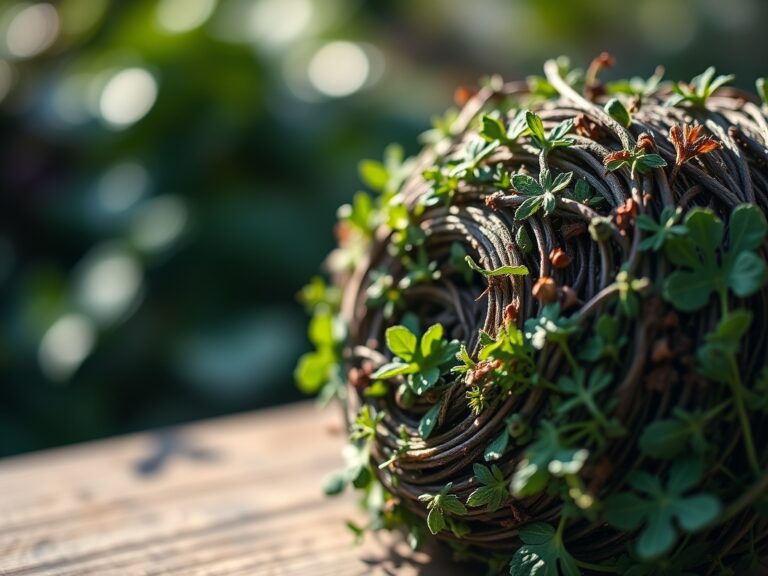
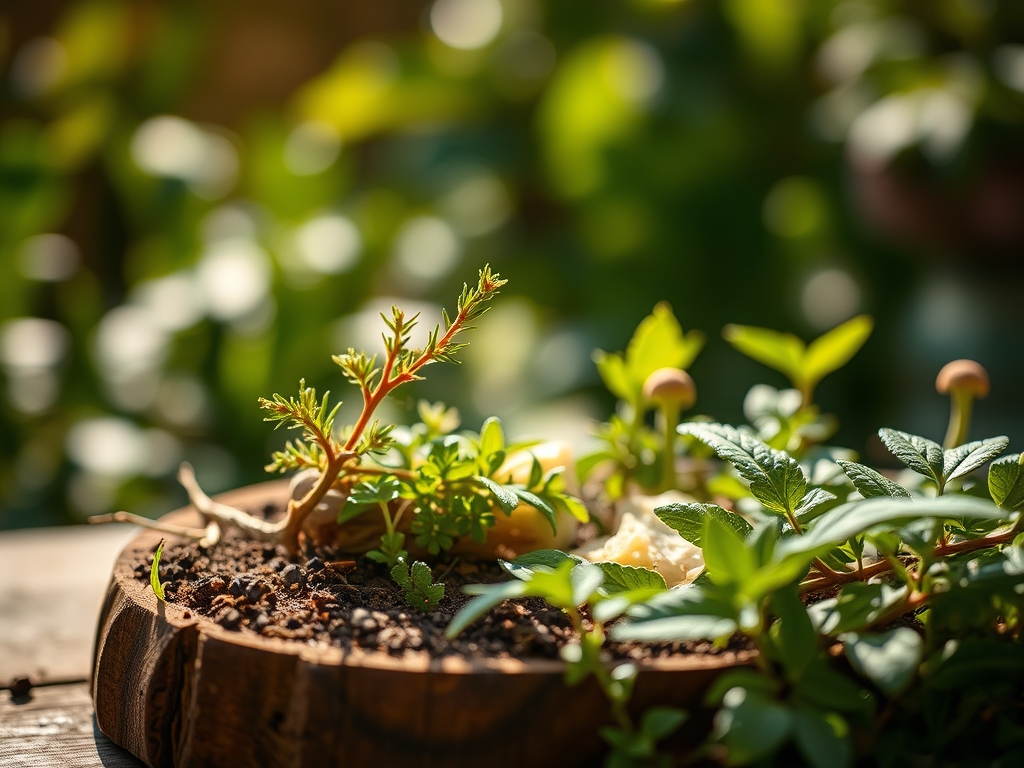
Substrate selection is the most critical decision in terrace horticulture. Standard garden soil is too heavy and compacts easily, leading to anaerobic conditions. You require a friable loam substitute with a high Cation Exchange Capacity (CEC) to ensure nutrient retention. The ideal mix consists of 40 percent coco coir or peat for moisture retention, 30 percent perlite for aeration, and 30 percent high grade compost.
Target a soil pH between 6.2 and 6.8 for most temperate crops. This range ensures maximum bioavailability of macronutrients. For the initial establishment phase, utilize a fertilizer with an NPK ratio of 10-10-10 to support balanced root and shoot development. As plants transition, adjust to a 5-10-15 ratio to favor potassium for cellular wall strength and fruit production. The physical texture must be gritty enough to allow water to move through the profile at a rate of 2 inches per hour, preventing root rot.
Timing:
Success is dictated by the United States Department of Agriculture (USDA) Hardiness Zones. In a terrace environment, you are often one half-zone warmer than the ground level due to the thermal mass of the building; however, you are also more susceptible to wind chill. In Zones 6 through 8, the primary planting window opens when the soil temperature consistently hits 55 degrees Fahrenheit.
The biological clock of your garden is governed by the photoperiod. Short-day plants require long periods of darkness to trigger the reproductive stage, while long-day plants need the extended light of the summer solstice. Monitor the transition from the vegetative stage (leaf production) to the reproductive stage (flowering). On a terrace, the increased light exposure can accelerate senescence, the biological aging of the plant. You must time your sowings to ensure the root system is established before the peak heat of July, which can raise container temperatures above 95 degrees Fahrenheit, causing root stasis.
Phases:
Sowing and Germination
Direct sow seeds at a depth exactly twice the diameter of the seed. Maintain a consistent moisture level to ensure the seed coat softens and the radicle can emerge. For terrace containers, use a humidity dome to prevent the surface from crusting over in the wind.
Pro-Tip: Focus on phototropism. Seedlings will lean toward the strongest light source. Rotate containers 180 degrees every two days to ensure even distribution of auxins, the hormones responsible for cell elongation, preventing leggy and weak stems.
Transplanting
When moving starts from a nursery tray to a larger vessel, wait for the second set of "true leaves." This indicates the plant has moved beyond its internal energy stores and is now actively photosynthesizing. Minimize root disturbance to prevent transplant shock, which halts growth for 7 to 14 days.
Pro-Tip: Inoculate the root ball with mycorrhizal fungi. This symbiotic relationship extends the root surface area by up to 100 times, significantly increasing the plant's ability to uptake phosphorus and water in a confined container environment.
Establishing and Training
Once established, structural support is mandatory. Use trellises or heavy duty stakes for any plant exceeding 12 inches in height. Wind shear on a terrace can snap a main leader in seconds. Use soft ties to allow for secondary thickening of the stem.
Pro-Tip: Practice apical dominance management. By pinching off the lead bud (the terminal meristem), you suppress the hormones that keep the plant growing upward. This forces the plant to grow laterally, creating a bushier, more stable structure better suited for high wind environments.
The Clinic:
Physiological disorders often mimic disease but are usually environmental.
- Blossom End Rot: This appears as a dark, leathery spot on the bottom of fruit. It is caused by a Calcium deficiency, often triggered by inconsistent watering rather than a lack of minerals in the soil. Fix: Maintain steady soil moisture.
- Nitrogen Chlorosis: Older leaves turn a pale yellow while veins remain slightly green. This indicates the plant is scavenging nitrogen from old growth to support new growth. Fix: Apply a high nitrogen liquid fertilizer (e.g., NPK 10-2-2).
- Leaf Scorch: Edges of the leaves become brown and brittle. This is a sign of high transpiration rates exceeding the roots' ability to supply water. Fix: Install 30 percent shade cloth during peak UV hours.
- Magnesium Deficiency: Interveinal chlorosis on older leaves, appearing as yellowing between the veins. Fix: Apply Epsom salts (Magnesium Sulfate) at a rate of 1 tablespoon per gallon of water.
Maintenance:
Precision is the hallmark of a master horticulturist. Use a soil moisture meter daily. On a terrace, evaporation rates are high; you generally require 1.5 inches of water per week delivered directly to the drip line. Avoid overhead watering to prevent fungal spores from proliferating on the foliage.
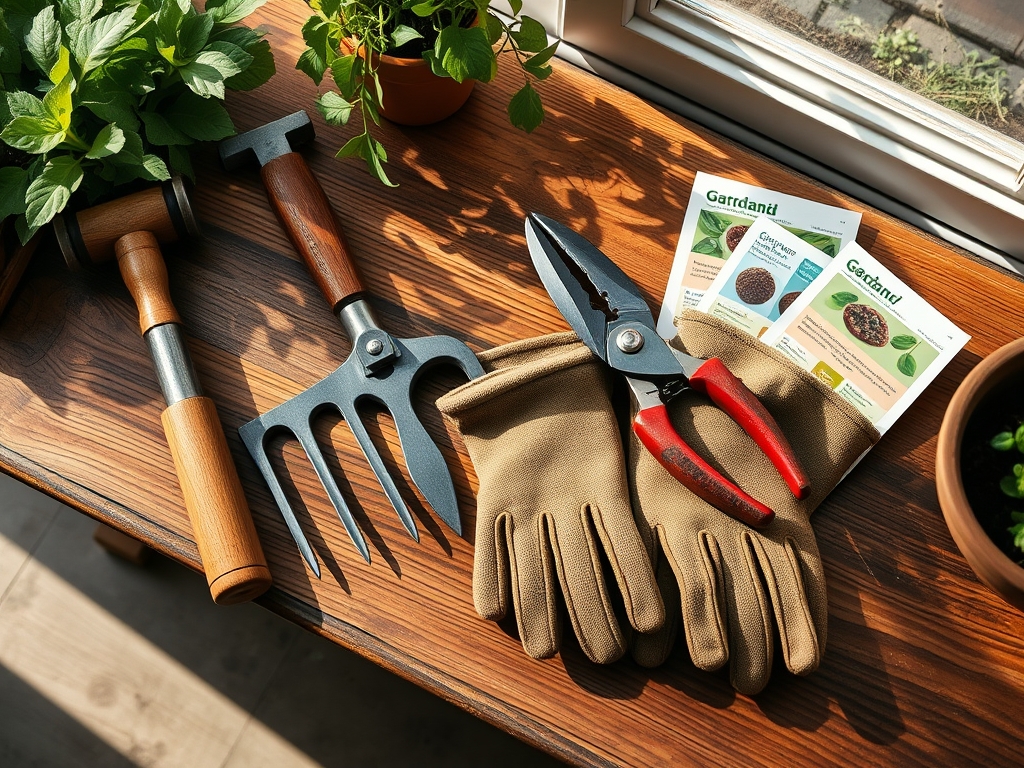
Keep a hori-hori knife for weeding and measuring planting depths. Use bypass pruners for clean, surgical cuts that heal quickly. Ragged cuts from anvil pruners invite pathogens. Every two weeks, inspect the undersides of leaves for pests. If found, use a forceful stream of water or a 1 percent horticultural oil solution to disrupt their life cycle. Monitor the electrical conductivity (EC) of your runoff; a high EC indicates salt buildup from fertilizers, which requires flushing the pots with pure water.
The Yield:
Harvesting is a biological calculation. For leafy greens, harvest in the early morning when turgor pressure is at its peak; this ensures the leaves are crisp and full of water. For fruiting bodies, wait for the "absicission layer" to form at the base of the fruit stem, which allows the fruit to pull away with minimal force.
Post-harvest, rapid cooling is essential to slow down the metabolic rate and prevent sugar-to-starch conversion. For flowers, use a sharp blade to cut stems at a 45 degree angle and submerge immediately in 100 degree Fahrenheit water to break air locks in the xylem. This technique ensures "day-one" freshness for the longest possible duration.
FAQ:
How much weight can a standard terrace hold?
Most modern balconies support 40 to 60 pounds per square foot. Always consult a structural engineer before installing large planters or heavy stone features. Use lightweight expanded clay or perlite to reduce the total weight of your growing medium.
How do I stop wind from killing my plants?
Install permeable windbreaks like lattice or mesh. These break the wind's force without creating the turbulence associated with solid walls. Use heavy, wide-based containers and secure tall plants to structural elements with flexible, non-abrasive ties.
What is the best way to water a terrace garden?
A drip irrigation system with a programmable timer is the gold standard. It delivers precise amounts of water directly to the root zone, reducing waste and preventing the moisture fluctuations that lead to fruit cracking and nutrient lockout.
Do I need to change the soil every year?
No, but you must refresh it. Remove the top 3 to 4 inches of spent substrate and replace it with fresh compost. Every two years, perform a full soil test to check for salt accumulation and pH drift.