9 Essential Steps to Install a Pond Liner
The smell of damp, anaerobic mud signifies a failing ecosystem, but a properly sealed basin smells only of wet stone and oxygenated water. To master the steps to install a pond liner, you must first understand the structural integrity of the earth you are displacing. A successful installation prevents hydrostatic pressure from collapsing the sidewalls while ensuring the internal water volume remains constant. This process requires precise excavation and a mechanical understanding of material tension. You are not just digging a hole; you are engineering a closed-loop hydraulic system that must withstand seasonal freeze-thaw cycles and the unrelenting pressure of thousands of gallons of water. Failure to follow specific technical sequences results in liner puncture or unsightly "floating" caused by trapped gases.
Materials:
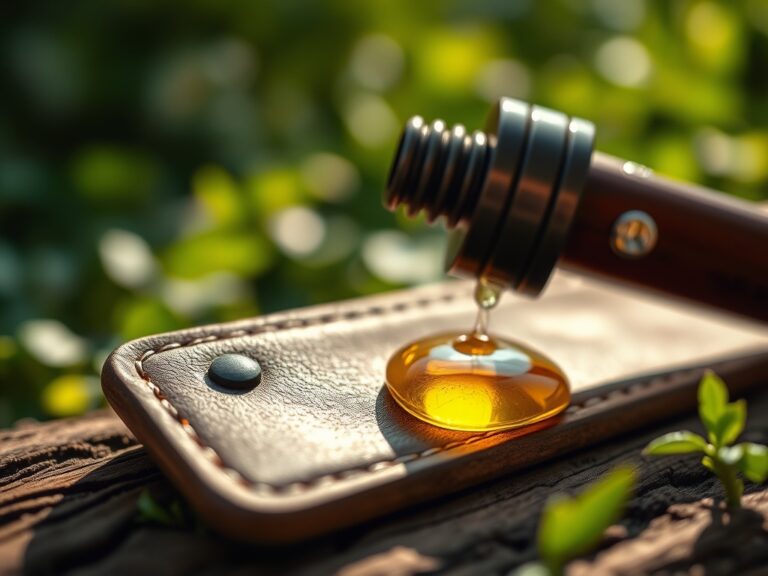
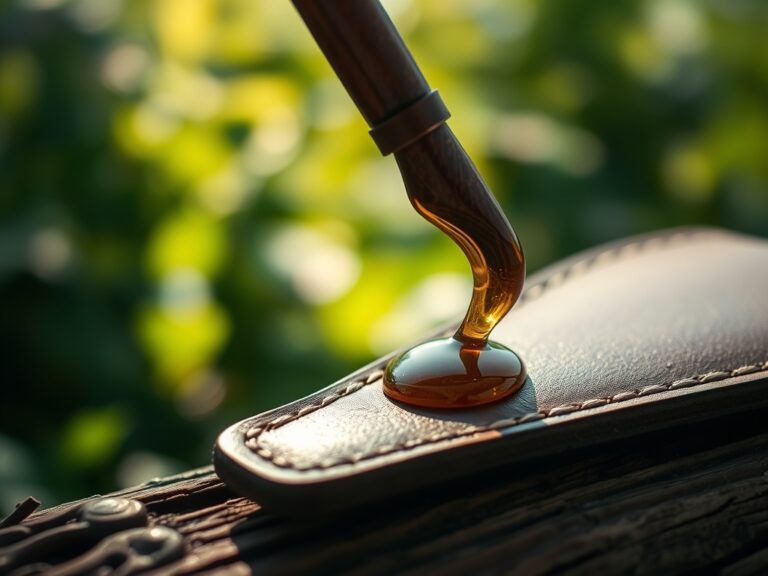
The success of the surrounding riparian zone depends on the soil composition at the pond edge. Ideal substrate for marginal plantings is a **friable loam** with a **pH between 6.5 and 7.2**. Avoid heavy clays that impede root respiration or pure sands that lack **Cation Exchange Capacity (CEC)**. For aquatic plants positioned in planting pockets, utilize a specialized aquatic compost with an **NPK ratio of 10-12-8** to support initial root development without causing algal blooms from excess nitrogen. You will need **45-mil EPDM (Ethylene Propylene Diene Monomer)** liner for its UV resistance and elasticity. Do not substitute with PVC if you intend to establish a long-term biological equilibrium.
Timing:
In Hardiness Zones 4 through 7, installation should occur when the ground is thawed but before the spring equinox triggers rapid vegetative growth. Soil stability is highest when moisture levels are at field capacity; bone-dry soil crumbles, while saturated soil slumps. From a biological perspective, you must time the installation to coincide with the pre-vegetative stage of your local flora. Installing during the late dormant season allows the rhizosphere of marginal plants to establish before the high-energy demands of the summer photoperiod begin. If you delay until the reproductive stage, the transplant shock may induce premature senescence in your aquatic specimens.
Phases:

The installation process follows a rigid mechanical progression to ensure the longevity of the membrane and the health of the aquatic life.
Sowing the Perimeter
Before the liner touches the earth, the excavation must be tiered. Create shelves at 12-inch and 24-inch depths. This provides specific niches for different plant species based on their light and oxygen requirements. Remove every sharp stone or protruding root from the basin.
Pro-Tip: Apply a 2-inch layer of damp sand or specialized geotextile underlayment. This acts as a buffer against geological shifting. By stabilizing the substrate, you prevent point-load stress that leads to microscopic tears in the EPDM.
Transplanting the Membrane
Drag the liner across the hole, ensuring it is centered. Do not pull it taut. As you begin filling the pond with water, the weight will pull the liner into the contours of the excavation. You must manually smooth the folds as the water level rises to prevent large pockets of stagnant water from forming behind the rubber.
Pro-Tip: Leave a "slack loop" at the top edge. This accommodates thermal expansion and contraction. Without this slack, the liner may tear away from the coping stones during extreme temperature fluctuations, a concept known as material fatigue.
Establishing the Biological Filter
Once the water reaches the first shelf, install your marginal plants. Use heavy clay-based soils for these pots to prevent the media from floating away. Introduce mycorrhizal inoculants to the root zones to facilitate nutrient uptake in the low-oxygen environment of the pond bottom.
Pro-Tip: Incorporate floating-leaf plants like Nymphaea to cover 50 to 60 percent of the surface area. This limits photosynthetically active radiation (PAR) reaching the water column, which suppresses opportunistic algae growth through simple light competition.
The Clinic:
Physiological disorders in a new pond often manifest in the surrounding vegetation or the water clarity itself.
- Symptom: Nitrogen Chlorosis. Leaves on marginal plants turn pale yellow while veins remain green.
- Solution: This indicates a lack of bio-available nitrogen. Supplement with slow-release 15-0-0 fertilizer tabs pressed deep into the root ball.
- Symptom: Episodic Wilt. Plants at the edge appear limp despite being in water.
- Solution: Check for root rot (Phytophthora) caused by lack of oxygen. Increase water circulation using a submersible pump to raise dissolved oxygen levels.
- Symptom: Liner Heaving. The liner appears to bubble upward from the bottom.
- Solution: This is caused by hydrostatic pressure or methane buildup in the soil. Install a small drainage pipe or "gas vent" under the liner to equalize pressure.
Maintenance:
A pond is a living laboratory that requires calibrated inputs. Use a soil moisture meter to monitor the transition zone between the pond edge and the upland garden. Marginal plants require the soil to remain at saturation point, while upland plants 3 feet away should receive exactly 1.5 inches of water per week at the drip line. Use a hori-hori knife to divide overgrown rhizomes every two years to prevent the pond from becoming "root-bound." When pruning aquatic foliage, use bypass pruners to make clean cuts; ragged tears invite pathogens into the plant's vascular system. Monitor water evaporation; if levels drop more than 0.25 inches per day excluding splash-out, inspect the liner for mechanical punctures.
The Yield:
If your pond includes edible aquatic plants like Watercress (Nasturtium officinale) or Lotus (Nelumbo nucifera), harvest timing is critical. Harvest Watercress before the plant enters its flowering stage to avoid a bitter flavor profile. For Lotus tubers, wait until the late autumn when the plant has moved its carbohydrates into the rhizome for winter storage. To maintain "day-one" freshness, submerge the cut ends of aquatic harvests in cool, dechlorinated water immediately. This maintains turgor pressure in the cell walls and prevents the rapid wilting associated with vascular collapse.
FAQ:
What is the best material for a pond liner?
45-mil EPDM rubber is the industry standard. It offers superior UV resistance and remains flexible in temperatures as low as -40 degrees Fahrenheit. It is chemically inert, making it safe for delicate aquatic ecosystems and nitrogen-fixing bacteria.
How deep should a pond be to avoid freezing?
In most temperate climates, a minimum depth of 24 to 36 inches is required. This ensures a "thermal refuge" at the bottom where water remains a constant 39 degrees Fahrenheit, protecting the root systems of perennial aquatic plants.
Do I need an underlayment for the liner?
Yes. A geotextile fabric or a 3-inch layer of washed sand is essential. This protects the membrane from "frost heave" and prevents sharp aggregate in the soil from puncturing the liner under the massive weight of the water.
How do I calculate the liner size needed?
Use the formula: (Length + 2x Depth + 2 feet) by (Width + 2x Depth + 2 feet). The extra 2 feet provides an "anchor flange" to be buried under coping stones, ensuring the liner does not slip into the basin.