7 Orderly Steps to Organize Seed Packets
Crushing a handful of friable loam reveals the gritty reality of a successful season; the smell of geosmin and the cool moisture against your palm indicate a soil ready for life. Success in the garden is not a product of luck but of rigorous logistical management. An unorganized collection of seeds leads to missed planting windows and wasted genetic potential. By following these 7 orderly steps to organize seed packets, you ensure that every embryo within its protective coat meets the soil at the precise moment of physiological readiness. Precision begins in the storage bin.
Materials:
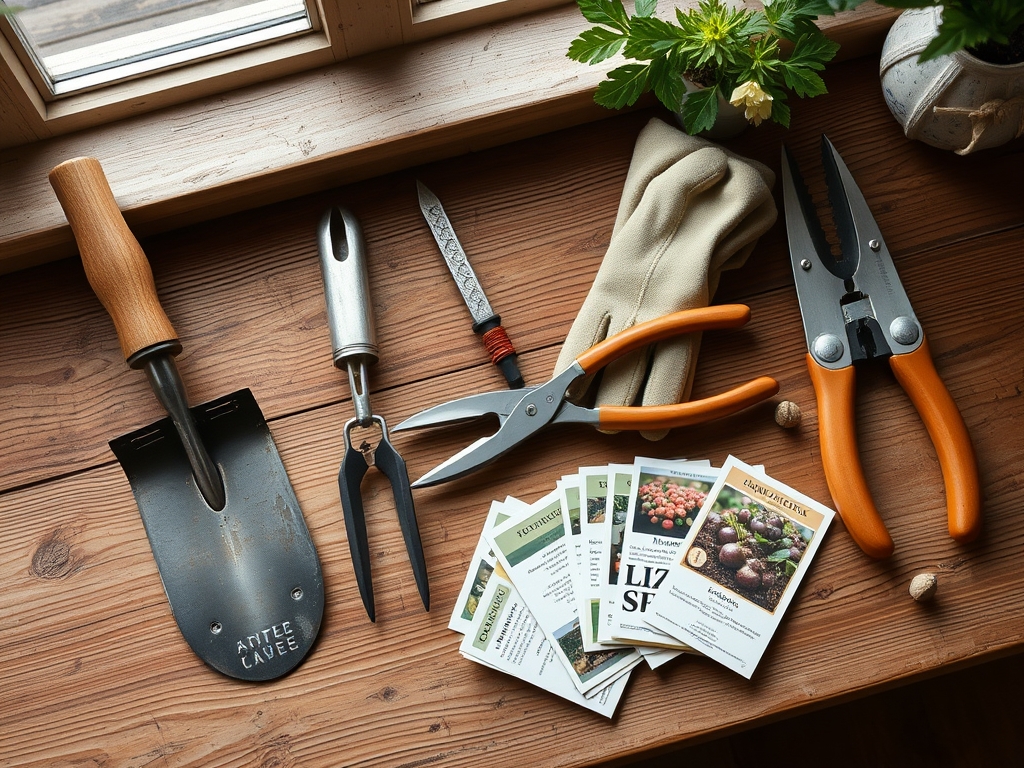
Effective organization requires a substrate for information. Use acid-free dividers and airtight containers to prevent moisture ingress. For the seeds themselves, prepare a starting medium with a **pH of 5.8 to 6.2**. This range optimizes the **Cation Exchange Capacity (CEC)**, allowing the young radicle to access minerals immediately upon emergence. A balanced **NPK ratio of 5-5-5** is generally sufficient for initial growth, though heavy feeders like Brassicas may require a **10-10-10** boost once the first true leaves appear. The physical texture must be a **friable loam**; it should crumble easily under light pressure to allow for maximum aeration and root penetration. Avoid heavy clays that restrict oxygen flow to the **rhizosphere**.
Timing:
Your organizational system must align with your specific USDA Hardiness Zone. In Zone 6, for example, the last frost date typically falls between April 1st and May 15th. Organizing by "Weeks Before Last Frost" allows you to track the Biological Clock of each species. This clock governs the transition from the vegetative stage to the reproductive stage. For instance, Solanaceae species like tomatoes require 6 to 8 weeks of indoor growth to develop sufficient turgor pressure and root mass before field transplanting. Failure to respect these windows results in stunted development or premature senescence due to environmental stress.
Phases:

Sowing
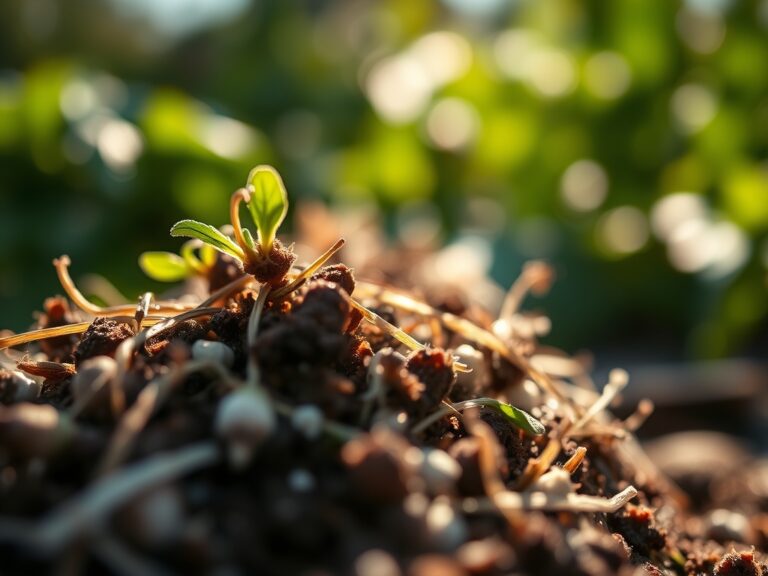
Sort your packets by sowing depth. Small seeds like lettuce require light for germination and should be sown at a depth of 0.125 inches. Larger seeds like beans require a depth of 1 to 1.5 inches.
Pro-Tip: Maintain consistent moisture to prevent the seed coat from hardening. This ensures the seedling can overcome the mechanical resistance of the soil. Biological Why: This facilitates epigeal germination, where the hypocotyl elongates and pulls the cotyledons above the soil surface.
Transplanting
Organize packets by their sensitivity to root disturbance. Species with taproots, such as carrots, should be direct-sown. Those that tolerate transplanting should be moved when they have 2 to 4 true leaves.
Pro-Tip: Use a soil moisture meter to ensure the transplant hole is at field capacity before placing the seedling. Biological Why: This minimizes transplant shock by maintaining high water potential in the plant tissues, preventing a sudden drop in turgor pressure.
Establishing
Group your packets by their final spacing requirements. Intense competition for light and nutrients will trigger auxin suppression in crowded plants, leading to spindly growth.
Pro-Tip: Apply a thin layer of organic mulch to regulate soil temperature. Biological Why: Stable temperatures encourage mycorrhizal symbiosis, where fungal filaments extend the reach of the root system to scavenge phosphorus.
The Clinic:
Physiological disorders often stem from environmental mismanagement rather than pathogens.
- Symptom: Interveinal chlorosis on young leaves. Solution: Correct iron deficiency by lowering soil pH to 6.0. Fix-It: Apply chelated iron foliar spray.
- Symptom: Damping-off (seedlings collapsing at the base). Solution: Increase airflow and reduce humidity to below 50 percent. Fix-It: Thin seedlings to improve ventilation.
- Symptom: Blossom end rot in tomatoes. Solution: Stabilize moisture levels to ensure calcium transport. Fix-It: Maintain 1.5 inches of water per week.
- Symptom: Nitrogen chlorosis (yellowing of older leaves). Solution: Apply a high-nitrogen fertilizer with an NPK of 20-10-10. Fix-It: Side-dress with blood meal.
Maintenance:
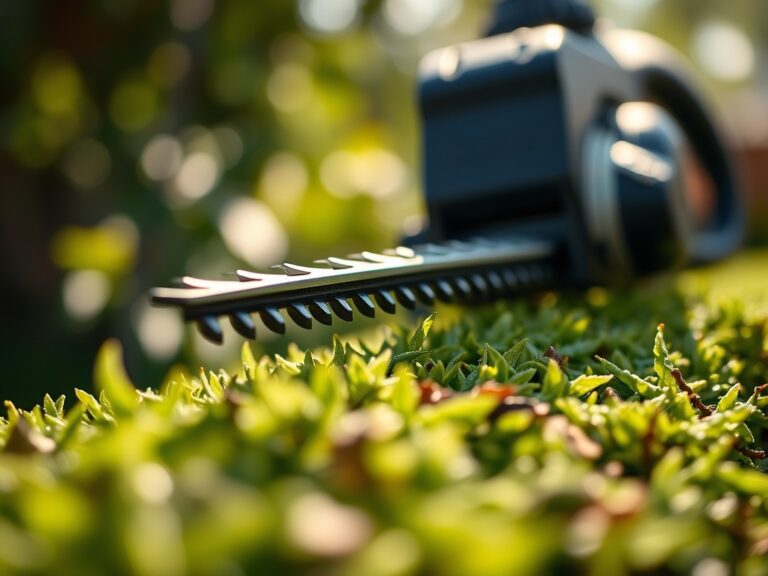
Precision maintenance requires the right instrumentation. Use a soil moisture meter daily to ensure the root zone remains between 60 and 80 percent of field capacity. Most crops require exactly 1.5 inches of water per week delivered at the drip line to avoid wetting the foliage, which can invite fungal spores. For pruning, use sharp bypass pruners to make clean cuts at a 45-degree angle just above a node. This encourages rapid wound healing and prevents dieback. A hori-hori knife is essential for deep-weeding and measuring planting depths with its serrated edge and graduated markings.
The Yield:
Harvesting is a matter of timing the peak sugar-to-starch ratio. For leafy greens, harvest in the early morning when turgor pressure is at its highest. Use a sharp blade to prevent tearing the vascular tissue. For fruiting crops like peppers, wait for the fruit to reach its full varietal color to ensure maximum nutrient density. Post-harvest, immediately move produce to a cool, dark environment to slow the rate of respiration. For many vegetables, a temperature of 35 to 40 degrees Fahrenheit with high humidity preserves "day-one" crispness by preventing cellular collapse.
FAQ:
How long do most vegetable seeds remain viable?
Most seeds remain viable for 2 to 4 years if stored in a cool, dry place. Onion and parsnip seeds are exceptions; they typically lose viability after 12 months. Always perform a germination test before the primary sowing date.
What is the best temperature for seed storage?
Maintain a constant temperature between 32 and 45 degrees Fahrenheit. Fluctuations in temperature can cause the embryo to consume its stored energy reserves prematurely, leading to poor germination rates or weak seedlings during the initial growth phase.
Should I organize seeds by plant family or planting date?
Organize by planting date for operational efficiency. Grouping by family is useful for crop rotation, but a chronological system ensures you never miss a critical photoperiod window or frost-free date required for specific species to reach maturity.
How do I tell if a seed is still good?
Place 10 seeds on a damp paper towel inside a sealed plastic bag. Maintain a temperature of 70 degrees Fahrenheit. If fewer than 7 seeds germinate within the expected timeframe, the seed lot should be replaced for consistent results.
Why is humidity control important for seed packets?
High humidity triggers the seed's metabolic processes, leading to the exhaustion of the endosperm. Keep relative humidity below 35 percent to ensure the embryo remains in a state of deep dormancy until it is intentionally introduced to the soil.