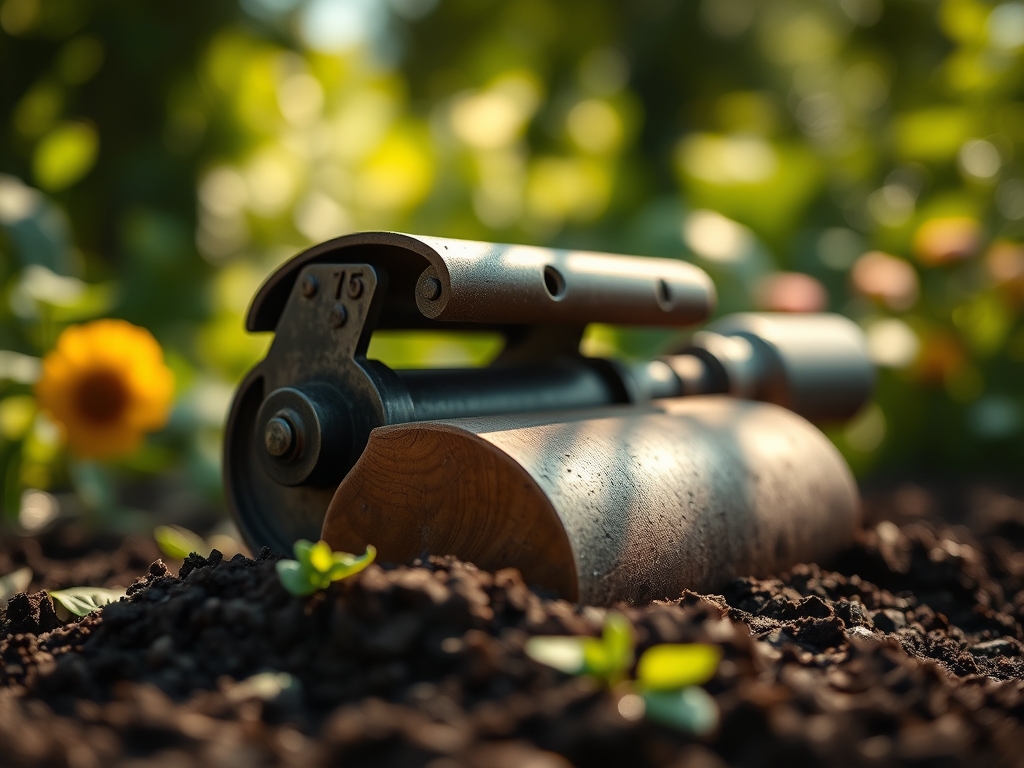
6 Best Rollers for Soil Leveling
The smell of damp, disturbed earth signals the start of a successful planting season; it is the scent of geosmin released by actinobacteria as they break down organic matter. Achieving a uniform seedbed is not a matter of aesthetics but a requirement for hydraulic conductivity and consistent seed-to-soil contact. Utilizing the best rollers for soil leveling ensures that the substrate reaches a bulk density of approximately 1.3 to 1.5 grams per cubic centimeter. This specific density prevents air pockets that desiccate emerging radicles while maintaining enough macropore space for oxygen diffusion. Without proper leveling, irrigation water pools in depressions, leading to localized anaerobic conditions and the eventual onset of root rot pathogens like Pythium. A level surface provides the mechanical stability necessary for consistent turgor pressure across the entire crop stand.
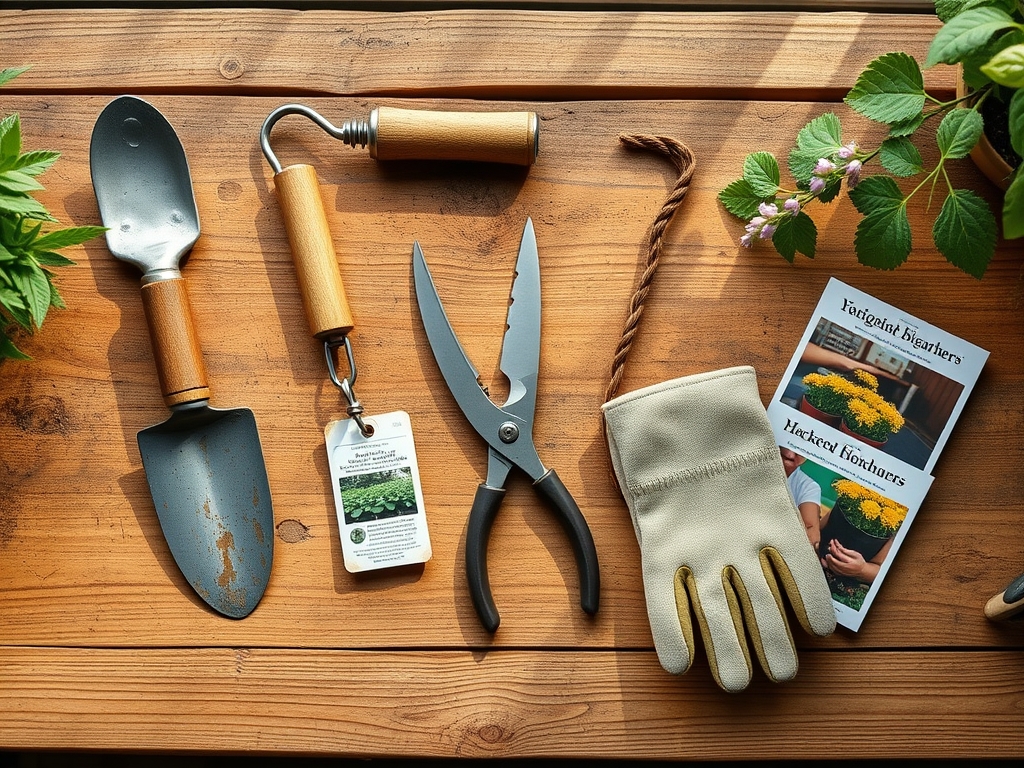
Materials:
The ideal substrate for leveling is a friable loam with a Soil Cation Exchange Capacity (CEC) between 15 and 25 milliequivalents per 100 grams. This ensures the soil can retain essential cations like Potassium (K+) and Calcium (Ca2+). Before rolling, the soil pH should be calibrated to 6.5 for optimal nutrient bioavailability. For a baseline establishing phase, integrate a slow-release NPK ratio of 10-20-10. High phosphorus content at this stage supports ATP production and rapid cellular division in the rhizosphere. The physical texture must be granular; if the soil is too plastic (high clay content), rolling will cause excessive compaction, shearing the soil structure and destroying the capillary network. If the soil is too sandy (low CEC), the roller will fail to create a stable surface, as the lack of colloidal particles prevents the formation of structural peds.
Timing:
In Hardiness Zones 4 through 7, the window for soil leveling begins 14 to 21 days before the last predicted frost date. This timing aligns with the biological clock of cool-season grasses and hardy perennials. During this period, soil temperatures typically stabilize between 50 and 55 degrees Fahrenheit, which is the threshold for microbial activation. Rolling must occur when the soil moisture is at 50 percent of field capacity. If the soil is too wet, you risk puddling and surface sealing; if too dry, the mechanical force will merely pulverize the aggregate into dust. This preparation window is critical before the plant transitions from the vegetative stage to the reproductive stage, as any root disturbance during the later stages of the photoperiod will trigger premature senescence and reduce overall biomass yield.
Phases:

Sowing
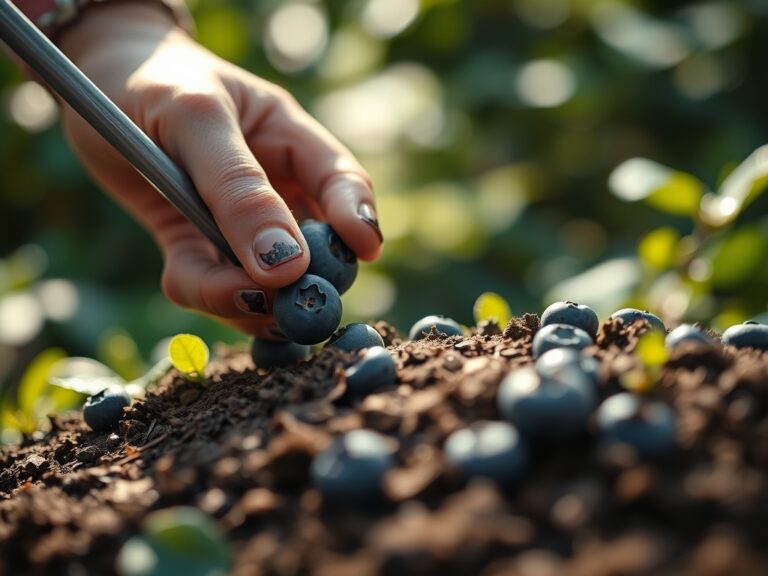
Distribute seeds evenly across the leveled surface using a broadcast spreader calibrated to the specific seed size. The best rollers for soil leveling are then used to press the seeds exactly 0.25 inches into the substrate. This ensures the seed is enveloped by the soil matrix, facilitating the imbibition of water required to break dormancy.
Pro-Tip: Proper seed-to-soil contact maximizes the surface area available for water absorption. This triggers the release of gibberellic acid within the seed, which signals the aleurone layer to produce amylase, converting stored starches into energy for the emerging embryo.
Transplanting
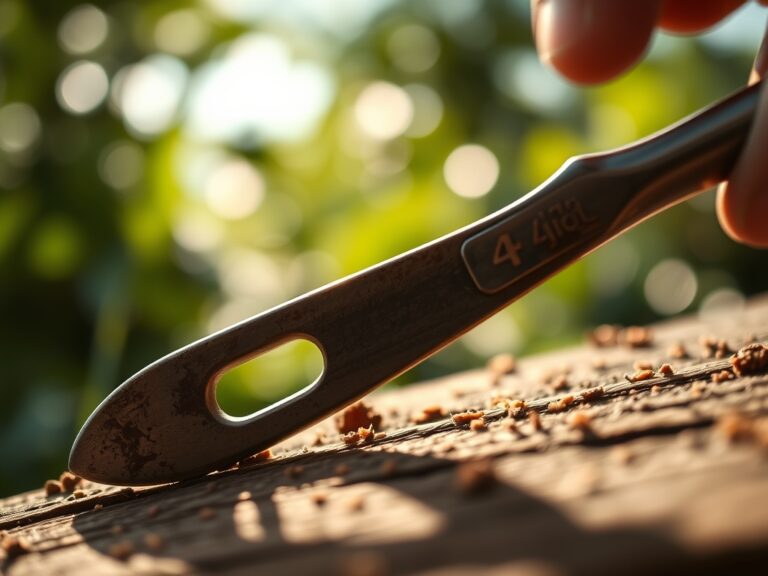
When moving seedlings from flats to the field, use a hori-hori knife to create a precise incision that matches the root ball volume. Ensure the crown of the plant sits flush with the leveled soil surface. Avoid burying the stem, which can lead to damping-off.
Pro-Tip: Maintaining the leveled grade prevents "stem-girdling" caused by shifting soil. This protects the phloem and xylem tissues, ensuring that auxin suppression remains balanced and the plant maintains apical dominance rather than becoming stunted.
Establishing
During the first 28 days of growth, the focus shifts to root expansion. Use a soil moisture meter to ensure the top 3 inches of soil remain consistently hydrated. The leveled surface allows for uniform lateral water movement, preventing dry spots that cause localized wilting.
Pro-Tip: A level surface encourages the establishment of mycorrhizal symbiosis. These beneficial fungi extend the reach of the root system by 10 to 100 times, significantly increasing the uptake of immobile nutrients like phosphorus through a vast network of hyphae.
The Clinic:
Physiological disorders often stem from poor soil preparation or nutrient imbalances. Observe the foliage and soil structure for these specific indicators.
Symptom: Interveinal chlorosis in young leaves.
Solution: This indicates an Iron (Fe) deficiency, often caused by a pH above 7.2. Lower the pH using elemental sulfur to increase the solubility of micronutrients.
Symptom: Purpling of the underside of leaves.
Solution: This is a classic sign of Phosphorus (P) deficiency. Apply a water-soluble 0-52-34 fertilizer to provide an immediate boost to the plant's energy transfer systems.
Symptom: Surface crusting and poor water infiltration.
Solution: This is caused by over-rolling or high sodium content. Apply gypsum (Calcium Sulfate) to displace sodium ions and improve soil flocculation, then lightly aerate the surface.
Fix-It for Nitrogen Chlorosis: If older leaves turn uniform pale yellow, the plant is scavenging Nitrogen from old tissue to support new growth. Apply a 21-0-0 Ammonium Sulfate fertilizer at a rate of 0.5 pounds of actual Nitrogen per 1,000 square feet.
Maintenance:
Precision maintenance requires 1.5 inches of water per week applied at the drip line to ensure deep root penetration. Use bypass pruners to remove any necrotic tissue, making cuts at a 45-degree angle to prevent water from sitting on the wound. Soil compaction should be monitored monthly; if the soil resistance exceeds 300 psi on a penetrometer, light aeration is required. Check the calibration of your soil moisture meter weekly by comparing its readings to a manual "squeeze test" of the soil at a 4-inch depth. Constant vigilance of the soil's physical state prevents the transition from a healthy rhizosphere to a compacted, sterile environment.
The Yield:
Harvesting should occur when the plant reaches peak secondary metabolite production. For most crops, this is in the early morning when turgor pressure is at its highest and the plant is fully hydrated. Use a sharp, sterilized blade to minimize tissue trauma. Post-harvest, immediately move the produce to a cooling area to reduce the field heat and slow the rate of respiration. Maintaining a temperature of 34 to 40 degrees Fahrenheit and 90 percent relative humidity will preserve the cellular structure and ensure "day-one" freshness for extended periods.
FAQ:
What is the best weight for a soil roller?
For residential leveling, a roller weighing between 200 and 300 pounds when filled with water is ideal. This provides enough downward pressure to eliminate air pockets without causing the excessive compaction that restricts root respiration and oxygen exchange.
Can I use a roller on clay soil?
Only use a roller on clay when moisture levels are below 40 percent of field capacity. Rolling wet clay collapses the soil structure, leading to massive compaction and a total loss of the pore space necessary for drainage.
When is the best time to level soil?
Leveling should be performed in early spring or fall when the soil is moist but not saturated. This timing avoids the extreme heat of summer, which can bake the newly exposed soil and kill beneficial microbial populations in the rhizosphere.
How deep should a roller compact the soil?
The goal is not deep compaction but surface stabilization. A standard roller affects the top 1 to 2 inches of the substrate. This creates a firm seedbed while leaving the deeper horizons loose enough for unrestricted taproot elongation and lateral expansion.