10 Pro Tips How to Maintain a Hedge Trimmer
The smell of pulverized chlorophyll and damp earth signifies a successful pruning session; however, the turgor of a healthy leaf depends entirely on the precision of the cut. Ragged tears from dull blades invite pathogens into the vascular system of the plant. Understanding how to maintain a hedge trimmer is the difference between a clean horticultural surgical strike and a jagged wound that induces systemic stress. Proper maintenance ensures that the mechanical interface between steel and cellulose remains efficient and sterile.
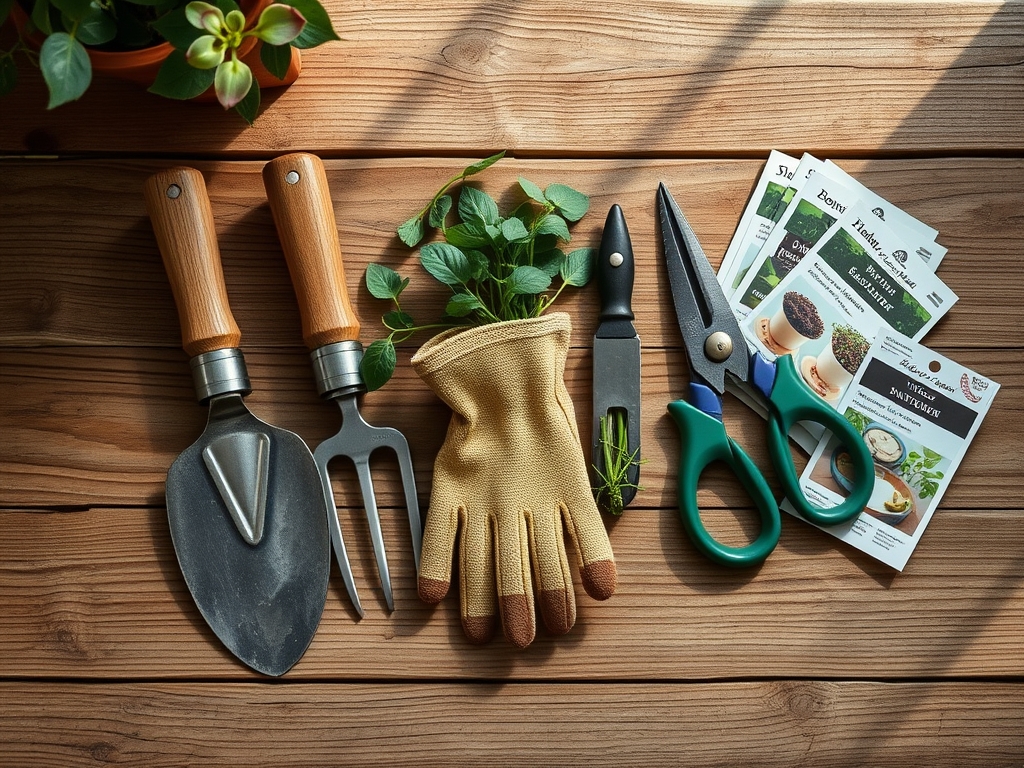
Materials:
While the mechanical components of the trimmer require petroleum-based lubricants, the health of the hedge itself depends on the soil substrate. Ideal hedges thrive in a friable loam with a **Cation Exchange Capacity (CEC) between 15 and 25**. The soil pH should be maintained between **6.0 and 7.0** to ensure optimal nutrient bioavailability. Before pruning, ensure the rhizosphere is supplemented with a slow-release fertilizer featuring an **NPK ratio of 10-10-10** for general maintenance or **12-4-8** if rapid vegetative growth is required. The physical texture of the soil must allow for **25 percent porosity** to facilitate gas exchange at the root zone.
Timing:
Maintenance and pruning must align with the biological clock of the species. In Hardiness Zones 5 through 8, the primary pruning window occurs during the dormant season or immediately after the spring growth flush. Avoid pruning during the transition from vegetative to reproductive stages to prevent the loss of floral buds. For deciduous hedges, time your heavy maintenance for late winter, approximately four weeks before the local average last frost date. This prevents the stimulation of new, tender growth that would be susceptible to frost necrosis. For evergreens, maintenance should occur after the first flush of growth has hardened off to avoid excessive sap loss and desiccation.
Phases:

Sowing and Initial Growth
When establishing a new hedge, the primary goal is the development of a robust root system. Maintain soil moisture at a consistent 60 percent of field capacity.
Pro-Tip: Use a hori-hori knife to ensure the planting hole is twice the width of the root ball. This practice encourages lateral root expansion by reducing mechanical resistance in the surrounding soil, facilitating better mycorrhizal symbiosis for improved phosphorus uptake.
Transplanting and Structural Development
During the transplanting phase, structural pruning is necessary to define the hedge's geometry. Ensure the base of the hedge is wider than the top to prevent lower branch senescence.
Pro-Tip: Maintain a 15-degree angle on the side slopes. This ensures that solar radiation reaches the lower foliage, preventing auxin suppression in the bottom branches and maintaining a dense, green wall from the ground up.
Establishing and Mature Maintenance
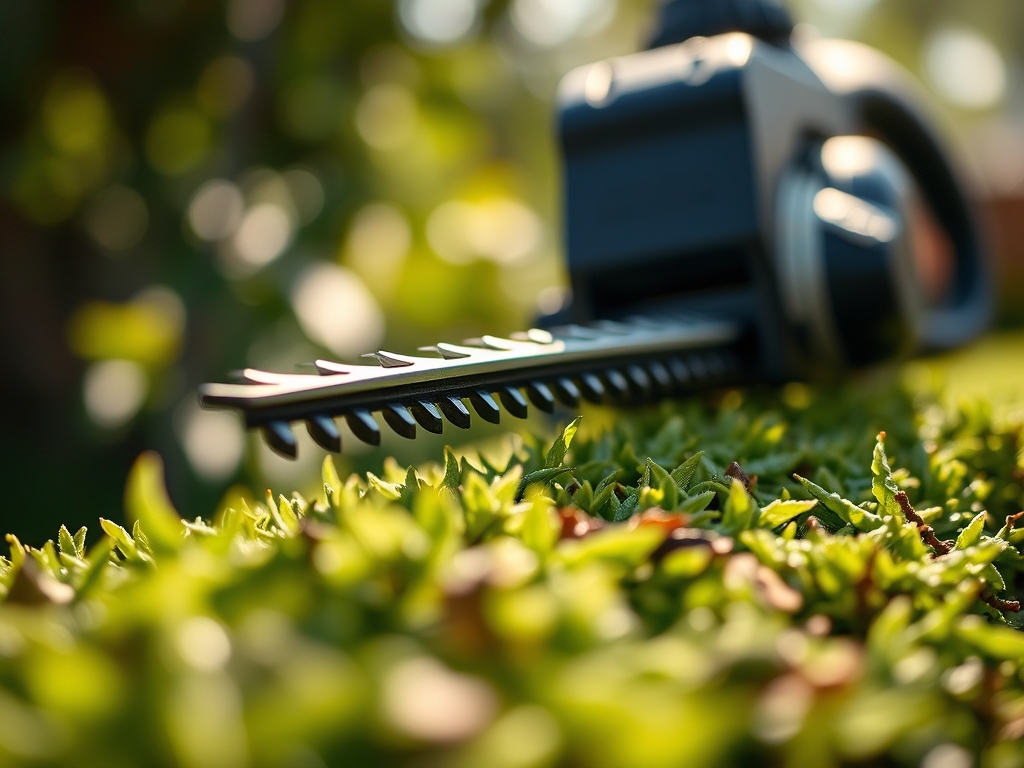
A mature hedge requires consistent mechanical maintenance to prevent overgrowth and internal shading. Blade sharpness is paramount to maintain the structural integrity of the xylem and phloem.
Pro-Tip: Always clean blades with a 70 percent isopropyl alcohol solution between different plants. This prevents the horizontal transmission of fungal spores and bacterial blights through the open wounds created during the trimming process.
The Clinic:
Physiological disorders often mimic mechanical damage. It is vital to distinguish between a dull blade tear and a nutrient deficiency.
- Symptom: Interveinal chlorosis on new growth.
Solution: This indicates an Iron deficiency, often caused by a pH level above 7.5. Apply chelated iron and adjust soil pH toward 6.5.
- Symptom: General yellowing of older leaves (Nitrogen chlorosis).
Solution: Apply a high-nitrogen fertilizer with a 24-0-0 ratio to restore chlorophyll production and protein synthesis.
- Symptom: Marginal leaf scorch and weak stems.
Solution: This suggests Potassium deficiency. Increase K levels in the soil to improve turgor pressure and cold hardiness.
- Symptom: Ragged, brown edges on cut leaves.
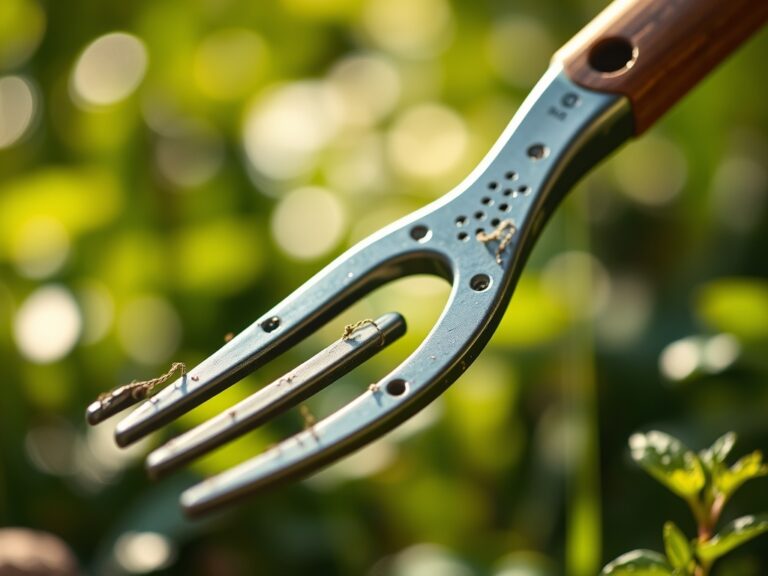
Fix-It: This is mechanical. Your trimmer blades are dull or the gap between the upper and lower teeth exceeds 0.2mm. Sharpen the blades with a flat file and tighten the connecting bolts to factory specifications.
Maintenance:
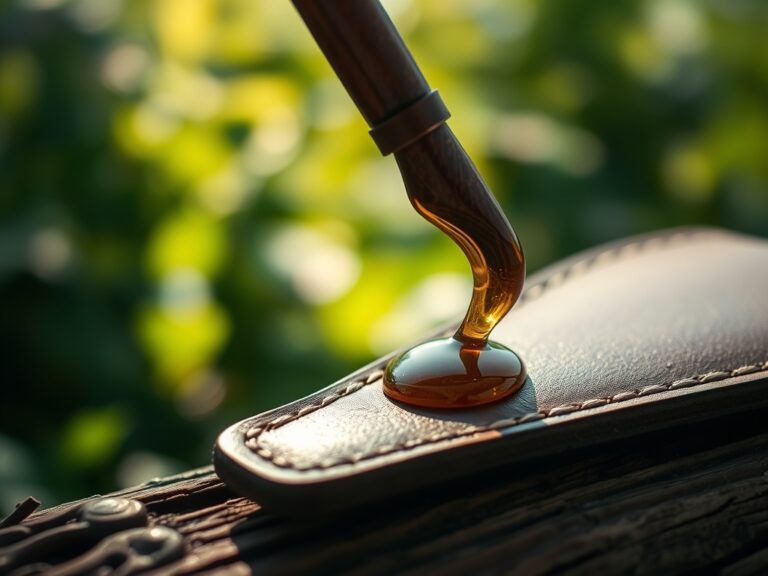
To maintain the health of the hedge, provide 1.5 inches of water per week at the drip line, rather than at the trunk. Use a soil moisture meter to verify that the water is penetrating at least 12 inches into the soil profile. For the trimmer itself, check the air filter every 25 hours of use and replace the spark plug annually to ensure complete combustion. Lubricate the blade rail with a high-viscosity resin solvent after every two hours of continuous operation to reduce friction and heat buildup. Use bypass pruners for any branches thicker than 0.75 inches to avoid damaging the trimmer's motor or gear assembly.
The Yield:
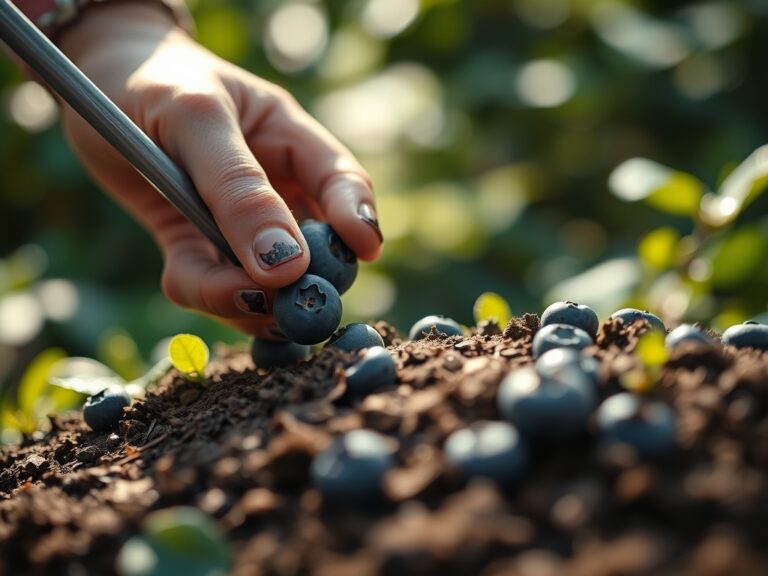
For hedges that produce berries or flowers, timing the harvest or final trim is critical for "day-one" freshness. Harvest floral branches when the first two florets are open. For berry-producing hedges, wait until the fruit reaches 90 percent color saturation. Post-harvest, submerge the cut ends of woody stems in 110-degree Fahrenheit water for thirty minutes to clear air embolisms from the xylem, ensuring maximum hydration and longevity.
FAQ:
How often should I sharpen hedge trimmer blades?
Sharpen blades every 50 hours of operation. Dull blades tear plant tissue, increasing the surface area for evaporation and pathogen entry. Use a flat file at a 45-degree angle to maintain the factory edge and ensure clean cellular cuts.
What is the best way to clean resin off blades?
Use a specialized resin solvent or a mixture of soap and water immediately after use. Dried resin increases friction, causing the motor to overheat and the blades to bind, which results in uneven, jagged cuts on the foliage.
Can I use a hedge trimmer on wet bushes?
No. Cutting wet foliage promotes the spread of fungal pathogens through water droplets. Additionally, wet wood is more difficult to cut cleanly, leading to crushed vascular tissue and slower recovery times for the plant.
How do I store my trimmer for the winter?
Drain the fuel tank or add a stabilizer to prevent ethanol degradation. Clean the blades thoroughly, apply a thin coat of anti-corrosive oil, and store the unit in a dry environment with stable temperatures to prevent condensation and rust.