8 Best Files for Sharpening Forks
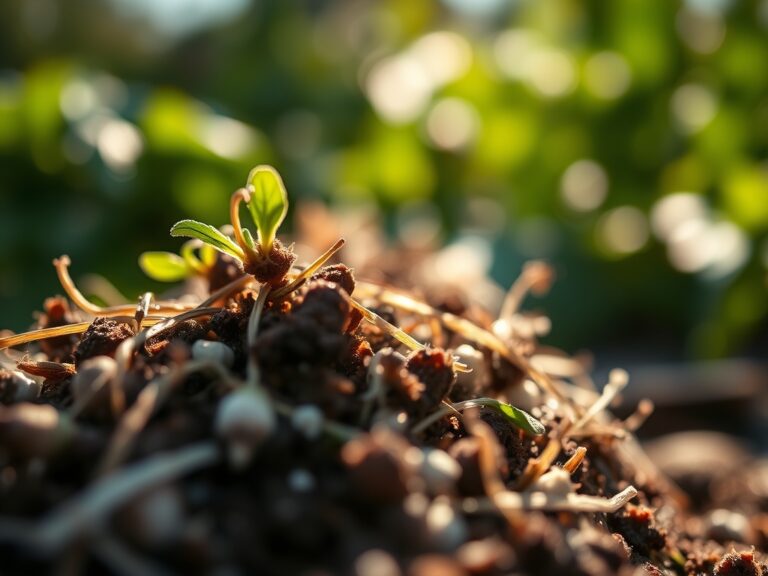
The smell of damp earth after a rain is the scent of geosmin; it is the chemical signature of a healthy rhizosphere. When you plunge a digging fork into a clay-heavy substrate, you rely on the turgor pressure of the plant to resist the blade and the mechanical efficiency of the tool to sever roots cleanly. A dull tine does not cut; it crushes. This compaction damages the delicate vascular tissues of neighboring perennials. To maintain the structural integrity of your tools, you must select the best files for sharpening forks based on the hardness of the steel and the desired bevel angle. Professional maintenance ensures that every entry into the soil profile is precise and minimizes the disruption of fungal networks. Neglecting the edge of a fork leads to increased physical exertion and ragged root wounds that invite pathogens. A sharp tool is a surgical instrument for the soil.
Materials:
Successful cultivation begins with the substrate. The ideal growing medium is a **friable loam** with a Cation Exchange Capacity (CEC) between **15 and 25 milliequivalents per 100g**. This ensures the soil can hold and exchange essential nutrients like potassium and magnesium. For most heavy-feeding crops, maintain a **soil pH between 6.2 and 6.8** to maximize nutrient bioavailability.
Regarding fertilization, target a balanced NPK ratio of 10-10-10 for general maintenance. If you are focused on root development, pivot to a 5-10-10 ratio to provide higher phosphorus levels without overstimulating vegetative growth. The physical texture of the soil should allow for immediate drainage while retaining enough moisture to prevent wilting. When the soil is properly balanced, the fork should glide through the profile with minimal resistance, provided the tines are maintained with high-quality carbon steel files.
Timing:
Hardiness Zones determine the lifecycle of your garden. In Zones 5 through 7, the window for major soil disturbance opens approximately two weeks after the last predicted frost. Utilizing a fork in frozen or waterlogged soil destroys soil structure through macropore collapse. Monitor the "Biological Clock" of your plants; the transition from the vegetative stage to the reproductive stage is triggered by the photoperiod.
Short-day plants require a shift in light duration to initiate flowering, while day-neutral varieties rely on accumulated heat units. Sharpening your tools should occur during the dormant season (late winter) so that you are prepared for the first spring thaw. This timing prevents the introduction of soil-borne bacteria into fresh metal burrs during the peak growing season.
Phases:
Sowing
Direct sow seeds at a depth exactly three times the diameter of the seed. This ensures adequate soil-to-seed contact for imbibition. Maintain a consistent soil temperature of 65 to 70 degrees Fahrenheit for optimal germination rates.
Pro-Tip: Ensure the seed bed is level to prevent uneven water distribution. The biological why involves gravitropism; the radicle must immediately sense gravity to orient the root system downward into the nutrient-rich subsoil.
Transplanting
When moving seedlings, ensure the secondary leaves are fully developed. Dig a hole twice as wide as the root ball using a sharp spade or fork. Set the plant at the same depth it occupied in its container to avoid stem rot.
Pro-Tip: Dust the root ball with mycorrhizal inoculants. The biological why is symbiosis; these fungi extend the reach of the root system, increasing the surface area for water and phosphorus absorption by up to 100 times.
Establishing
During the first 14 to 21 days, the plant focuses on root expansion. Avoid high-nitrogen fertilizers during this phase to prevent "leggy" growth. Use a soil moisture meter to ensure the root zone stays hydrated but not anaerobic.
Pro-Tip: Pinch off early flower buds on young transplants. The biological why is auxin suppression; by removing the reproductive sink, the plant redirects hormones and carbohydrates toward root and leaf development, resulting in a sturdier mature plant.
The Clinic:
Physiological disorders often mimic disease but are rooted in environmental stress or nutrient imbalances.
- Symptom: Interveinal chlorosis on young leaves.
Solution: This indicates Iron deficiency. Lower the soil pH if it exceeds 7.0 or apply chelated iron foliar spray. - Symptom: Blossom end rot in fruiting crops.
Solution: This is a Calcium transport issue. Ensure consistent irrigation; calcium moves via the transpiration stream and becomes immobile during drought. - Symptom: Purpling of older foliage.
Solution: This signifies Phosphorus deficiency. Apply a high-phosphate fertilizer (0-20-0) near the root zone, as phosphorus is highly immobile in the soil. - Symptom: Marginal leaf burn on mature leaves.
Solution: This suggests Potassium deficiency or salt accumulation. Flush the soil with 2 inches of water to leach excess salts.
Fix-It: For general Nitrogen chlorosis (yellowing of the entire plant), apply a quick-release 21-0-0 ammonium sulfate fertilizer to rapidly restore chlorophyll production.
Maintenance:
Precision irrigation is the cornerstone of plant health. Deliver 1.5 inches of water per week directly at the drip line. Use a soaker hose to keep moisture off the foliage, which reduces the risk of fungal spores germinating on leaf surfaces.
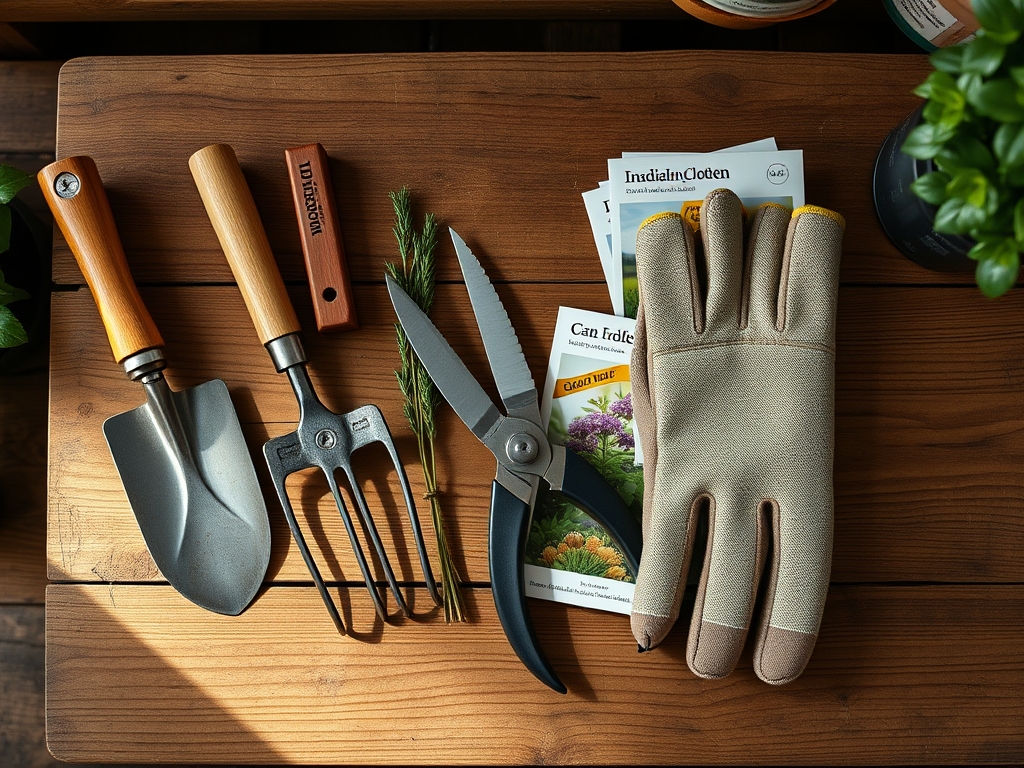
Tool hygiene is equally vital. After each use, scrape soil from your hori-hori knife and bypass pruners. Use a mill file to maintain a 45-degree bevel on your digging fork tines. This angle provides the best balance between sharpness and edge retention. Wipe metal surfaces with a light coat of mineral oil to prevent oxidation. Use a soil moisture meter daily to calibrate your irrigation schedule against actual evaporation rates.
The Yield:
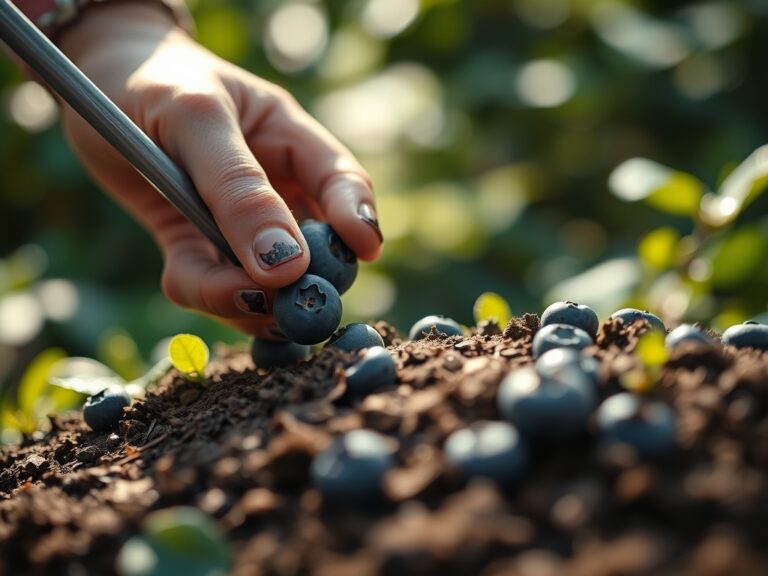
Harvesting is a race against senescence. For leafy greens, harvest in the early morning when turgor pressure is at its peak. This ensures the cell walls are fully hydrated, resulting in maximum crispness. Use sharp bypass pruners to make clean cuts; jagged wounds increase the rate of ethylene production, which accelerates spoilage.
For root crops, use your sharpened fork to gently loosen the soil 6 inches away from the base of the plant. Post-harvest, remove field heat immediately by placing produce in a shaded, cool environment. Reducing the temperature by 10 degrees can double the shelf life of many vegetables by slowing down the metabolic rate of the harvested tissue.
FAQ:
What is the best file for sharpening forks?
A 10-inch mill bastard file is the standard. It provides a medium-coarse cut that removes metal quickly while leaving a smooth enough finish for soil penetration. For finer detailing, a tapered triangular file can reach between narrow tines.
How often should I sharpen my garden fork?
Sharpen every 50 hours of use or at the start of every season. If you work in rocky or high-clay soils, the abrasive nature of the substrate will dull the leading edges faster, requiring more frequent maintenance.
Can I use a power grinder instead of a file?
Avoid power grinders for routine sharpening. The high heat generated by a grinder can temper the steel, making it brittle or too soft to hold an edge. A manual file allows for better heat control and precision.
What angle should I file the tines?
Aim for a 45-degree bevel on the inner or outer face of the tines. This angle is sharp enough to slice through thick roots but blunt enough to resist chipping when it strikes a stone or hardpan.