10 Simple Ways How to Build a Gabion Basket
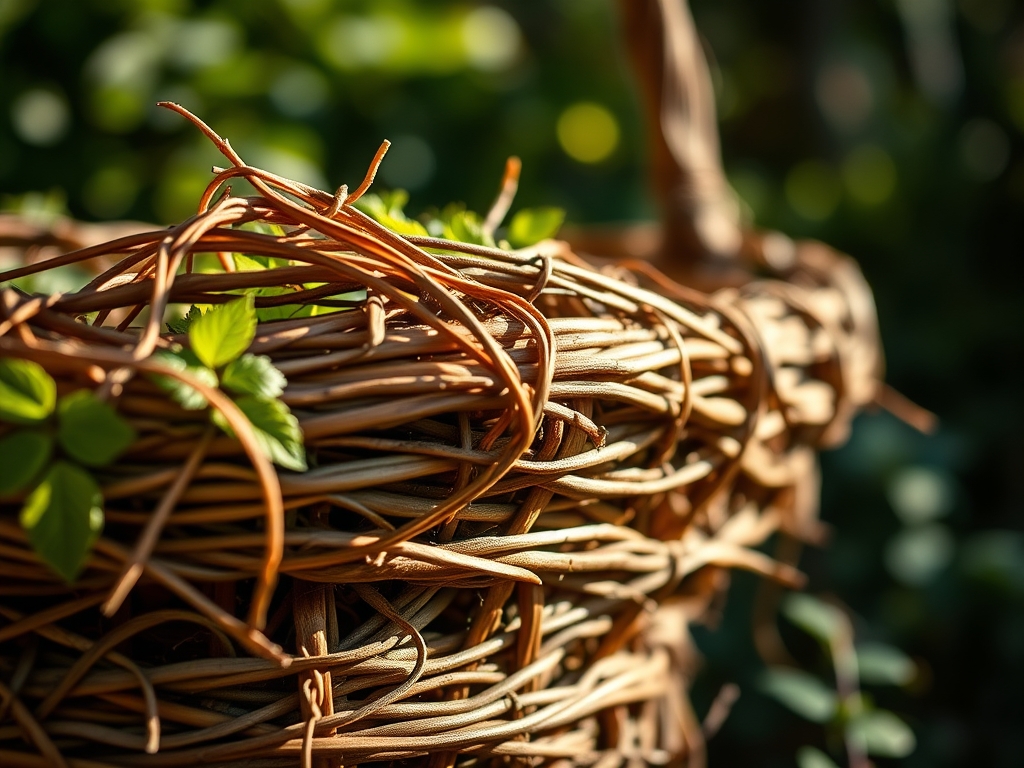
The smell of damp earth and the metallic tang of galvanized steel define the early stages of a landscape structural project. Successful site stabilization requires understanding the physical forces acting upon the soil; specifically, the lateral pressure and the hydraulic conductivity of the substrate. Learning how to build a gabion basket is an exercise in managing gravity and drainage through mechanical containment. These wire cages provide a porous yet rigid framework that allows for the natural movement of water while preventing soil erosion and mass wasting.
A well-constructed gabion functions as a gravity wall; its stability is derived from the mass of the fill material rather than deep subterranean footings. When the structure is placed correctly, it supports the rhizosphere of adjacent plantings by preventing the leaching of essential minerals and maintaining the structural integrity of the slope. The installation process demands precision in leveling and a firm understanding of the geological properties of the rock used as fill. By integrating these baskets into a garden, you create a thermal mass that regulates local soil temperatures, extending the growing season for sensitive species.
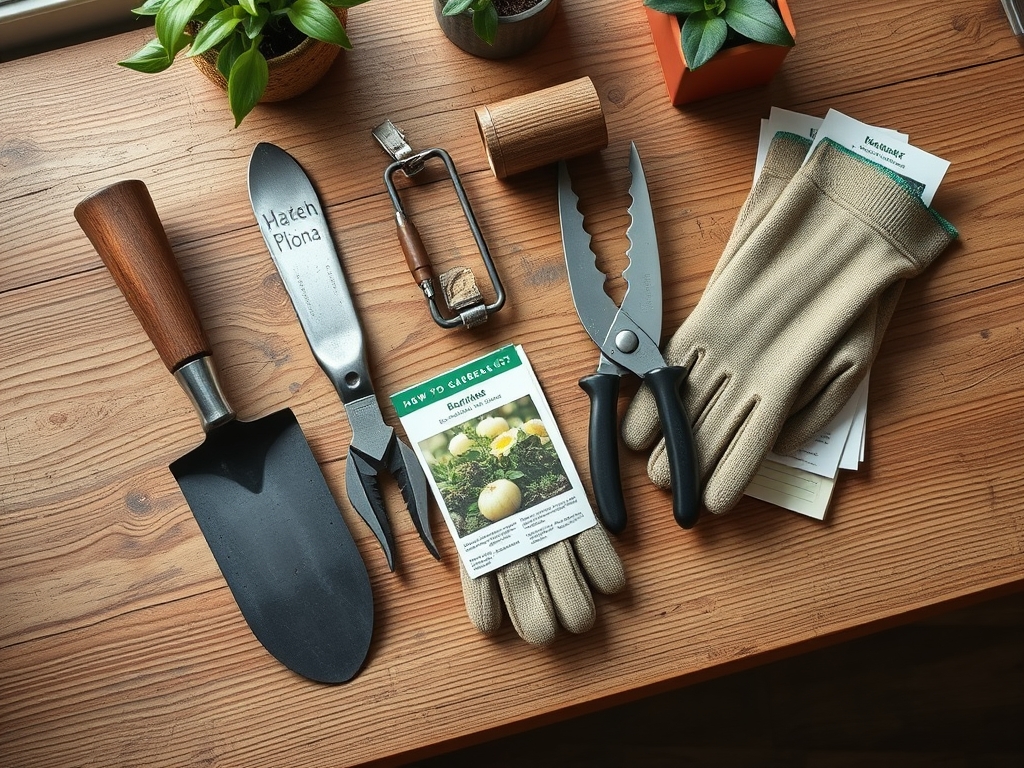
Materials:
The foundation of any gabion project rests on the soil quality beneath the basket. The ideal substrate is a friable loam with a pH range of 6.0 to 7.0. High Cation Exchange Capacity (CEC) in the surrounding soil ensures that the plants integrated into the rock wall have access to essential nutrients. For the backfill behind the basket, use a mix that facilitates drainage while maintaining a balanced NPK ratio.
- Nitrogen (N): 10-10-10 balanced fertilizer for initial establishment of cover crops or vines.
- Phosphorus (P): 0-20-0 (Superphosphate) to encourage root development near the basket base.
- Potassium (K): 0-0-50 to improve cellular turgor and frost resistance in the surrounding vegetation.
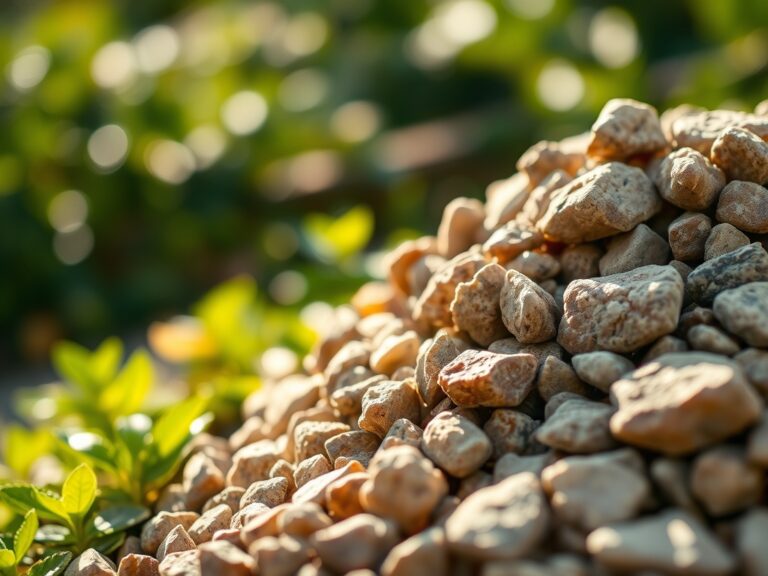
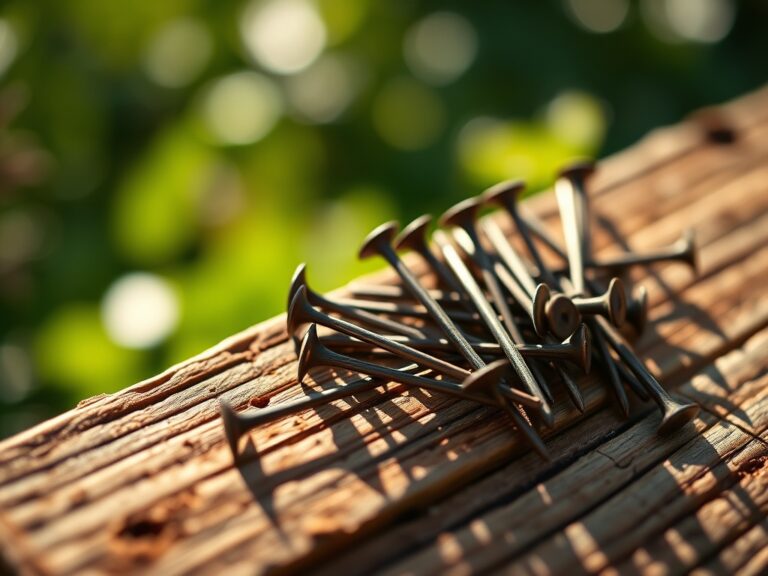
The baskets themselves must be 9-gauge or 11-gauge galvanized steel mesh with a zinc coating of at least 250 grams per square meter. Use 3-inch by 3-inch grid openings for standard 4 to 8 inch rock fill. Ensure you have high-tensile tie wire or "C" rings for securing the panels.
Timing:
Installation should occur when the soil is workable and not saturated. In Hardiness Zones 4 through 7, the ideal window is late autumn or early spring, outside the primary frost-heave cycle. Soil moisture should be approximately 25 percent to 30 percent to allow for proper compaction of the leveling pad.
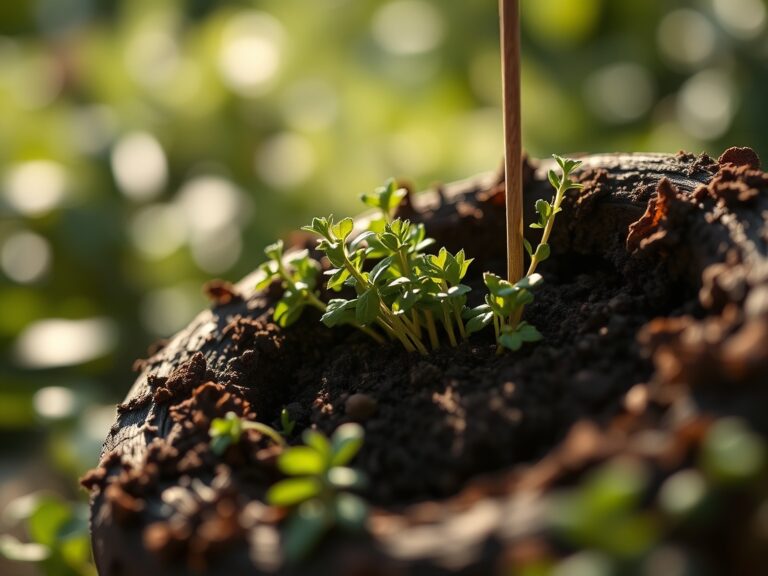
The biological clock of the landscape must be considered. Constructing these units during the dormant phase (late winter) minimizes the disruption to the mycorrhizal networks in the soil. If you are planting into the gabion, time the completion to coincide with the transition from the vegetative to the reproductive stage of your chosen species, typically as the photoperiod increases in spring.
Phases:

Sowing the Foundation
Excavate the site to a depth of 6 inches below the finished grade. Level the area using a 2-inch layer of crushed stone (3/4-inch minus). Compact this base to a 95 percent Proctor density to prevent settling.
Pro-Tip: Proper compaction prevents air pockets that disrupt mycorrhizal symbiosis. This fungal network requires a stable soil-to-root interface to transport phosphorus effectively to nearby plants.
Transplanting and Assembly
Assemble the wire panels using a spiral binder or hog rings at every 4-inch interval. Place the empty baskets in their final position. If stacking, offset the vertical joints by at least 12 inches to increase structural shear strength.
Pro-Tip: Aligning the baskets precisely prevents auxin suppression in climbing plants. When stems are forced into unnatural angles by shifting baskets, the plant redirects energy to repair tissue rather than upward growth.
Establishing the Fill
Hand-place the facing stones with the flat sides against the mesh. Fill the interior with smaller, angular rocks. Install internal stiffeners (cross-ties) every 12 vertical inches to prevent the mesh from bulging under the weight of the fill.
Pro-Tip: Using angular stone increases the internal friction angle of the fill. This reduces the lateral pressure on the mesh, mimicking the natural structural stability found in lithic soil horizons.
The Clinic:
Physiological disorders in the landscape often manifest near heavy stone structures due to heat reflection or drainage changes.
-
Symptom: Iron Chlorosis. Interveinal yellowing on new leaves.
Solution: Check soil pH. High lime content in some rock fill can raise pH above 7.5, locking out iron.
Fix-It: Apply chelated iron and sulfur to lower the local pH to 6.5. -
Symptom: Leaf Scorch. Brown, crispy leaf margins.
Solution: This is often caused by heat radiation from the stone.
Fix-It: Increase irrigation frequency to maintain turgor pressure during peak sun hours. -
Symptom: Nitrogen Deficiency. General paling of older foliage.
Solution: Leaching occurs frequently in the highly porous zone behind a gabion.
Fix-It: Apply a slow-release 20-10-10 fertilizer to replenish the rhizosphere.
Maintenance:
A gabion system is low-maintenance but requires monitoring of the surrounding soil and vegetation. Ensure the area receives 1.5 inches of water per week at the drip line of any plants growing within or behind the baskets. Use a soil moisture meter to verify that the drainage is not so rapid that the root zone becomes desiccated.
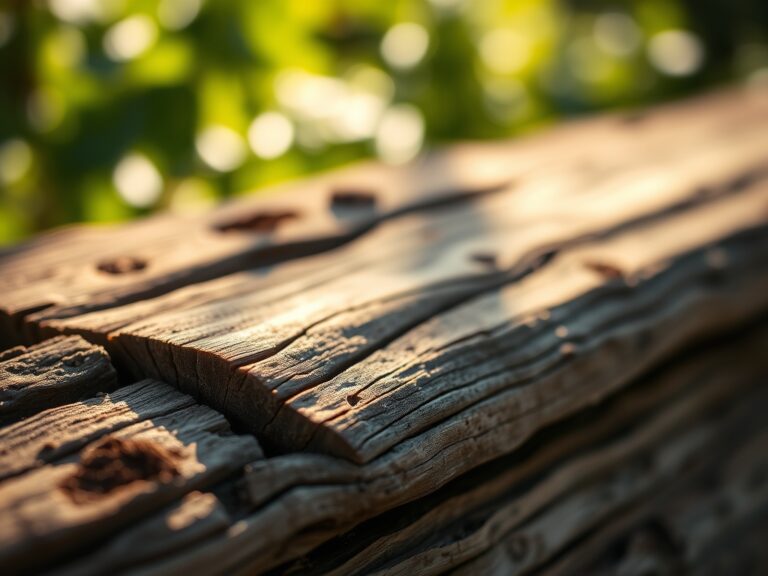
Prune any encroaching woody roots that might displace the mesh using bypass pruners. If weeds emerge between the rocks, use a hori-hori knife to extract the entire taproot, preventing the buildup of organic matter that could eventually lead to structural decay or unwanted seedling establishment. Check the galvanized coating annually for signs of oxidation; if the silver finish turns to a dull red, treat with a cold-galvanizing spray.
The Yield:
If using the gabion as a base for a raised herb garden or vertical strawberry planter, harvesting timing is critical. Harvest leafy greens when turgor pressure is at its peak, usually before 8:00 AM. This ensures the cells are fully hydrated.
Post-harvest, submerge the produce in 40-degree Fahrenheit water to remove field heat immediately. This slows the rate of senescence and preserves the crispness of the cell walls. For flowering species, cut the stems at a 45-degree angle to maximize the surface area for water uptake in the xylem.
FAQ:
What size rock is best for gabion baskets?
Use angular stones between 4 and 8 inches in diameter. This size ensures the rocks are larger than the 3-inch mesh openings while allowing for sufficient interlocking to provide structural stability and drainage.
Do gabion baskets need a concrete foundation?
No, they do not require a concrete footer. A compacted base of crushed stone or gravel at least 6 inches deep is sufficient. This allows the structure to remain flexible during freeze-thaw cycles.
How long do galvanized gabion baskets last?
High-quality galvanized steel baskets typically last 40 to 60 years. In high-salinity environments or acidic soils with a pH below 5.0, the lifespan may be reduced without additional PVC coating on the wire.
Can I use round river rocks in a gabion?
Round rocks lack the internal friction of angular stones. While they can be used for aesthetic facing, the core should contain angular material to prevent the basket from bulging or shifting over time.