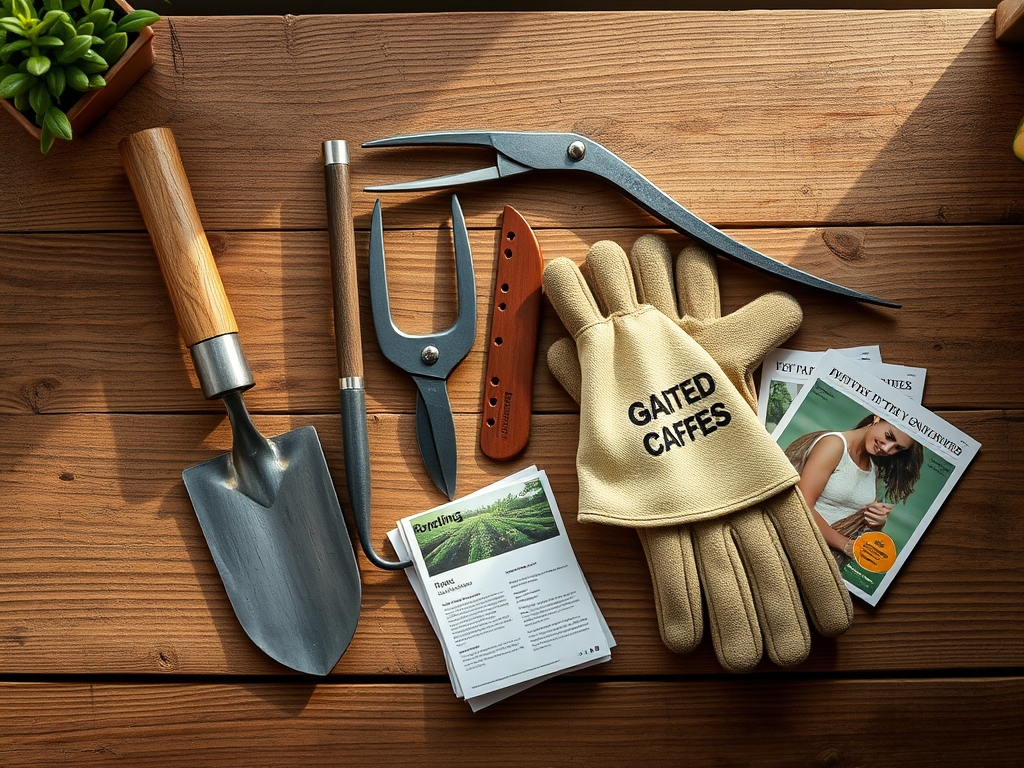
5 Best Hardware for Garden Prep
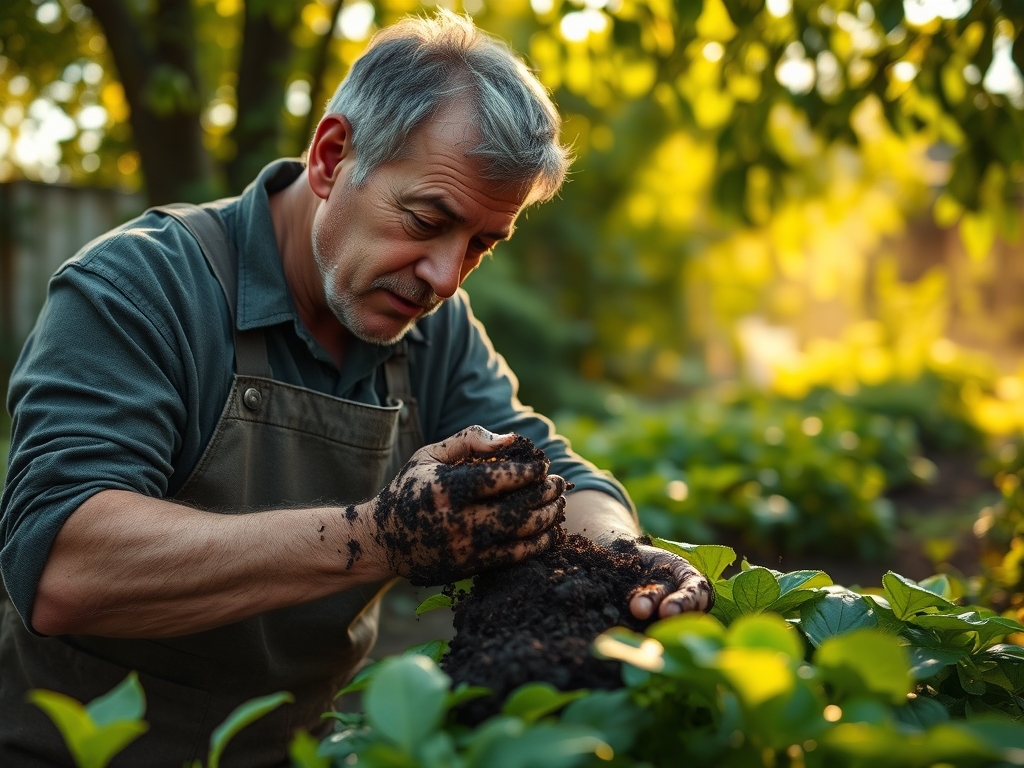
The smell of damp earth is the olfactory marker of geosmin; a chemical byproduct of Actinobacteria activity that signals a soil profile ready for cultivation. When you grasp a handful of friable loam, it should hold its shape under pressure but shatter upon impact. This structural integrity is essential for maintaining the turgor pressure of a healthy leaf, ensuring that the xylem can transport water from the rhizosphere to the stomata without resistance. Selecting the best hardware for garden prep is not about aesthetics; it is about the mechanical manipulation of the soil to optimize gas exchange and drainage. Proper preparation ensures that the Cation Exchange Capacity (CEC) of your substrate is maximized, allowing plant roots to access essential minerals through ionic exchange. Without the right tools, you risk soil compaction, which leads to anaerobic conditions and root rot. A seasoned grower understands that the physical state of the garden bed determines the biological success of the entire season. You must approach the ground with technical precision, using high carbon steel and ergonomic leverage to transform raw land into a productive ecosystem.
Materials:
Successful garden preparation begins with an analysis of the substrate. The ideal soil for most high production crops is a friable loam with a **pH range between 6.2 and 6.8**. At this acidity level, nutrients are most bioavailable to the root system. Before breaking ground, you must address the NPK ratio (Nitrogen, Phosphorus, and Potassium). For initial bed preparation, a balanced **10-10-10 granular fertilizer** is often standard, though heavy feeders may require a **5-10-10 ratio** to prioritize root development over early foliage.
The physical texture of the soil must allow for oxygen penetration. You are looking for a granular structure where macropores facilitate drainage and micropores retain moisture. If your soil is heavy clay, you must integrate coarse organic matter to break the ionic bonds that cause clumping. If the soil is sandy, your focus shifts to increasing the CEC by adding humus or biochar. These materials act as a reservoir for cations like Calcium (Ca2+), Magnesium (Mg2+), and Potassium (K+), preventing them from leaching out during heavy irrigation or rainfall.
Timing:
Timing is dictated by the Hardiness Zone and the specific frost date windows of your microclimate. In Zones 5 through 7, garden prep usually commences four to six weeks before the last predicted frost. You must monitor soil temperature with a probe; most microbial activity remains dormant until the soil consistently hits 50 degrees Fahrenheit (10 Celsius).
Understanding the Biological Clock of your cultivars is essential. The transition from the vegetative stage to the reproductive stage is often triggered by the photoperiod; the ratio of light to darkness in a 24 hour cycle. Early preparation allows for the establishment of a robust root system before the plant receives the hormonal signal to begin flowering. If you miss your window, the plant may experience premature senescence, where it shuts down its metabolic processes before reaching its full yield potential.
Phases:
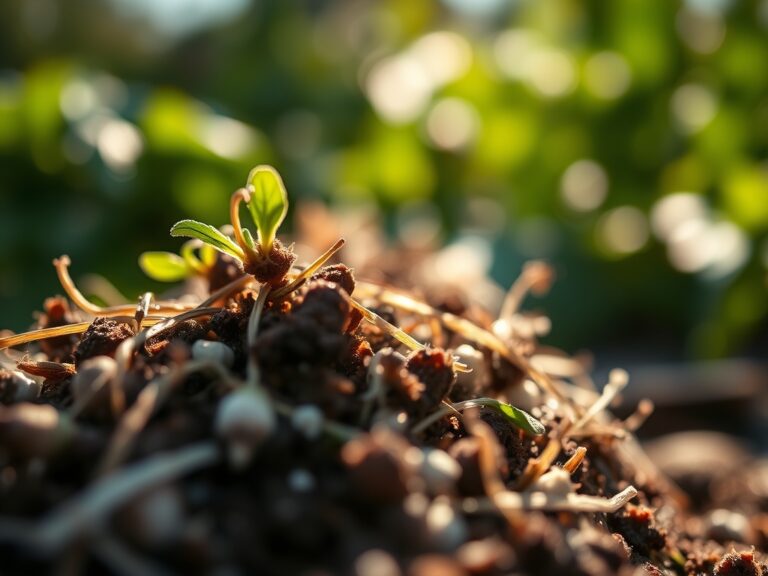
Sowing
Direct sowing requires a seedbed that is free of large clods and debris. Use a steel rake to create a fine tilth. Seeds should generally be planted at a depth of three times their diameter. Maintaining consistent moisture is critical during the imbibition phase, where the seed absorbs water to activate metabolic enzymes.
Pro-Tip: Ensure soil contact is firm to facilitate capillary action. The biological why involves hydraulic conductivity; if there are air pockets around the seed, the moisture cannot move from the soil particles to the seed coat, resulting in erratic germination.
Transplanting
When moving starts from a controlled environment to the field, use a hori-hori knife to cut through any circling roots. This tool allows for precise excavation without disturbing the surrounding soil structure. The hole should be twice as wide as the root ball but no deeper.
Pro-Tip: Apply a mycorrhizal inoculant to the root zone during this phase. The biological why is mycorrhizal symbiosis; these fungi extend the reach of the root system by hundreds of times, specifically aiding in the uptake of immobile nutrients like phosphorus.
Establishing
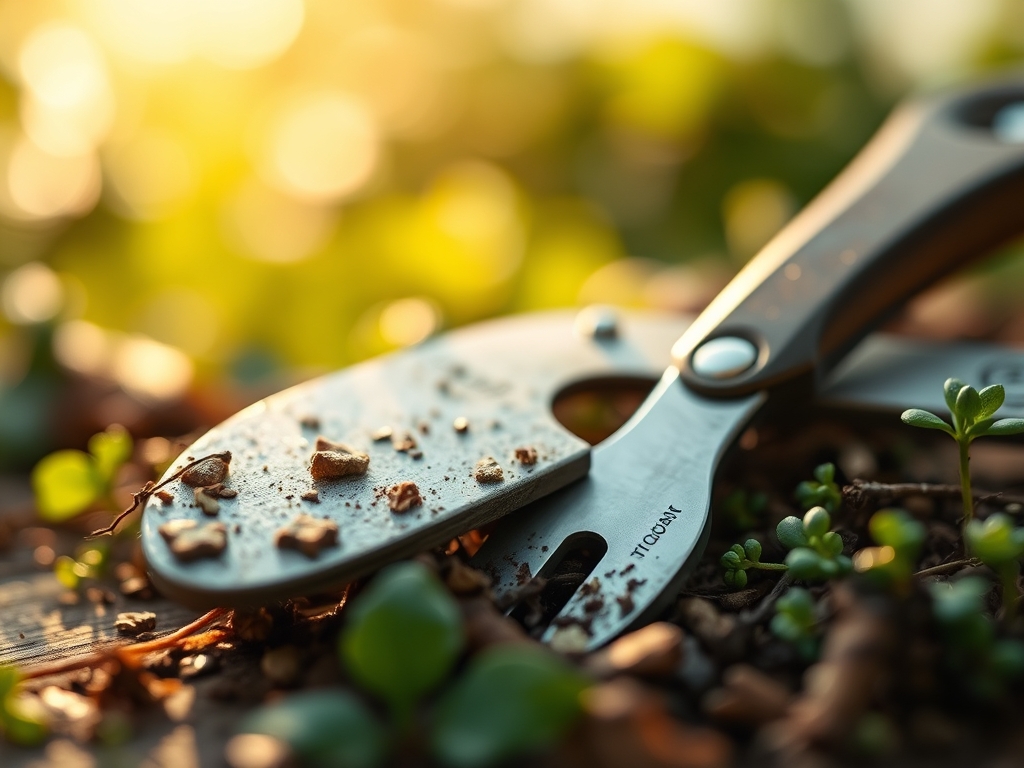
Once the plants are in the ground, focus shifts to auxiliary suppression. Use a sharp bypass pruner to remove lower leaves that touch the soil. This reduces the risk of soil-borne pathogens splashing onto the foliage.
Pro-Tip: Remove the first set of flower buds on young transplants. The biological why is auxin suppression; by removing the reproductive sinks, the plant redirects its hormonal energy toward root and leaf development, creating a stronger foundation for later production.
The Clinic:
Physiological disorders often mimic disease but are usually the result of environmental stress or nutrient imbalances.
-
Symptom: Interveinal chlorosis (yellowing between leaf veins) on new growth.
Solution: This indicates an Iron (Fe) deficiency, often caused by a pH above 7.0.
Fix-It: Lower the soil pH using elemental sulfur or apply chelated iron as a foliar spray for immediate uptake. -
Symptom: Blossom end rot on fruit.
Solution: This is a Calcium (Ca) deficiency, but it is usually caused by inconsistent moisture rather than a lack of calcium in the soil.
Fix-It: Maintain a consistent irrigation schedule to ensure the transpiration stream can carry calcium to the distal end of the fruit. -
Symptom: Purple tint on the underside of older leaves.
Solution: Phosphorus (P) deficiency, common in cold soils where microbial activity is low.
Fix-It: Use a high phosphorus starter fertilizer or wait for soil temperatures to rise above 60 degrees Fahrenheit. -
Symptom: General yellowing of older leaves (Nitrogen chlorosis).
Solution: Nitrogen is a mobile nutrient; the plant is scavenging it from old growth to support new leaves.
Fix-It: Top dress with a high nitrogen source like blood meal or a 20-0-0 liquid fertilizer.
Maintenance:
Precision maintenance is the difference between a surviving garden and a thriving one. Most crops require 1.5 inches of water per week delivered at the drip line, not the foliage. Use a soil moisture meter to verify that the water is penetrating at least 6 inches deep. Surface watering encourages shallow root systems that are susceptible to drought stress.
Keep your hori-hori knife sharpened to manage invasive species without disrupting the rhizosphere of your primary crops. For woody perennials, use bypass pruners to make clean cuts at a 45 degree angle just above a lateral bud. This encourages rapid compartmentalization of the wound, preventing pathogens from entering the vascular system. Monitor the garden daily for signs of wilt; if turgor pressure drops during the heat of the day but recovers by evening, the plant is managing its transpiration. If it remains wilted in the morning, the soil is at its permanent wilting point and immediate irrigation is required.
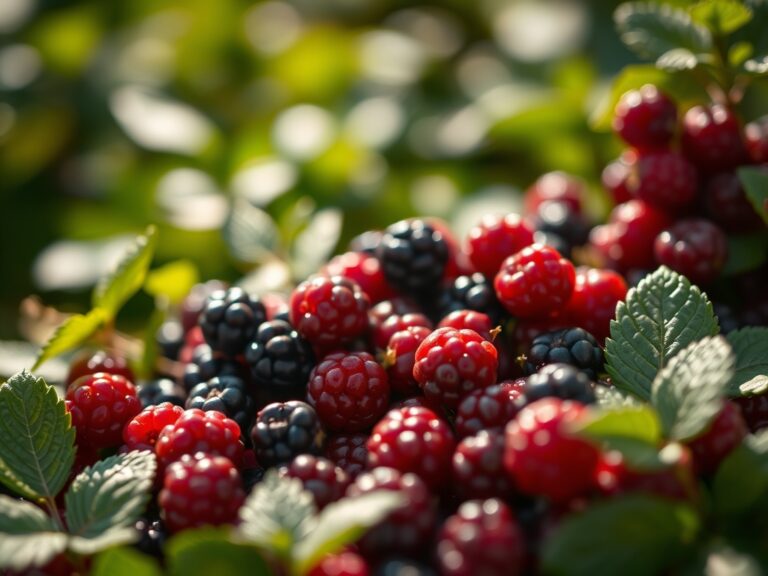
The Yield:
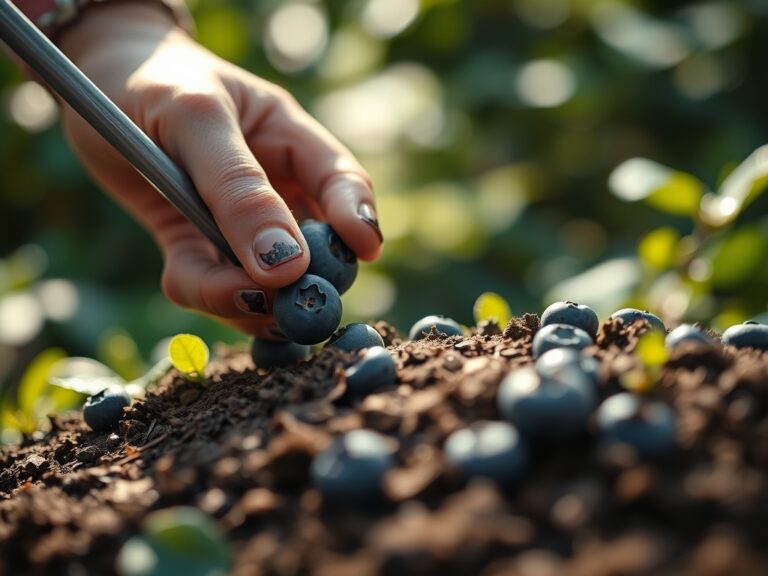
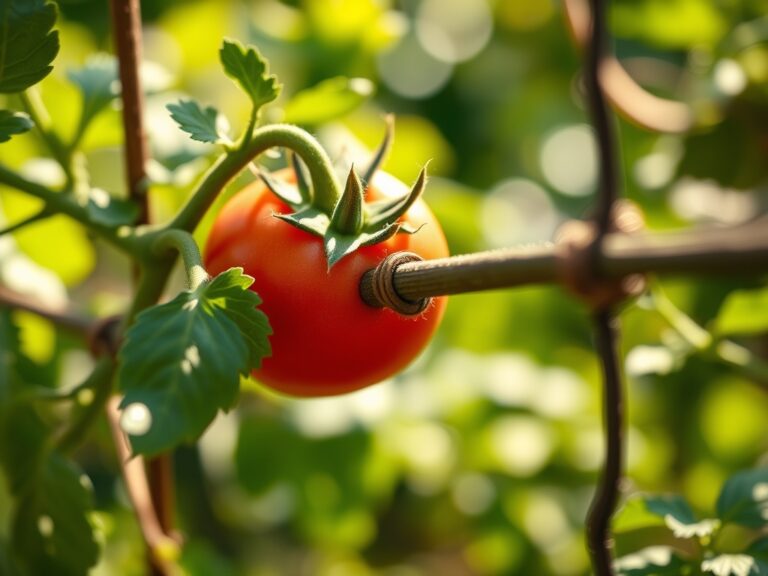
Harvesting should occur during the coolest part of the day, typically just after sunrise. This is when the plant is at maximum turgidity. For leafy greens, use a sharp blade to make a clean cut, leaving the growing point intact if multiple harvests are desired. For fruiting crops, harvest when the "ground spot" changes color or when the fruit detaches with a slight twist.
Post-harvest handling is vital for "day-one" freshness. Immediately submerge harvested greens in 40 degree Fahrenheit water to remove field heat and lock in moisture. This process, known as hydro-cooling, slows down the respiration rate and prevents the degradation of sugars and vitamins. For fruits, store in a cool, ventilated area away from ethylene-producing crops like bananas or apples to prevent premature ripening and spoilage.
FAQ:
What is the best hardware for garden prep on a budget?
A high quality stainless steel spade and a bow rake are the foundational tools. These allow for primary tillage and secondary seedbed refinement. Invest in a soil moisture meter to prevent over-irrigation and nutrient leaching.
How do I fix compacted soil without a tiller?
Use a broadfork to aerate the soil. This tool penetrates deep into the subsoil and lifts it slightly, breaking compaction without inverting the soil layers. This preserves the existing fungal networks and soil horizons.
Why are my plants turning yellow despite fertilizing?
Check your soil pH. If the pH is outside the 6.0 to 7.0 range, nutrients become chemically locked and unavailable to the plant. Use a digital pH probe to ensure your substrate is in the optimal range for ion exchange.
When is the best time to apply compost?
Apply well-aged compost in the fall or at least three weeks before planting in the spring. This allows the organic matter to integrate into the soil food web and stabilizes the nitrogen levels before delicate seedlings are introduced.